Sony RX10 M4 - Astronomy Photos
Introduction | Equipment | Day 1: Photos with RX10 M4 on AZ Pronto Mount | Day 2: Photos with RX10 M4 on AZ-GTi Mount with 1 Second Exposure Time | Day 2: Photos with RX10 M4 on AZ-GTi Mount with 5, 10, and 30 Seconds Exposure Time | Comparison: M 42/43 with RX10 M4 versus C5 and Atik Infinity | Taking Astronomy Photos with a Camera - Tips | References
On this page I demonstrate how I take astronomy photos with my Sony RX10 M4 camera and what kind of results I have achieved with it. While I can use the Sony RX100 M4 only together with a telescope to take pictures of the moon or DSO, I can also use the RX10 M4, thanks to its maximum focal length of 600 mm, all by itself for such shots.
Both cameras can also be used without add-ons to photograph constellations or larger sections of the sky (the minimum focal length is 24 mm for both). I will describe this elsewhere.
Note: Everything could be done in the same way with the Sony RX10 M3!
Introduction
In April 2020, I had the somewhat crazy idea to try out my Sony RX100 M4 at the Orion Nebula M 42/43, but not alone, because the maximum focal length of 70 mm is much too short for such an endeavor. For this, I screwed the camera to the 32 mm Digiscope eyepiece and inserted the eyepiece into two telescopes, the Skymax-127 and the PS 72/432. The photos were not exhilarating, but at least it was recognizable that I photographed the Orion Nebula - see page Photos of the Orion Nebula - April 2020.
And so in February 2021, two impulses brought me on the idea to try it completely without a telescope using the Sony RX10 M4, particularly since this camera has a focal length of 600 mm. I had already tried photos of the moon with this camera several times. For example these (selection):
- Test Photos of the Moon with RX10 M4 - July 2019, Ditto with RX10 M4 Part 2 - July 2019, Ditto with RX10 M4 Part 3 - July 2019
- Photos of the Moon with RX10 M4 - March 2020
One impulse came from a Scottish photographer who addressed me with respect to the Sony RX10 M3 and reported that he had photographed the Orion Nebula with it (with 30 seconds exposure time). The second came from the newly released version 1.9 of the photo editing application Affinity Photo, which offers a stacking function for astronomy photos. I was eager to try that out!
And my new AZ-GTi mount (or better, the new mount head...) now offered the convenient possibility to automatically track the camera at longer exposure times (it would have worked with my Star Discovery mount as well...). So I thought that I might try the RX10 M4 on the one hand on the AZ Pronto mount with exposure times up to one second, and on the other hand on the AZ-GTi mount (AZ Pronto tripod with AZ-GTi mount head) with longer exposure times of up to 30 seconds.
My experiments lasted over three evenings, in which I tried out various things. In addition, I photographed not only the Orion Nebula M 42/43, but also some other DSO. In the following I describe my attempts!
Equipment
First, I would like to briefly present the setup, or more precisely, the two variants for short and for longer exposure times.
Setup with AZ Pronto Mount for Exposure Times up to One Second
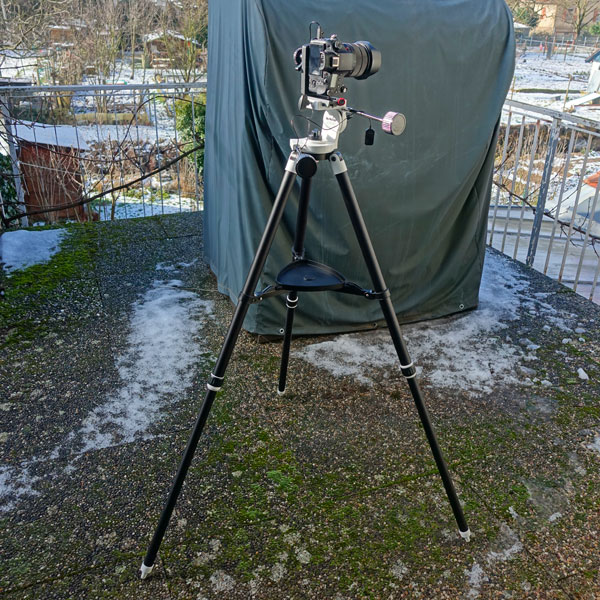
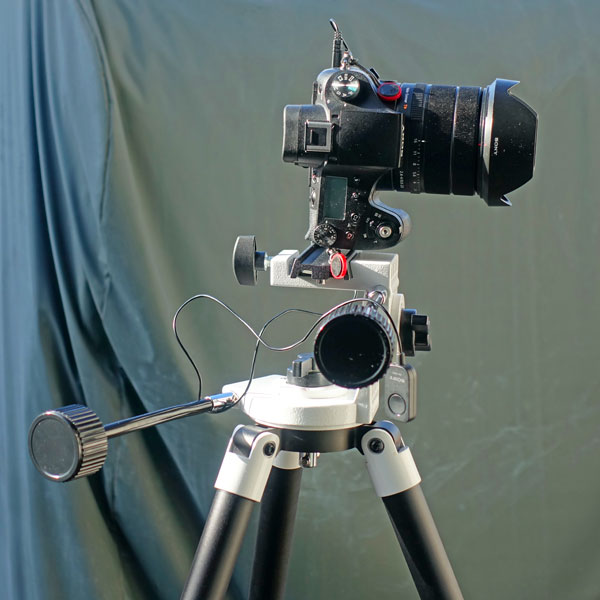
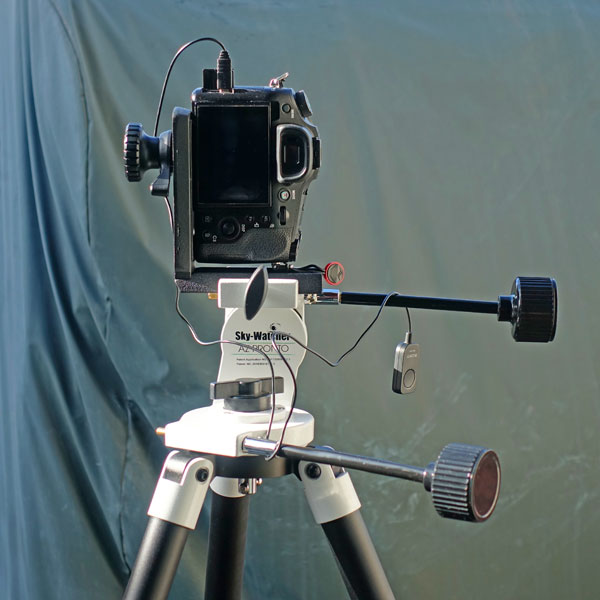
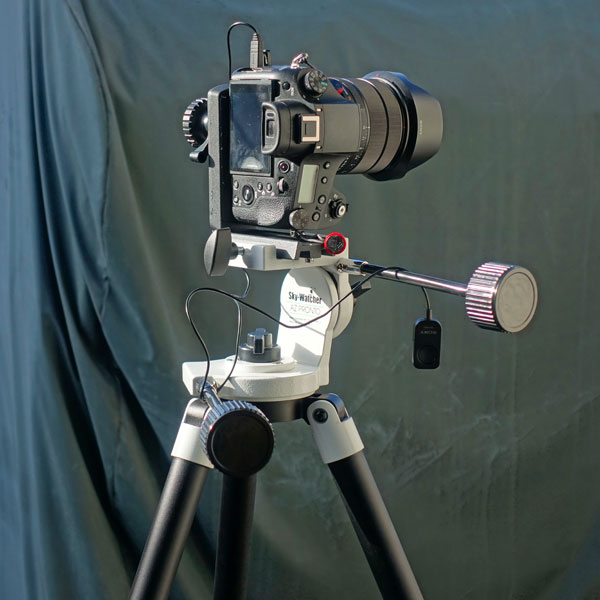
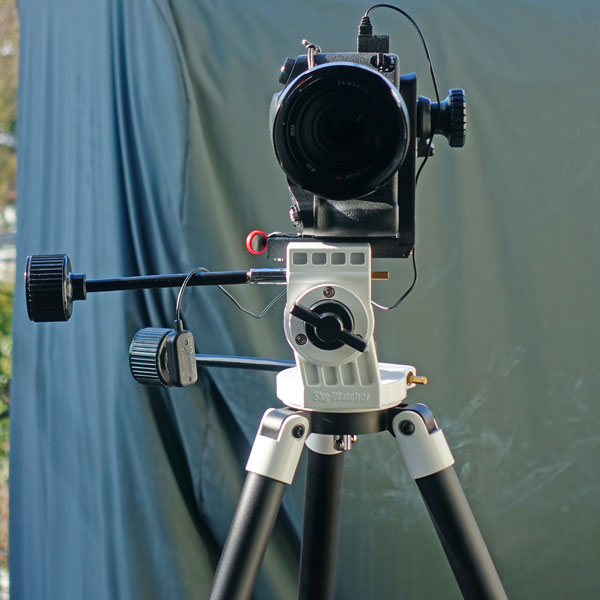
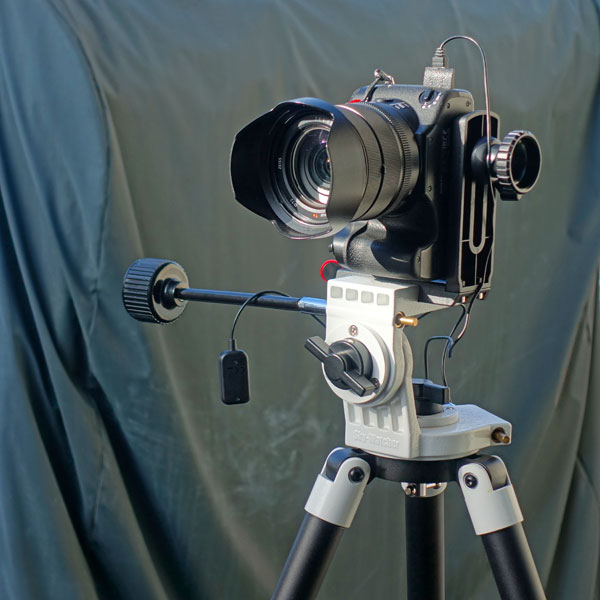
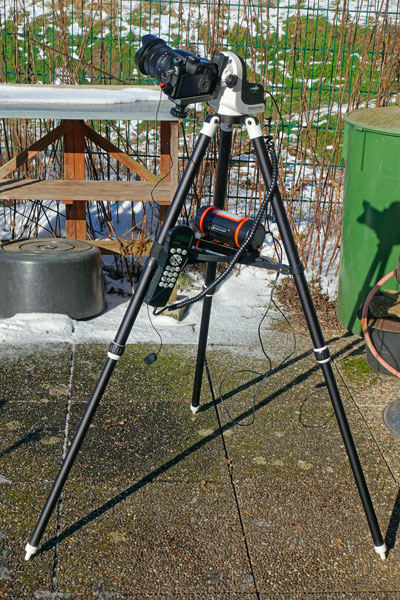
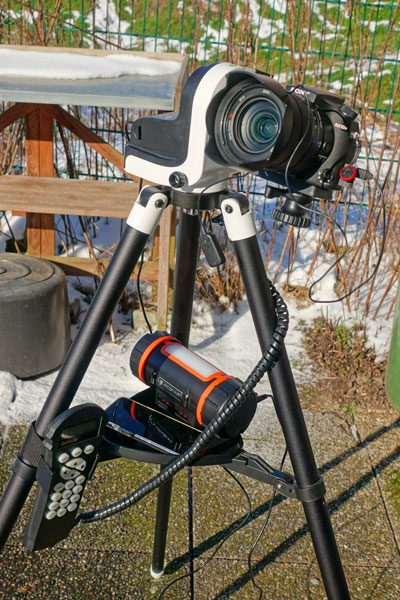
I used this setup also for my moon photos, whereby the exposure times lie thereby between 1/100 and 1/1000 second. For DSO I use exposure times from 1/2 to one second. While I already found slight star trails at 1 second last year, I was not able to detect them during this year's tests. I used a Sony cable release to prevent shake caused by pressing the shutter button. I might also have used my photo tripod instead of the AZ Pronto mount. But the mount wobbles less and is much more comfortable to align to the object thanks to two flexible shafts.
In all experiments described on this page, I used manual exposure and manual focus (with magnification and focus peaking). The internal long-time noise reduction was enabled, but probably only active at exposure times of one second or more.
 |
 |
 |
||
 |
 |
 |
||
|
||||
 |
 |
 |
||
| Photos of the setup with my AZ Pronto mount | ||||
Setup with AZ-GTi Mount for Exposure Times from over One Second up to 30 Seconds
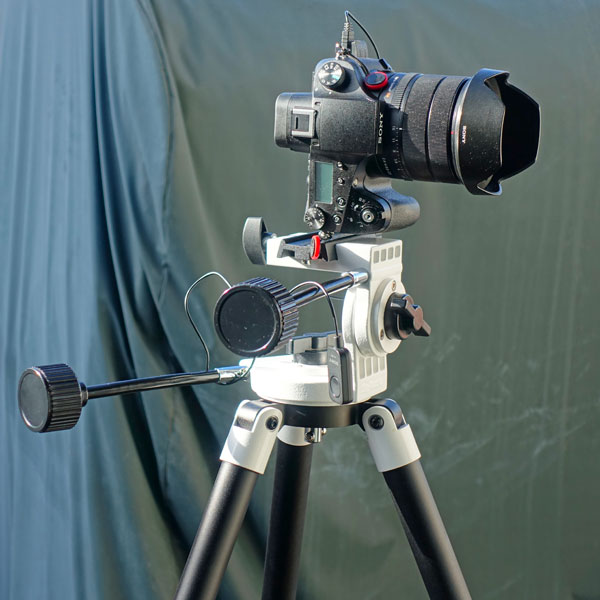
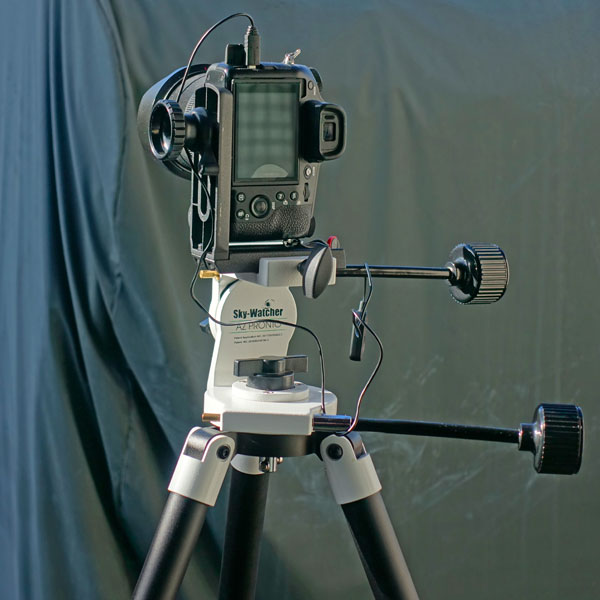
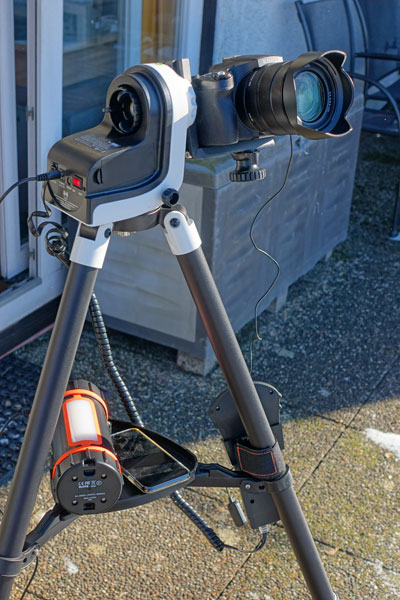
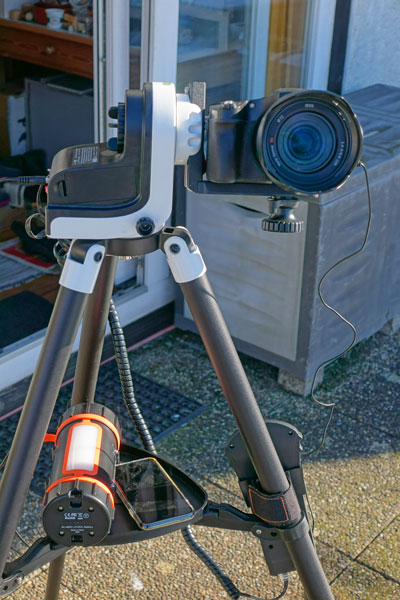
For longer exposure times, I put the AZ-GTi mount head on the AZ Pronto tripod (in the following, simply AZ-GTi mount). I mounted the camera with an angle bracket so that it was level. I triggered again with the Sony cable release. The internal long-time noise reduction was deactivated. It would have doubled the exposure times. Before photographing a DSO, I took a dark shot in case I would need it when stacking the photos.
 |
 |
 |
||
 |
 |
 |
||
Photos of the setup with my AZ-GTi mount |
||||
Day 1: Photos with RX10 M4 on AZ Pronto Mount
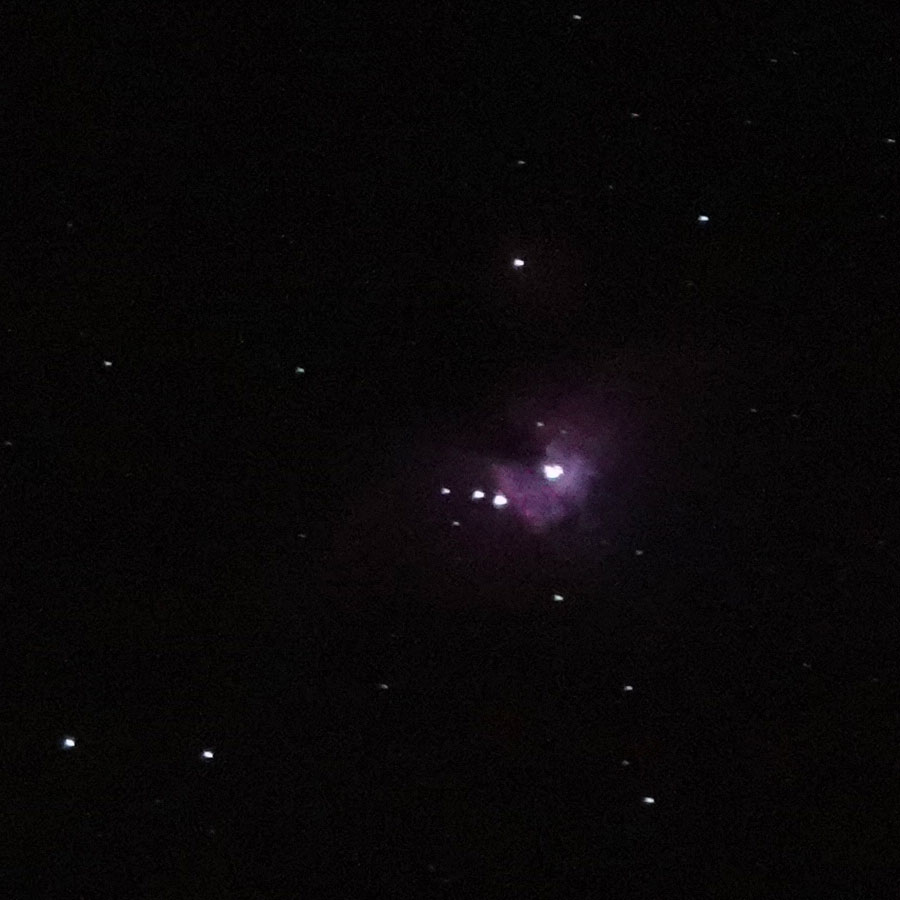
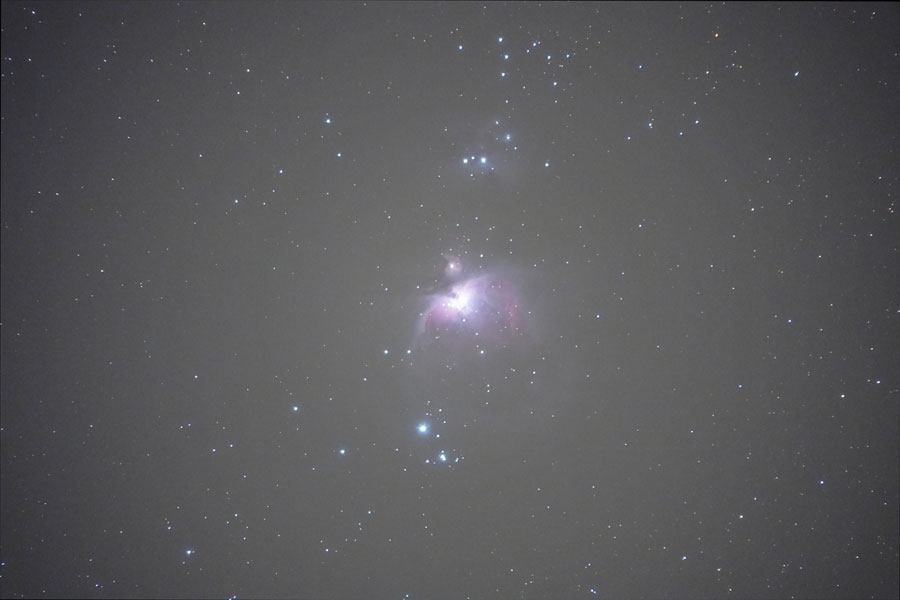
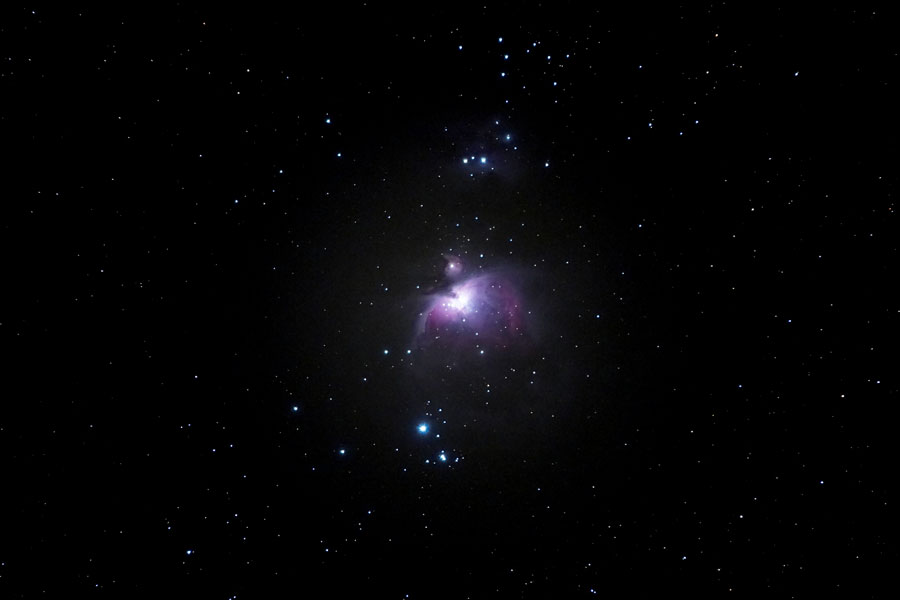
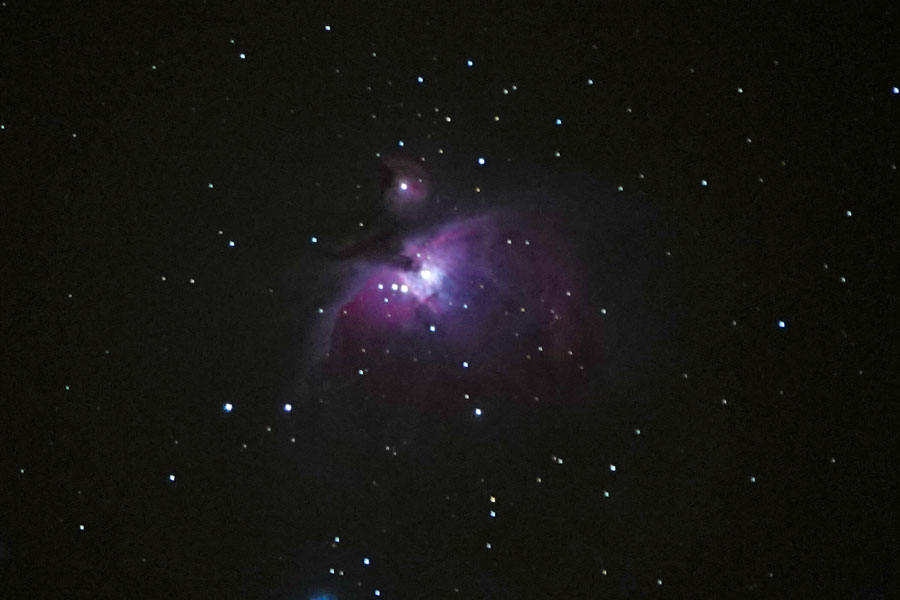
On February 11, 2021, I first took photos of M 42/43 with the Sony RX10 M4 using an exposure time of 0.8 seconds. For these shots, I used the AZ Pronto mount and the Sony cable release. Below, I present single photos taken with ISO 3200 and 6400, as well as a stack of 5 photos created in Affinity Photo.
 |
 |
 |
||
M 42/43 with Sony RX10 M4, ISO 3200 |
M 42/43 with Sony RX10 M4, ISO 6400 |
M 42/43 with Sony RX10 M4, 5 photos stacked in Affinity Photo (average) |
||
 |
 |
 |
||
M 42/43 with Sony RX10 M4, ISO 3200, processed |
M 42/43 with Sony RX10 M4, ISO 6400, processed |
M 42/43 with Sony RX10 M4, 5 photos stacked in Affinity Photo (average), processed with Polarr |
Photo data: M mode with 0.8 s and f/4, 600 mm, ISO 3200/6400, long-time noise suppression on, manual focus
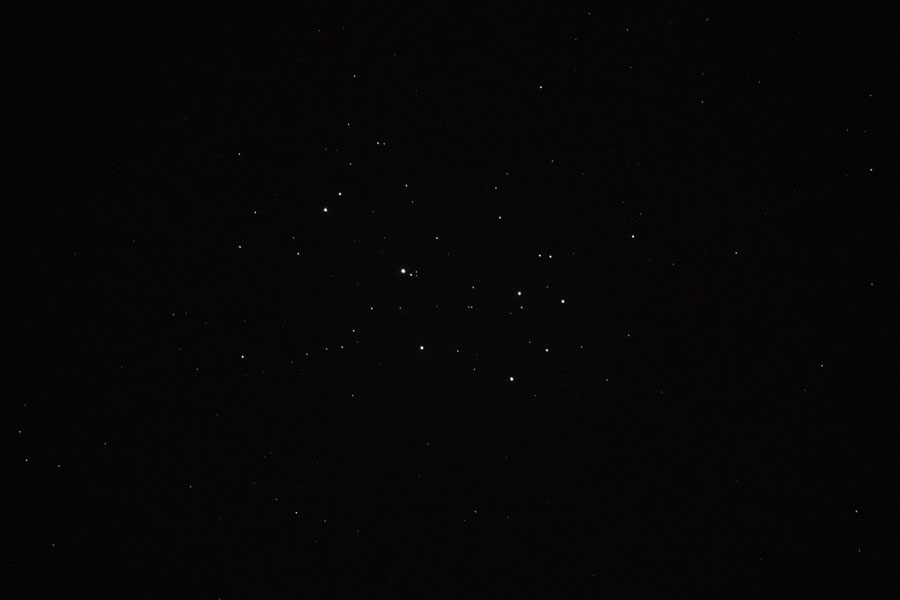
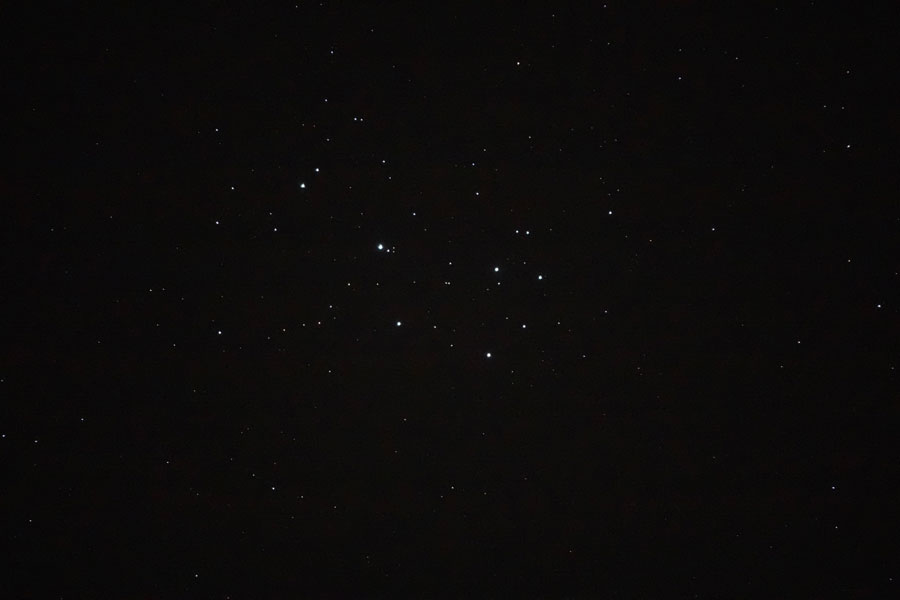
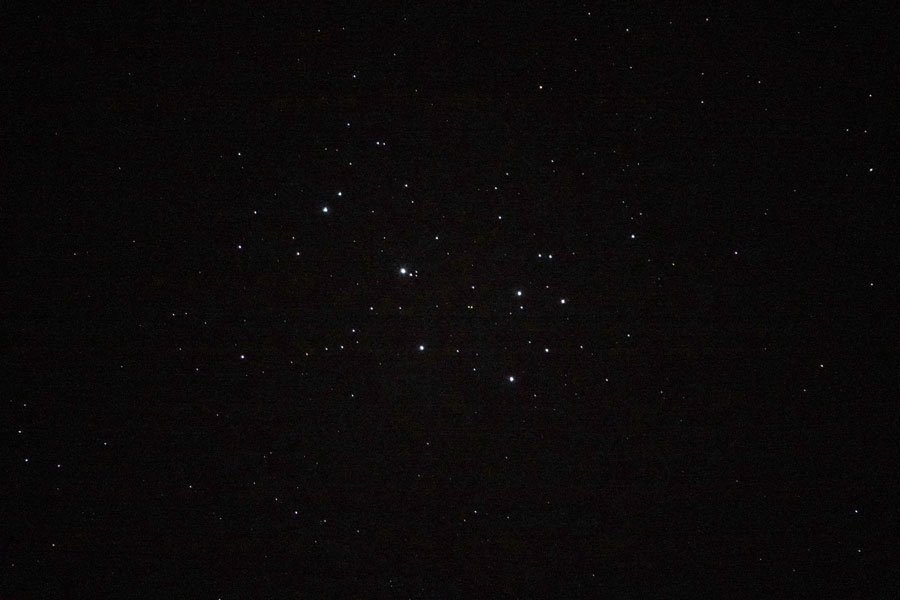
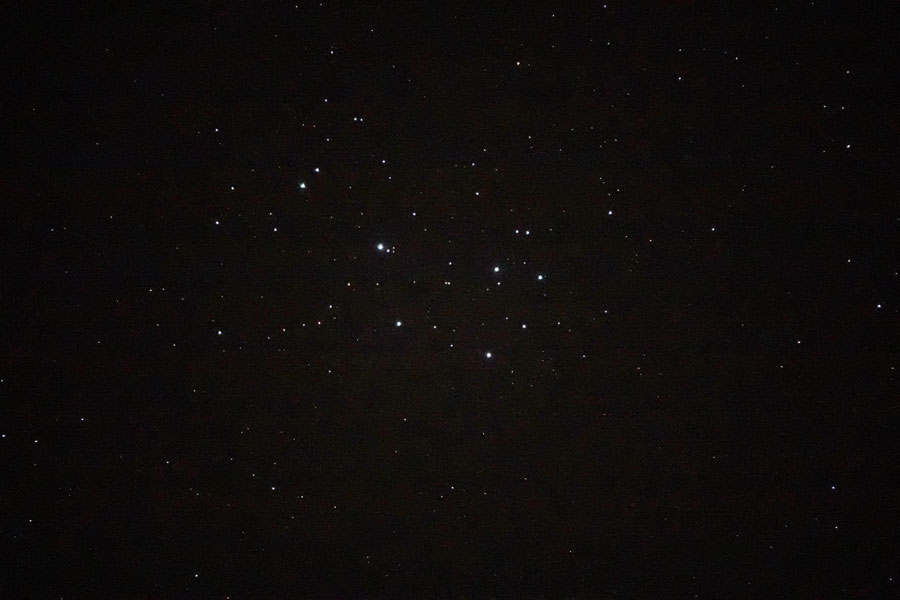
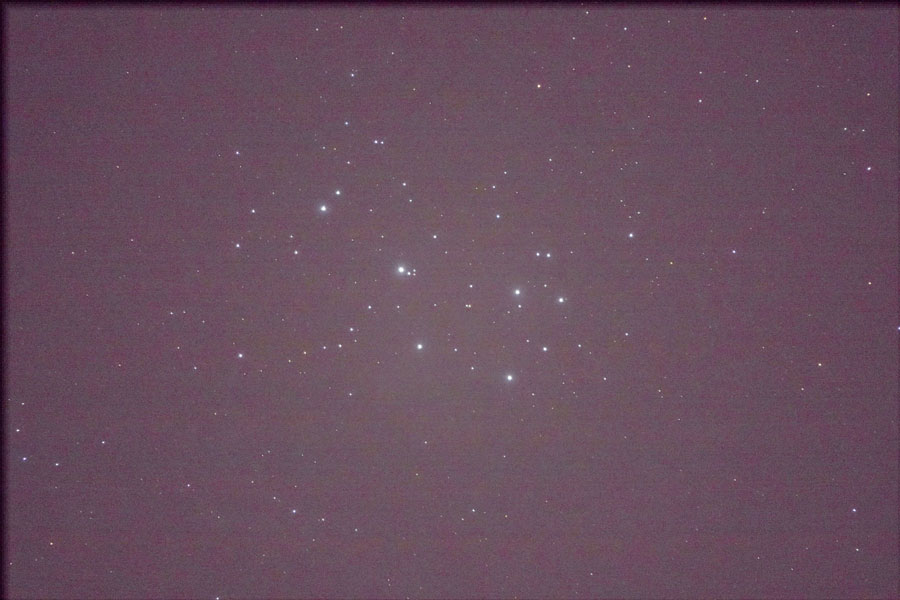
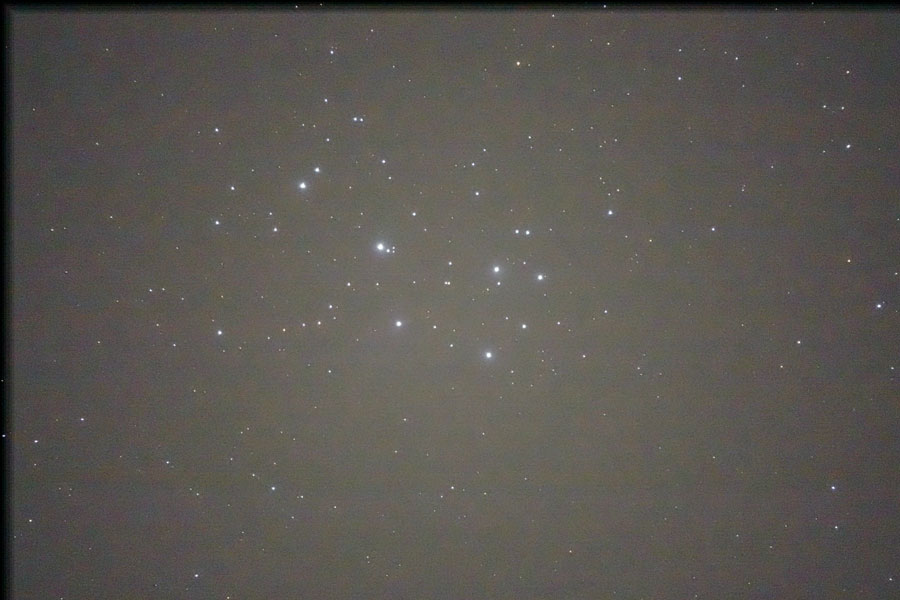
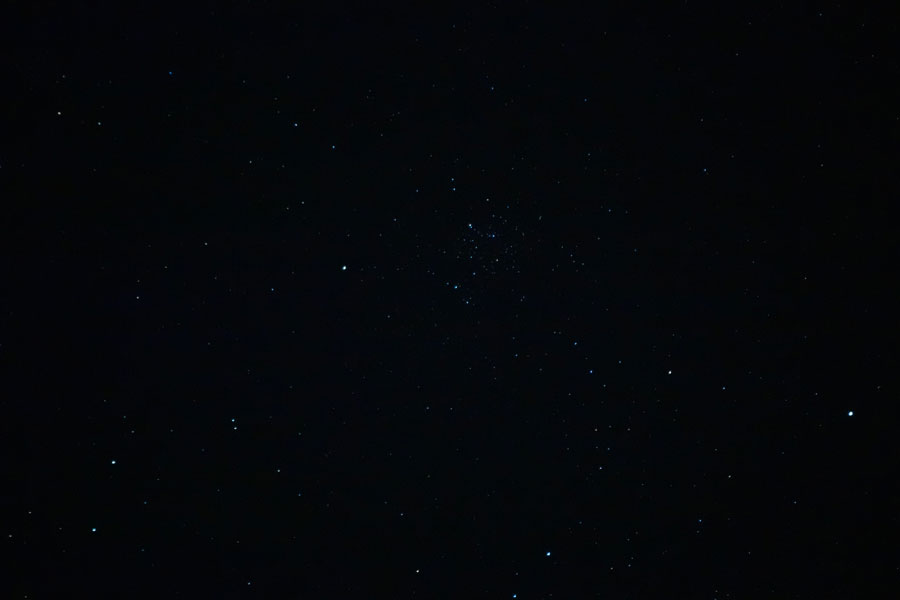
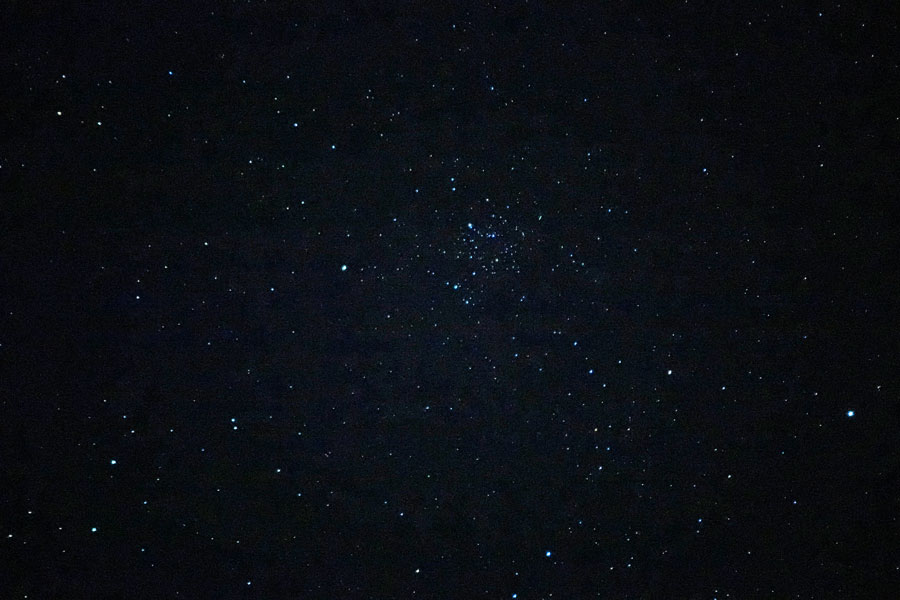
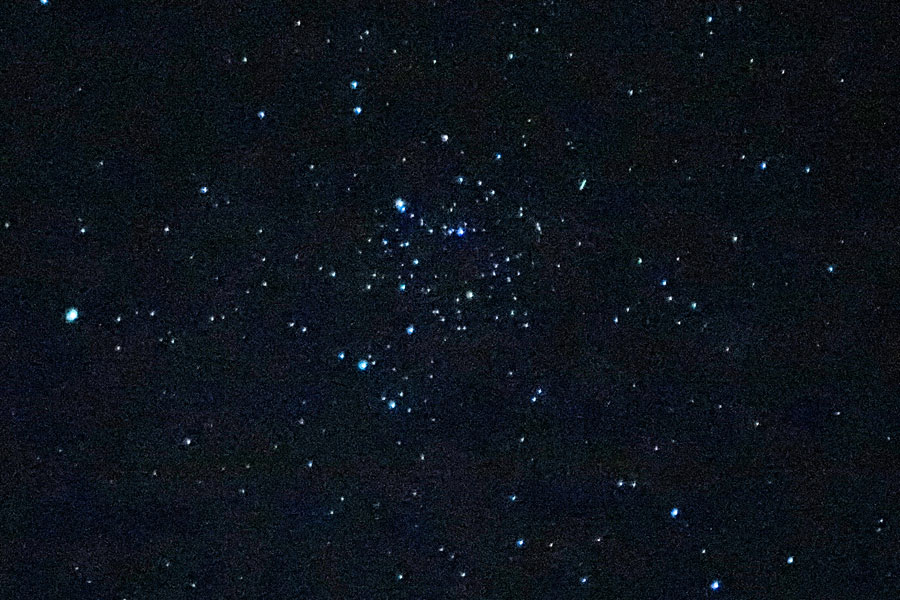
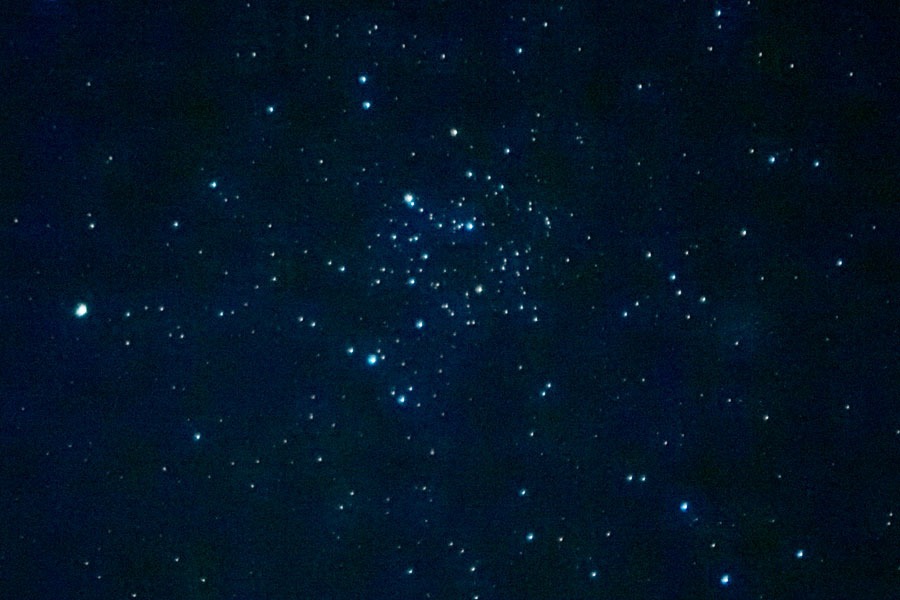
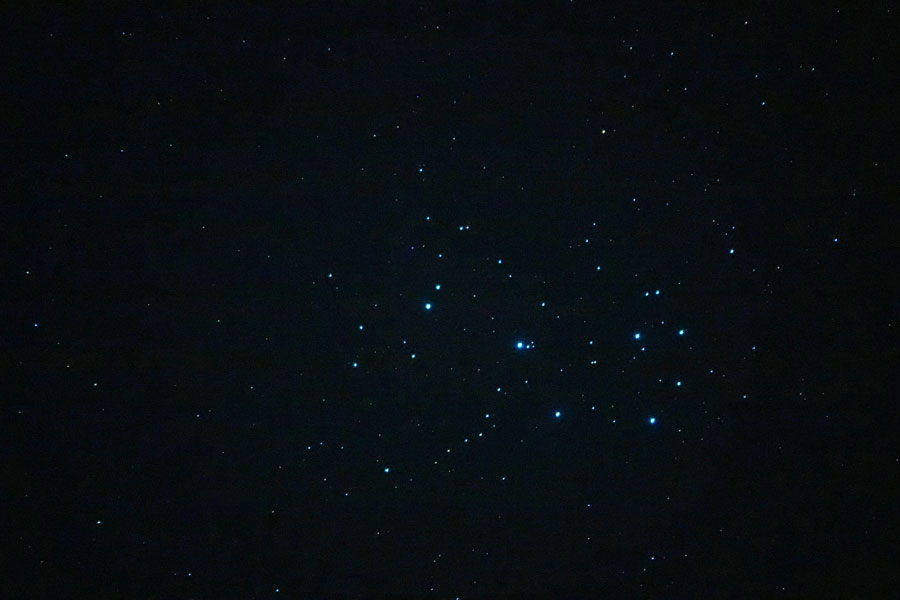
Thereafter, I took photos of the Pleiades M 45 at ISO 3200 and ISO 6400. Below, I present single photos taken with ISO 3200 and 6400, as well as stacks of several photos created in Affinity Photo.
 |
 |
|
M 45 with Sony RX10 M4, ISO 3200 |
M 45 with Sony RX10 M4, ISO 6400 |
|
 |
 |
|
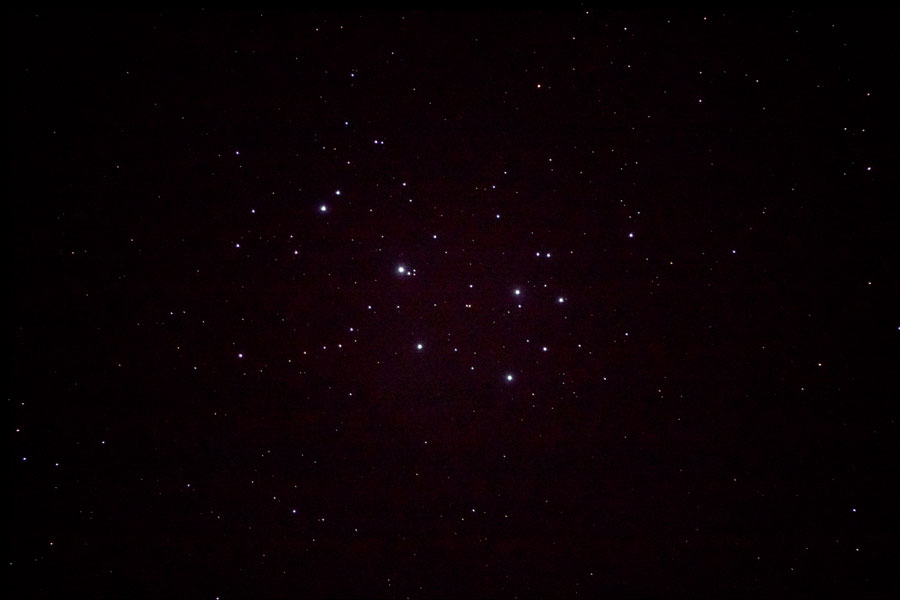
M 45 with Sony RX10 M4, ISO 3200, processed |
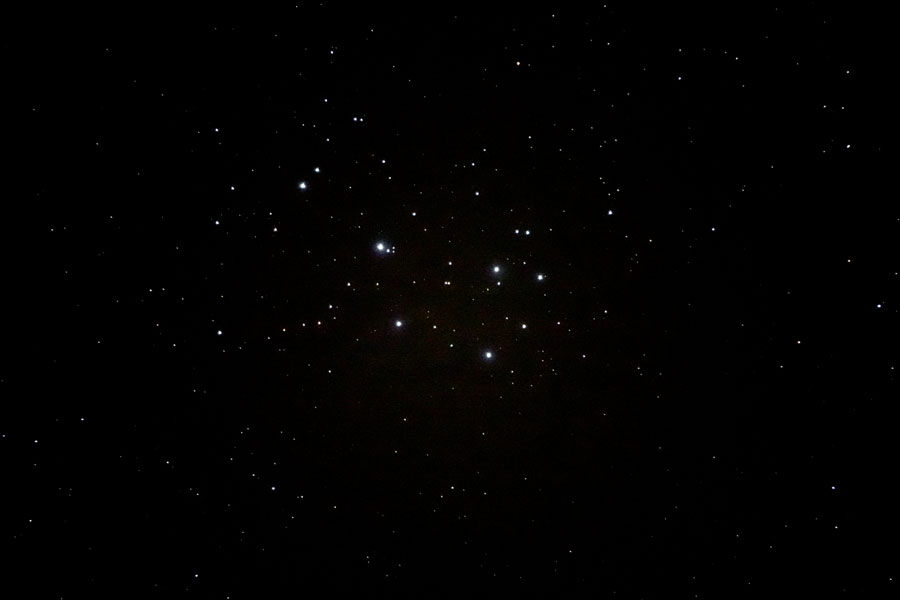
M 45 with Sony RX10 M4, ISO 6400, processed |
|
 |
 |
|
M 45 with Sony RX10 M4, ISO 3200, photos stacked in Affinity Photo (average) |
M 45 with Sony RX10 M4, ISO 6400, photos stacked in Affinity Photo (average) |
|
 |
 |
|
M 45 with Sony RX10 M4, ISO 3200, photos stacked in Affinity Photo (average), processed |
M 45 with Sony RX10 M4, ISO 6400, photos stacked in Affinity Photo (average), processed |
Photo data: M mode with 1 s and f/4, 600 mm, ISO 3200/6400, long-time noise suppression on, manual focus
Conclusions
Overall, the photos with one second exposure time are not very convincing - but at least you see something!
Day 2: Photos with RX10 M4 on AZ-GTi Mount with 1 Second Exposure Time
On the following day, I first approached a couple of DSO with the AZ-GTi mount and photographed with the Sony RX10 M4 with an exposure time of 1 second. In the following, I present single photos and the result stacked in Affinity Photo.
Alnitak (Horsehead Nebula and Flame Nebula)
I photographed Alnitak, hoping to find hints of the Horsehead Nebula and the Flame Nebula. But for this one second exposure time is much too short...
 |
 |
|
Alnitak with Sony RX10 M4, ISO 6400 |
Alnitak with Sony RX10 M4, ISO 6400, processed |
|
 |
 |
|
Alnitak with Sony RX10 M4, ISO, 9 photos stacked in Affinity Photo (average) |
Alnitak with Sony RX10 M4, 9 photos stacked in Affinity Photo (average), processed |
Photo data: M mode with 1 s and f/4, 600 mm, ISO 6400, long-time noise suppression off, manual focus
Hyades Mel 25
 |
 |
|
Hyades with Sony RX10 M4, ISO 6400 |
Hyades with Sony RX10 M4, ISO 6400, processed |
|
 |
 |
|
Hyades with Sony RX10 M4, ISO, 9 photos stacked in Affinity Photo (average) |
Hyades with Sony RX10 M4, 9 photos stacked in Affinity Photo (average), processed |
Photo data: M mode with 1 s and f/4, 600 mm, ISO 6400, long-time noise suppression off, manual focus
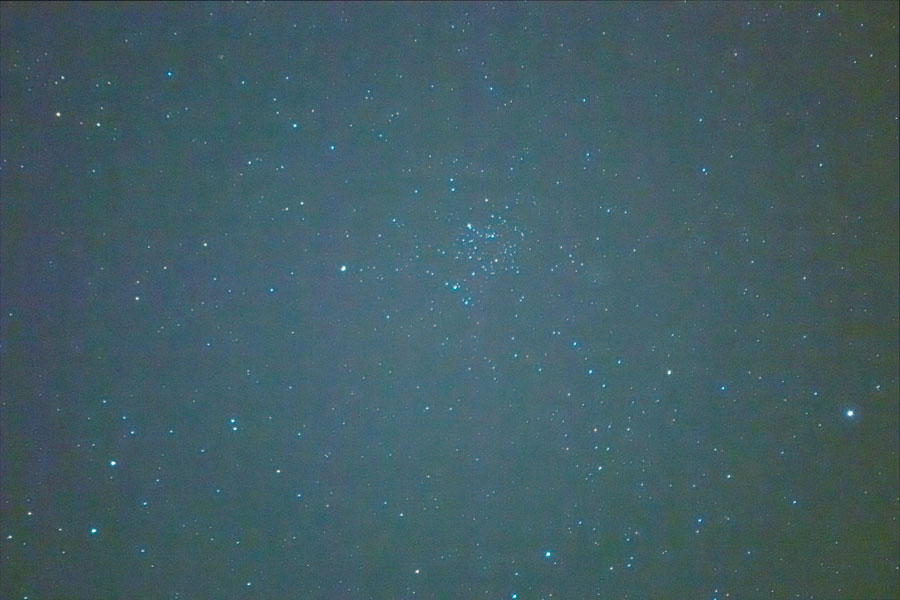
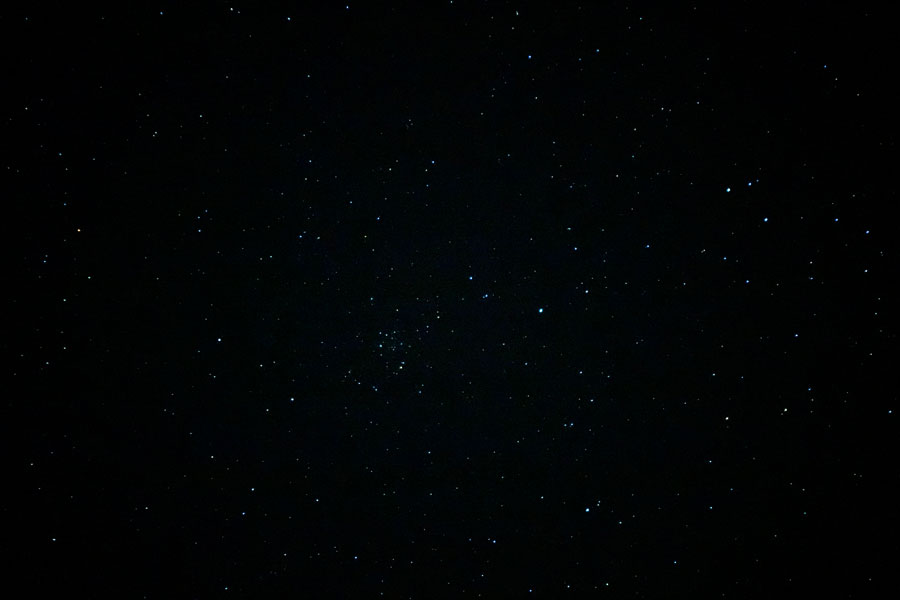
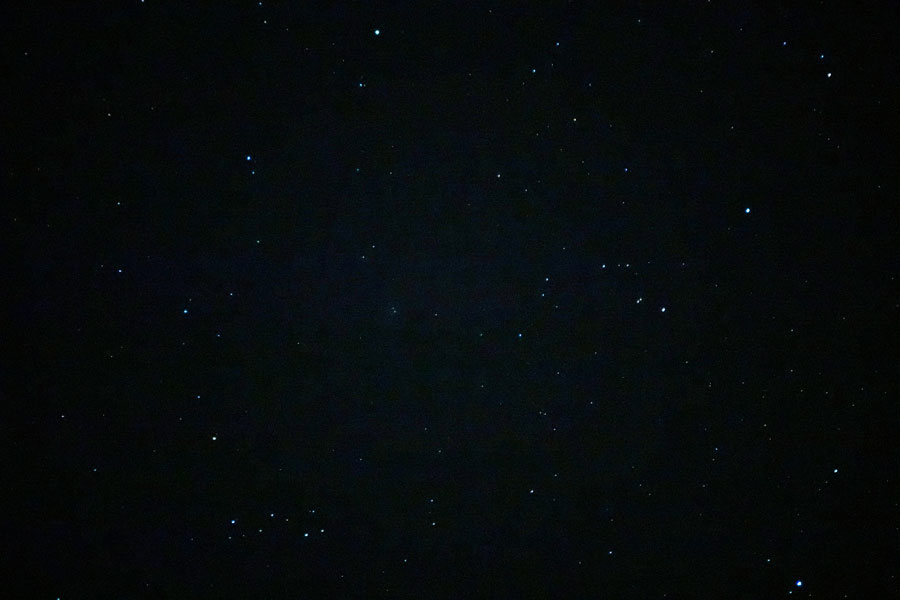
M 35
 |
 |
|
M 35 with Sony RX10 M4, ISO 6400 |
M 35 with Sony RX10 M4, ISO 6400, processed |
|
 |
 |
|
M 35 with Sony RX10 M4, ISO 6400, processed, section |
M 35 with Sony RX10 M4, 13 photos stacked in Affinity Photo (average), processed, section |
|
 |
 |
|
M 35 with Sony RX10 M4, ISO, 13 photos stacked in Affinity Photo (average) |
M 35 with Sony RX10 M4, 13 photos stacked in Affinity Photo (average), processed |
Photo data: M mode with 1 s and f/4, 600 mm, ISO 6400, long-time noise suppression off, manual focus
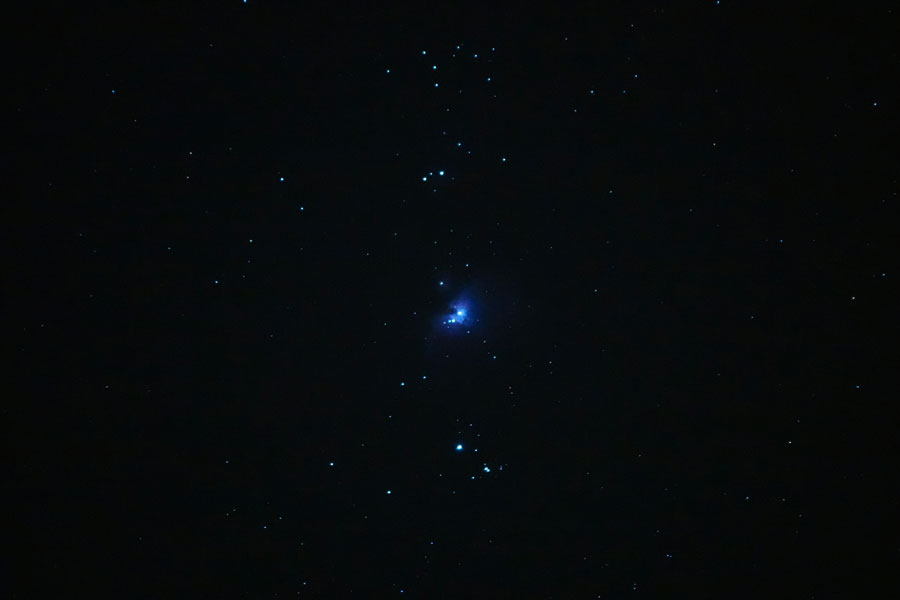
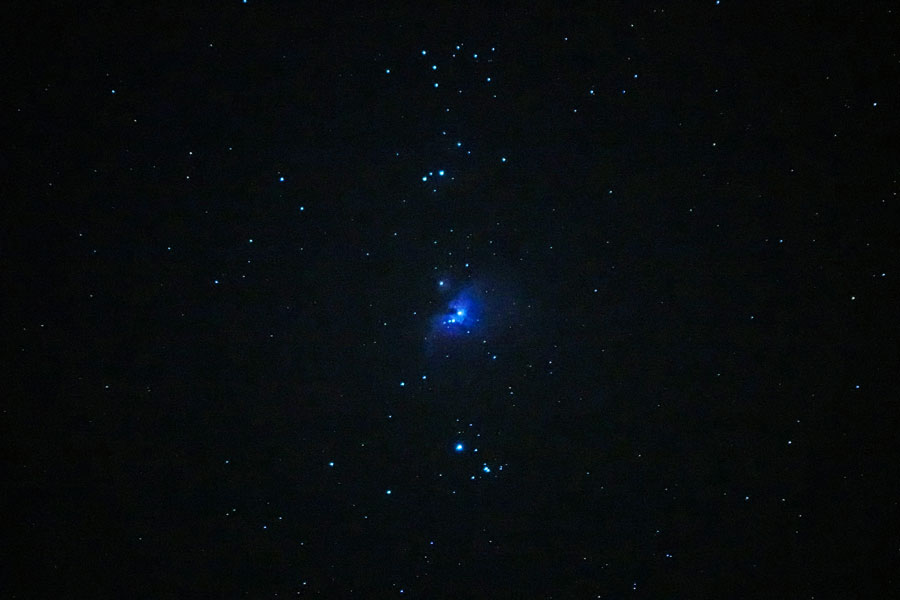
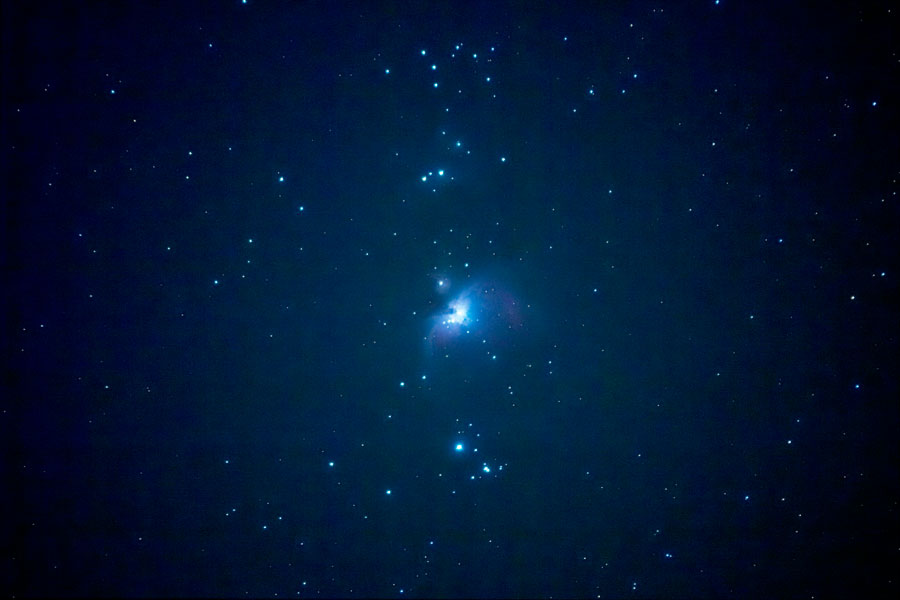
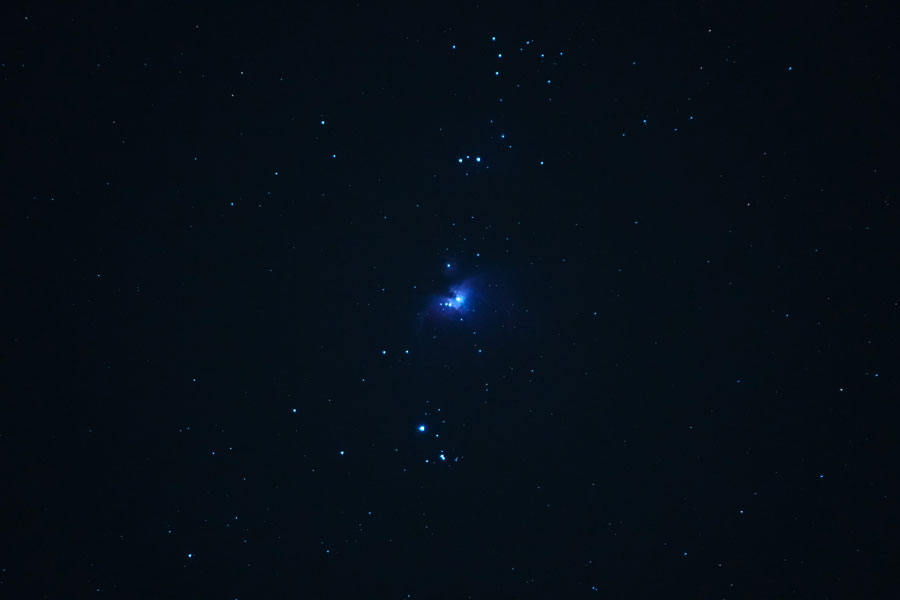
Orion Nebula M 42/43
 |
 |
|
M 42/43 with Sony RX10 M4, ISO 6400 |
M 42/43 with Sony RX10 M4, ISO 6400, processed |
|
 |
 |
|
M 42/43 with Sony RX10 M4, ISO 6400, processed, section |
M 42/43 with Sony RX10 M4, 12 photos stacked in Affinity Photo (average), processed, section |
|
 |
 |
|
M 42/43 with Sony RX10 M4, ISO, 12 photos stacked in Affinity Photo (average) |
M 42/43 with Sony RX10 M4, 12 photos stacked in Affinity Photo (average), processed |
Photo data: M mode with 1 s and f/4, 600 mm, ISO 6400, long-time noise suppression off, manual focus
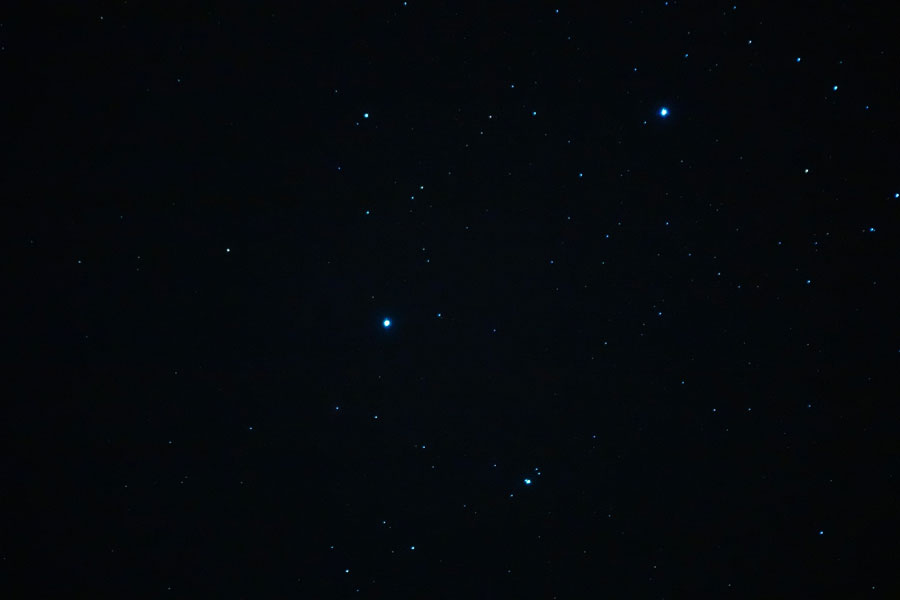
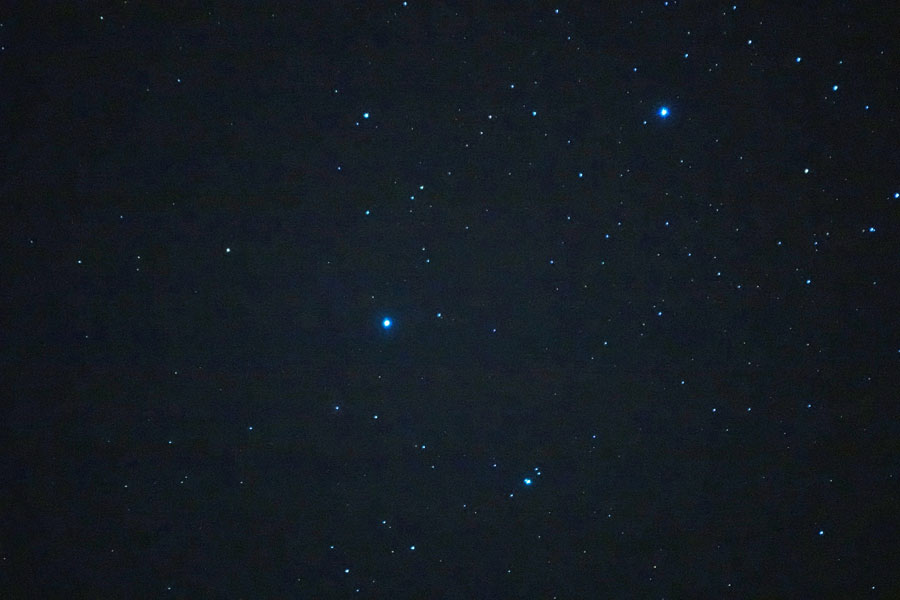
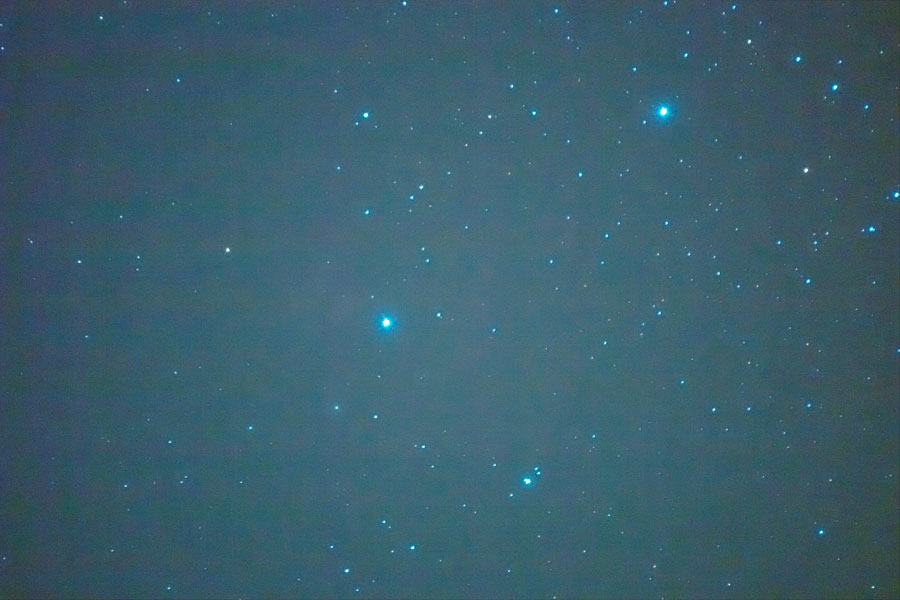
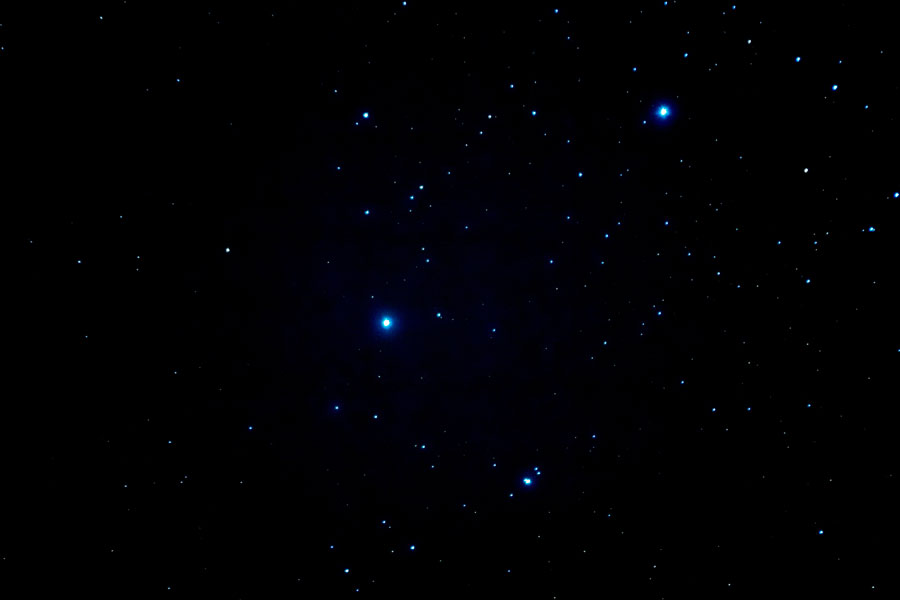
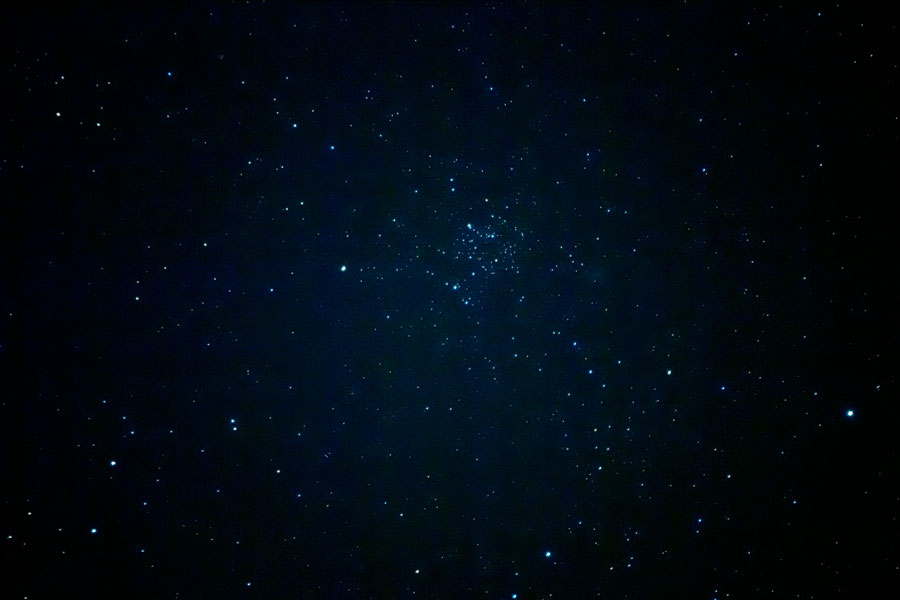
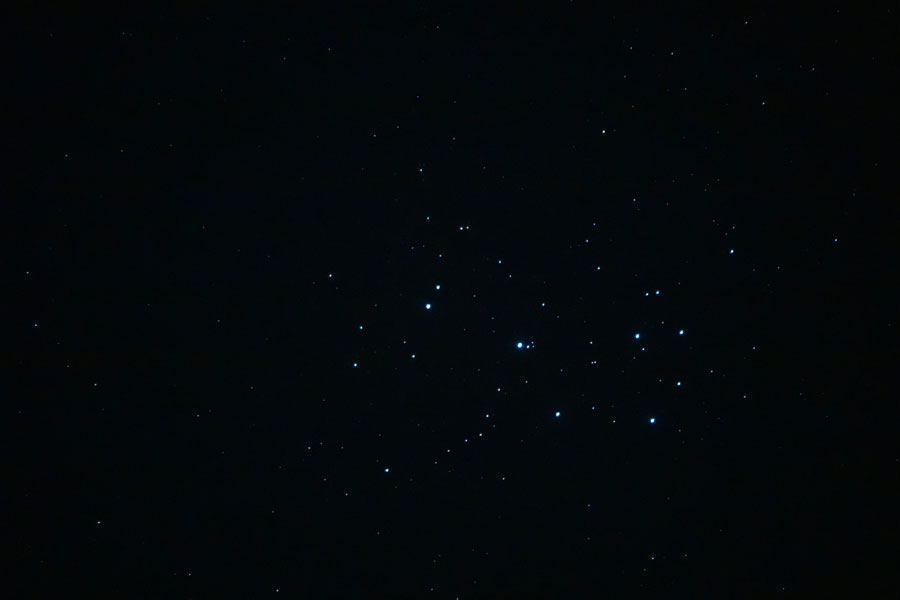
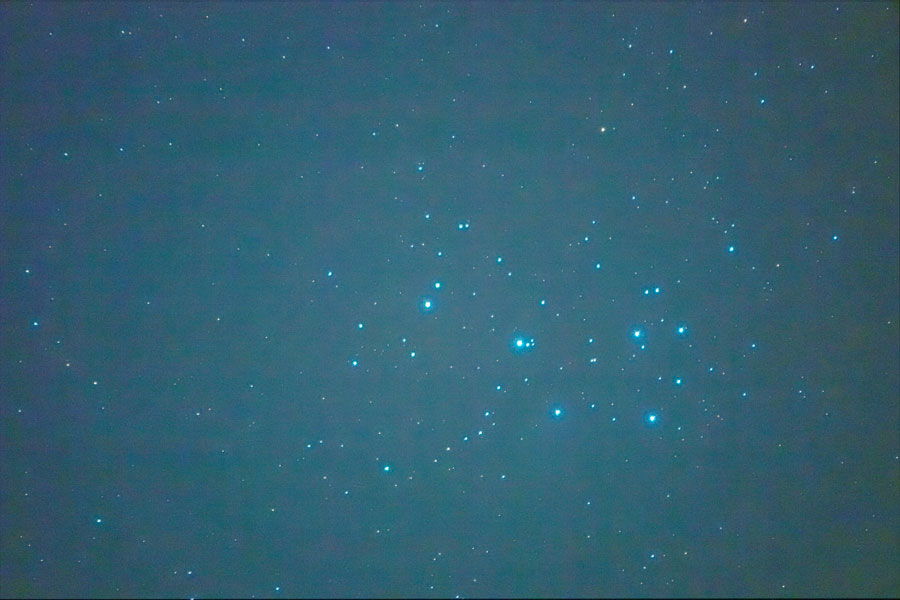
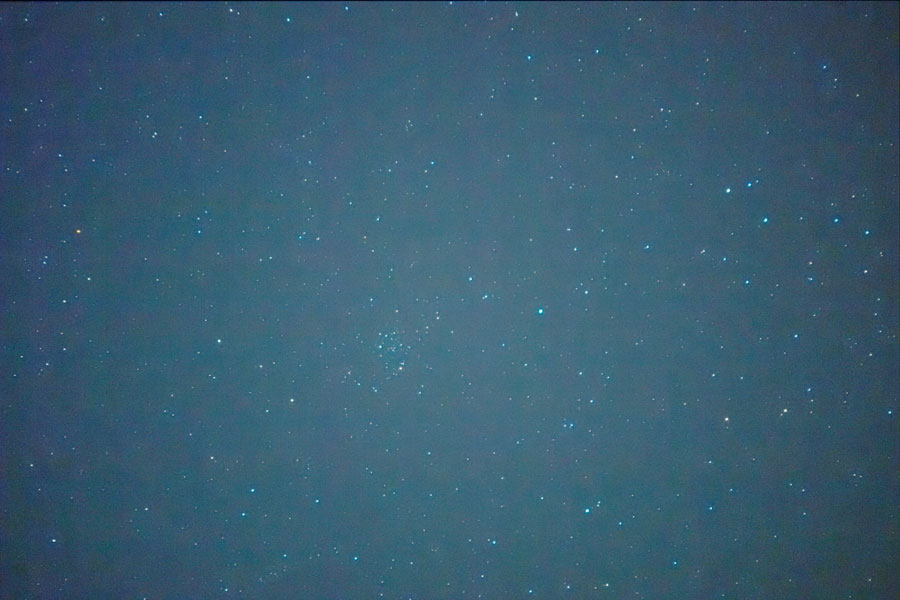
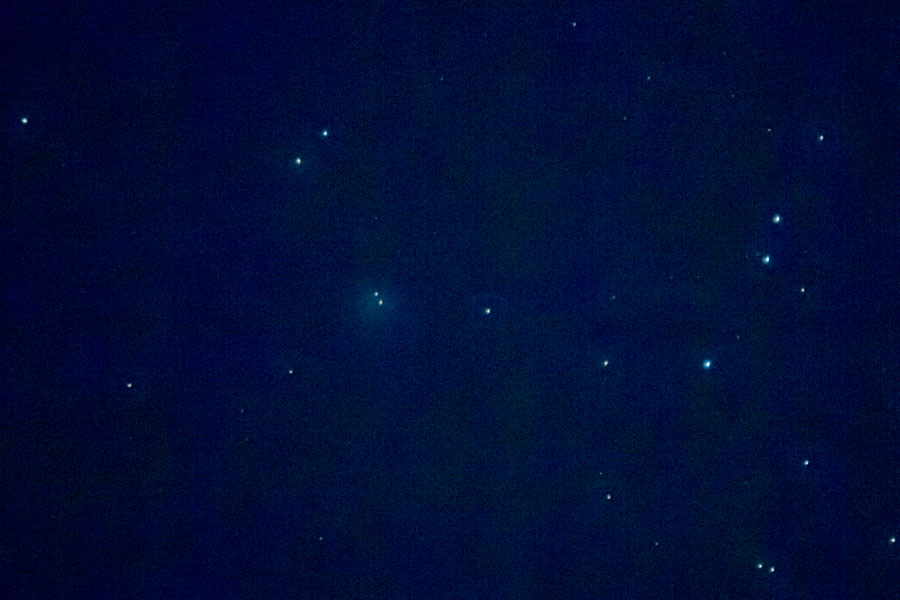
Pleiades M 45
 |
 |
|
M 45 with Sony RX10 M4, ISO 6400 |
M 45 with Sony RX10 M4, ISO 6400, processed |
|
 |
 |
|
M 45 with Sony RX10 M4, ISO, 11 photos stacked in Affinity Photo (average) |
M 45 with Sony RX10 M4, 11 photos stacked in Affinity Photo (average), processed |
Photo data: M mode with 1 s and f/4, 600 mm, ISO 6400, long-time noise suppression off, manual focus
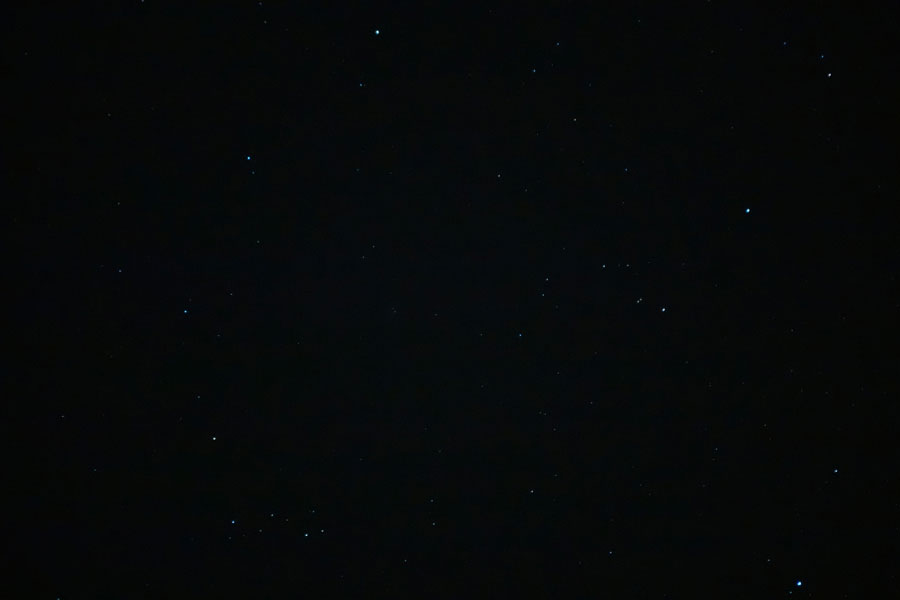
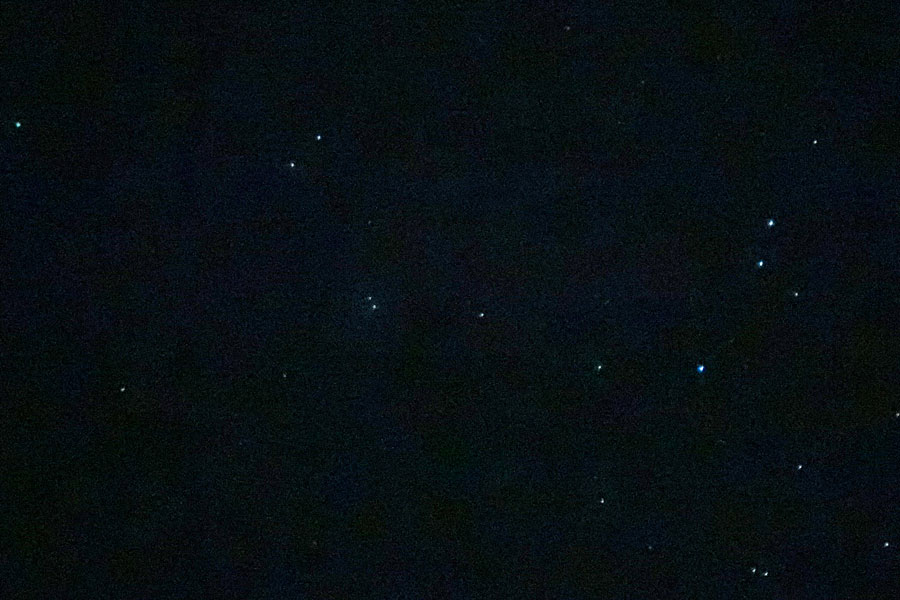
M 50
 |
 |
|
M 50 with Sony RX10 M4, ISO 6400 |
M 50 with Sony RX10 M4, ISO 6400, processed |
|
 |
 |
|
M 50 with Sony RX10 M4, ISO, 12 photos stacked in Affinity Photo (average) |
M 50 with Sony RX10 M4, 12 photos stacked in Affinity Photo (average), processed |
Photo data: M mode with 1 s and f/4, 600 mm, ISO 6400, long-time noise suppression off, manual focus
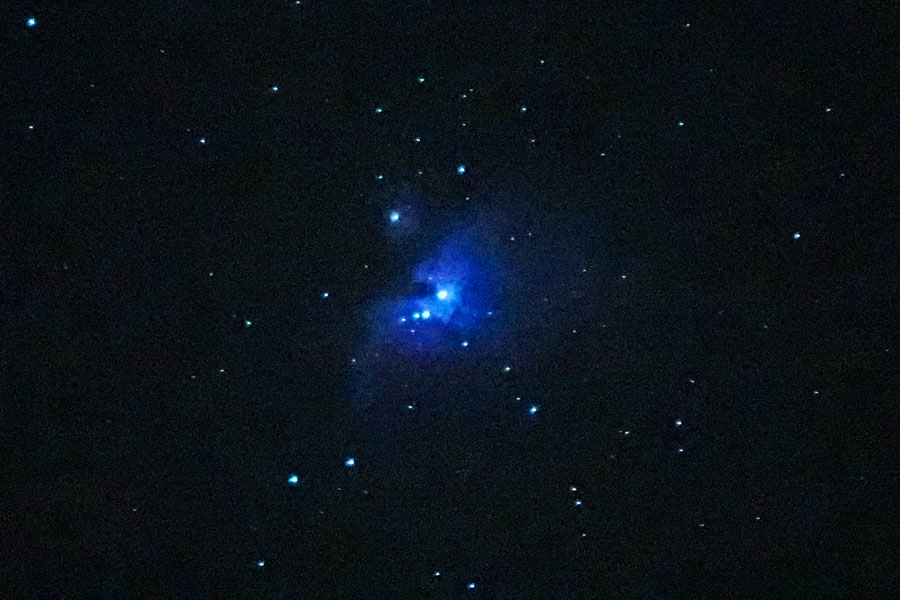
M 78
 |
 |
|
M 78 with Sony RX10 M4, ISO 6400 |
M 78 with Sony RX10 M4, ISO 6400, processed |
|
 |
 |
|
M 78 with Sony RX10 M4, ISO 6400, processed, section |
M 78 with Sony RX10 M4, 11 photos stacked in Affinity Photo (average), processed, section |
|
|
 |
|
M 78 with Sony RX10 M4, ISO, 11 photos stacked in Affinity Photo (average) |
M 78 with Sony RX10 M4, 11 photos stacked in Affinity Photo (average), processed |
Photo data: M mode with 1 s and f/4, 600 mm, ISO 6400, long-time noise suppression off, manual focus
Conclusions
Overall, the results are not overwhelming, but most objects can at least be identified.
Day 2: Photos with RX10 M4 on AZ-GTi Mount with 5, 10, and 30 Seconds Exposure Time
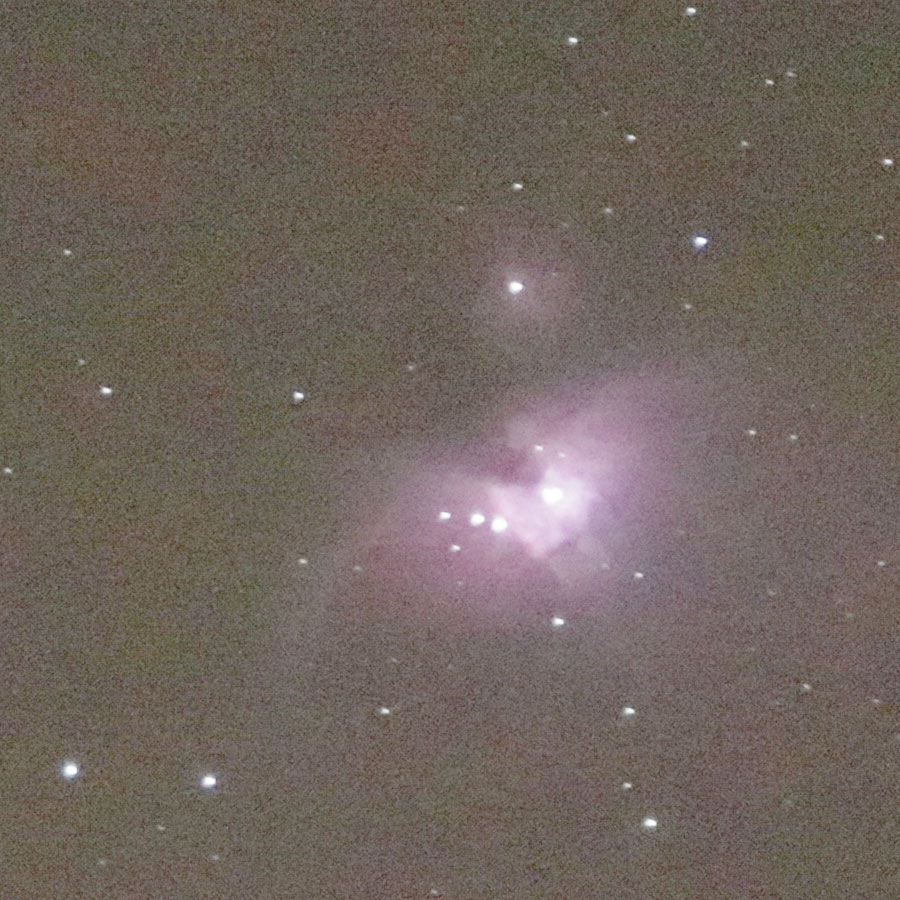
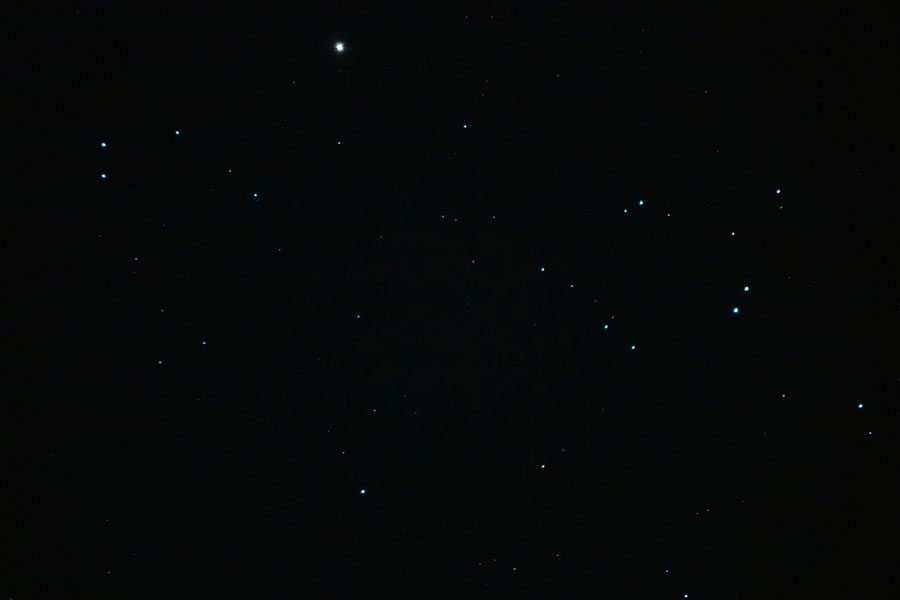
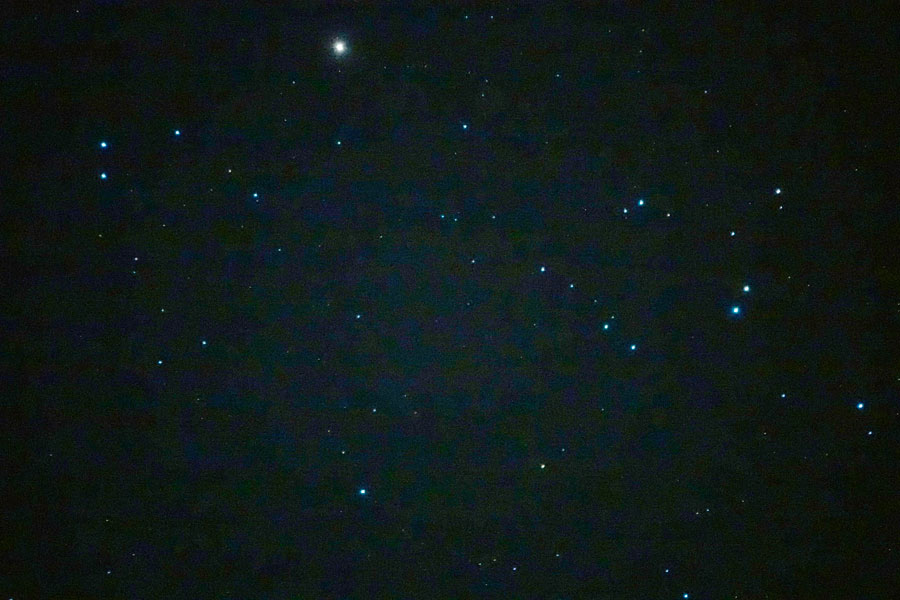
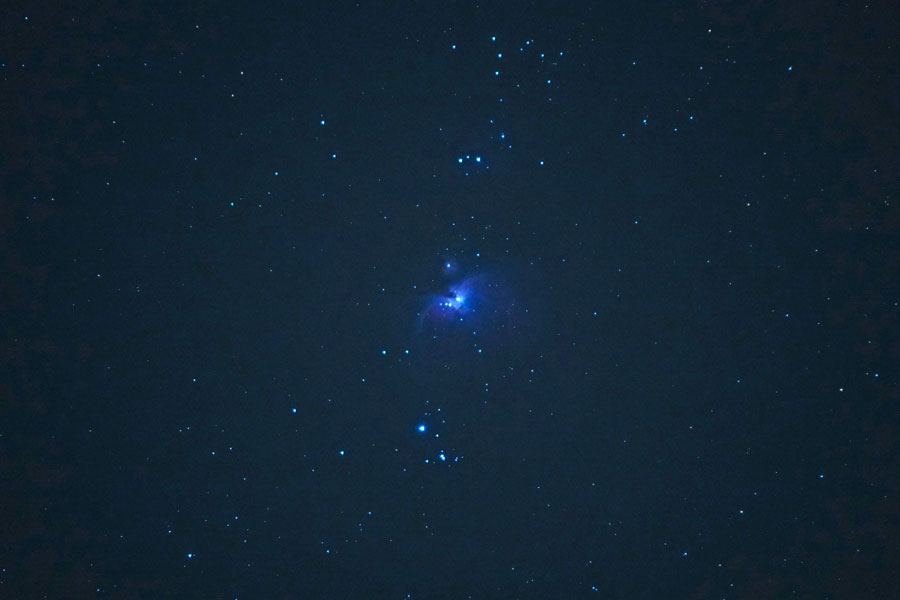
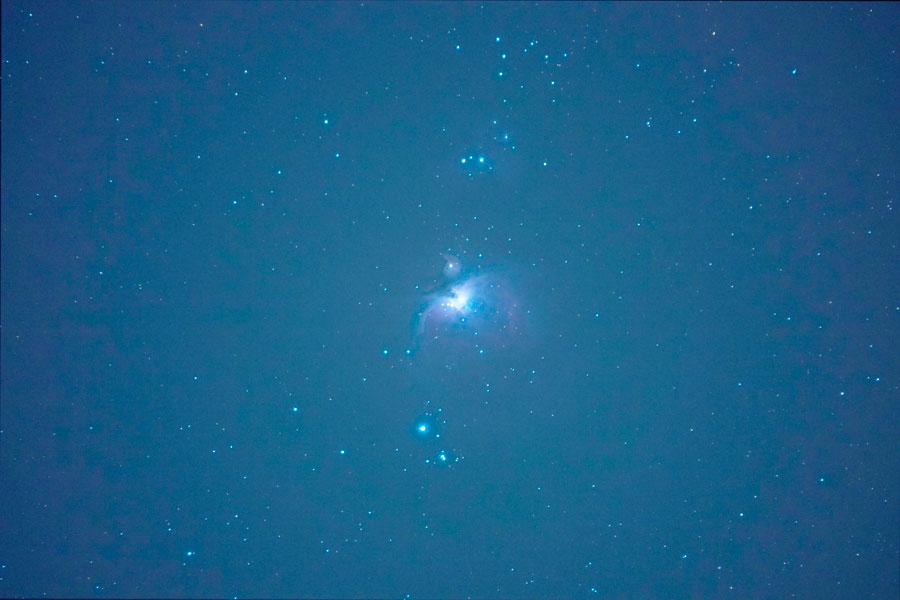
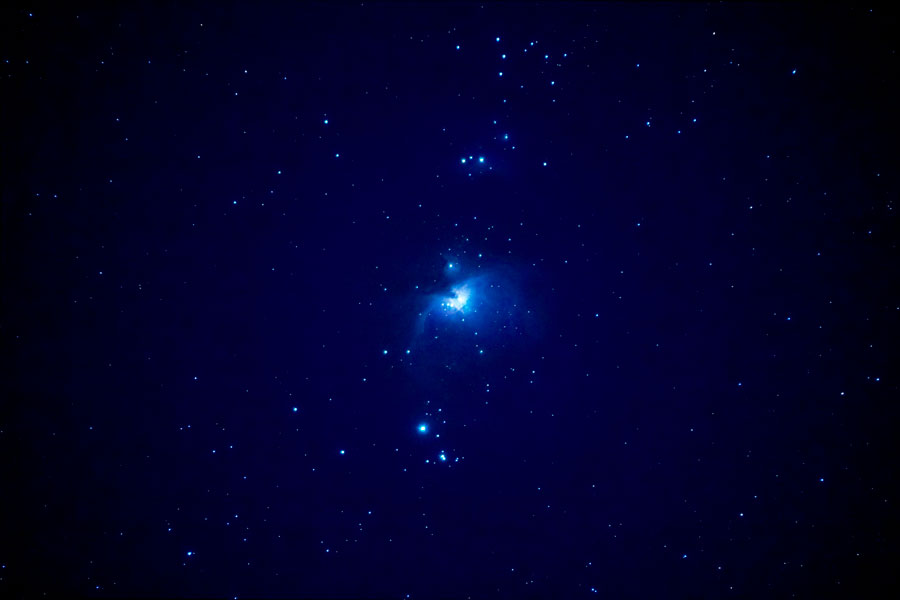
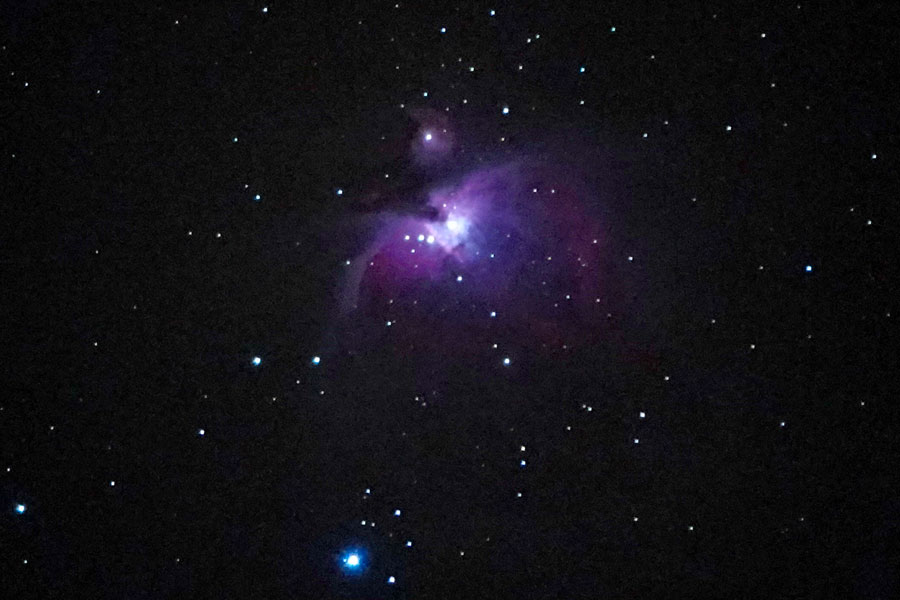
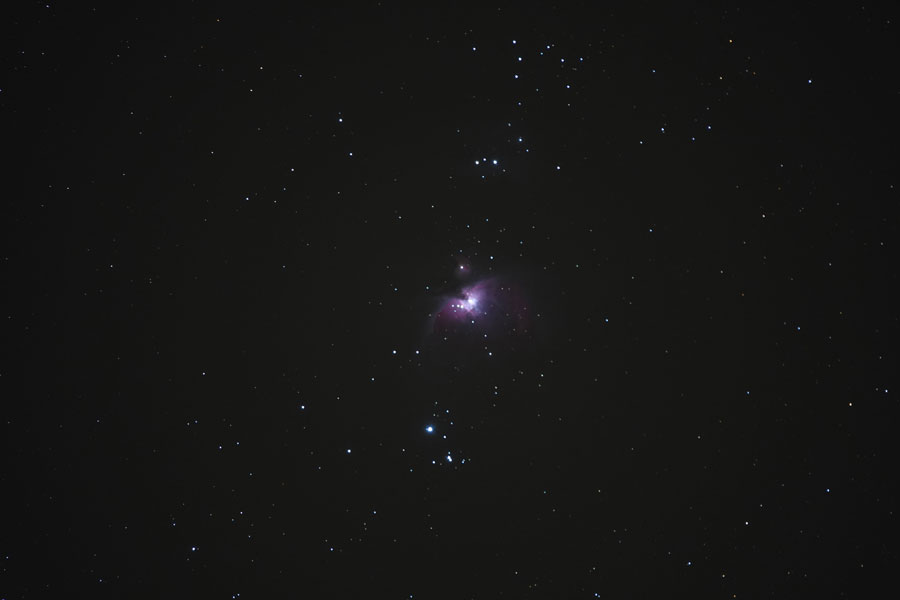
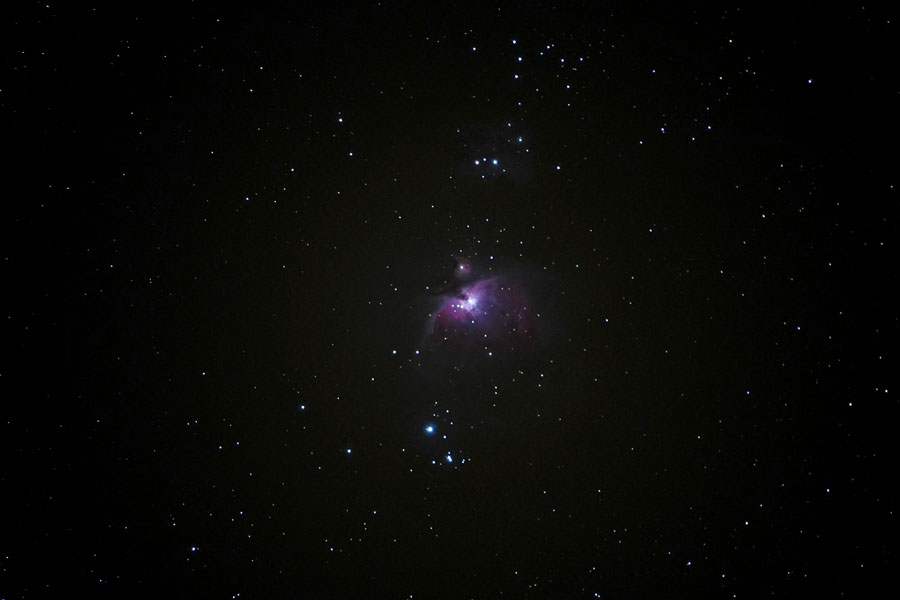
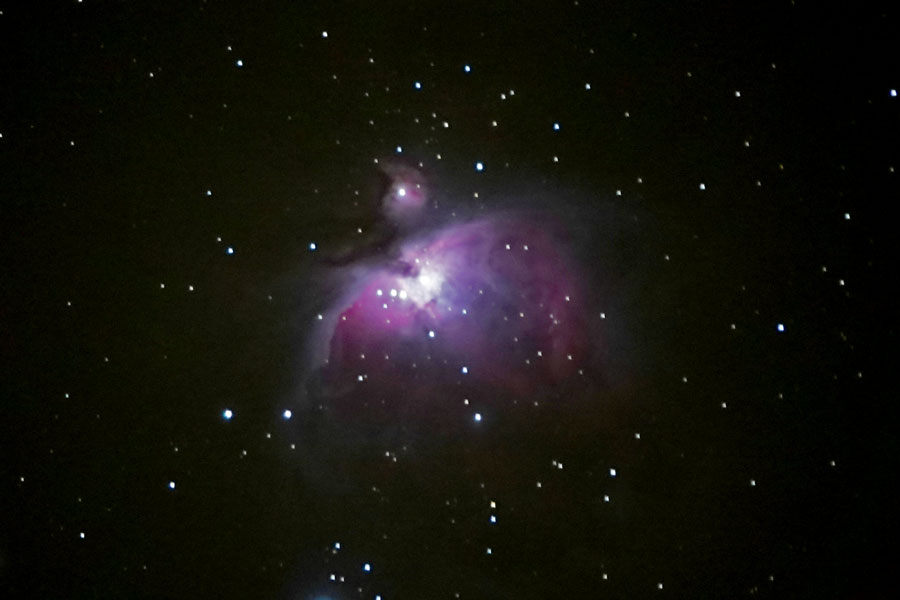
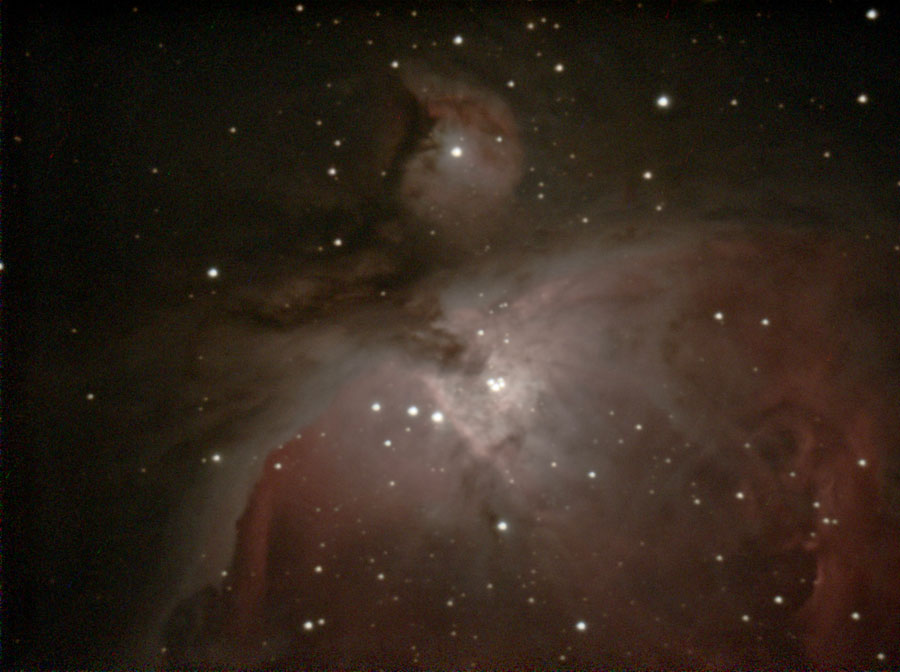
Afterwards, I photographed M 42/43 with the Sony RX10 M4 on the AZ-GTi mount with different exposure times, namely with 5, 10, and 30 seconds (I had seen a photo of M 42 with the Sony RX10 M3, which was exposed with 30 seconds). In the following, I present again single photos and the result stacked in Affinity Photo.
5 Seconds Exposure Time
 |
 |
|
M 42/43 with Sony RX10 M4, ISO 1600 |
M 42/43 with Sony RX10 M4, ISO 1600, processed |
|
 |
 |
|
M 42/43 with Sony RX10 M4, ISO 1600 |
M 42/43 with Sony RX10 M4, ISO 1600, processed |
|
 |
 |
|
M 42/43 with Sony RX10 M4, ISO, 9 photos stacked in Affinity Photo (average) |
M 42/43 with Sony RX10 M4, 9 photos stacked in Affinity Photo (average), processed |
|
 |
 |
|
M 42/43 mit Sony RX10 M4, ISO, 7 photos stacked in Affinity Photo (average) |
M 42/43 mit Sony RX10 M4, 7 photos stacked in Affinity Photo (average), processed |
Photo data: M mode with 5 s and f/4, 600 mm, ISO 1600, long-time noise suppression off, manual focus
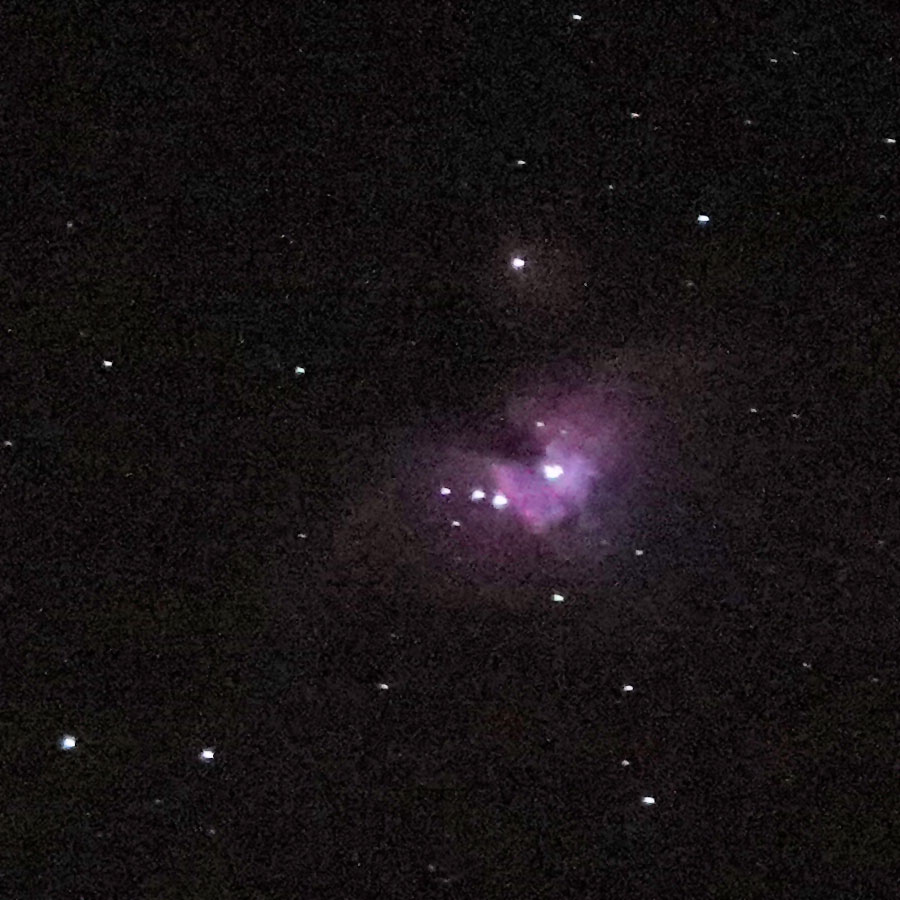
10 Seconds Exposure Time
 |
 |
|
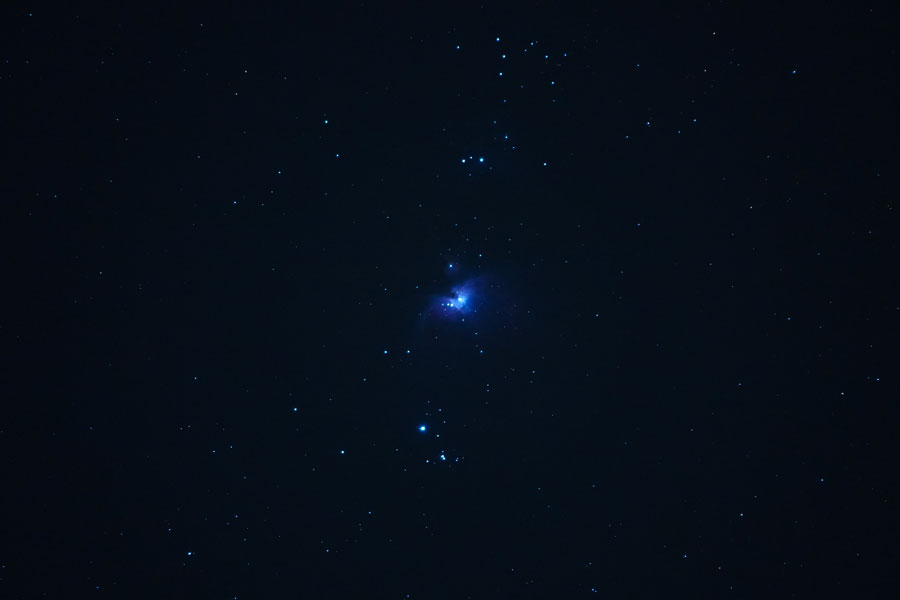
M 42/43 with Sony RX10 M4, ISO 1600 |
M 42/43 with Sony RX10 M4, ISO 1600, processed |
|
 |
 |
|
M 42/43 with Sony RX10 M4, ISO, 8 photos stacked in Affinity Photo (average) |
M 42/43 with Sony RX10 M4, 8 photos stacked in Affinity Photo (average), processed |
|
 |
 |
|
M 42/43 with Sony RX10 M4, ISO, processed, section |
M 42/43 with Sony RX10 M4, 8 photos stacked in Affinity Photo (average), processed, section |
Photo data: M mode with 10 s and f/4, 600 mm, ISO 1600, long-time noise suppression off, manual focus
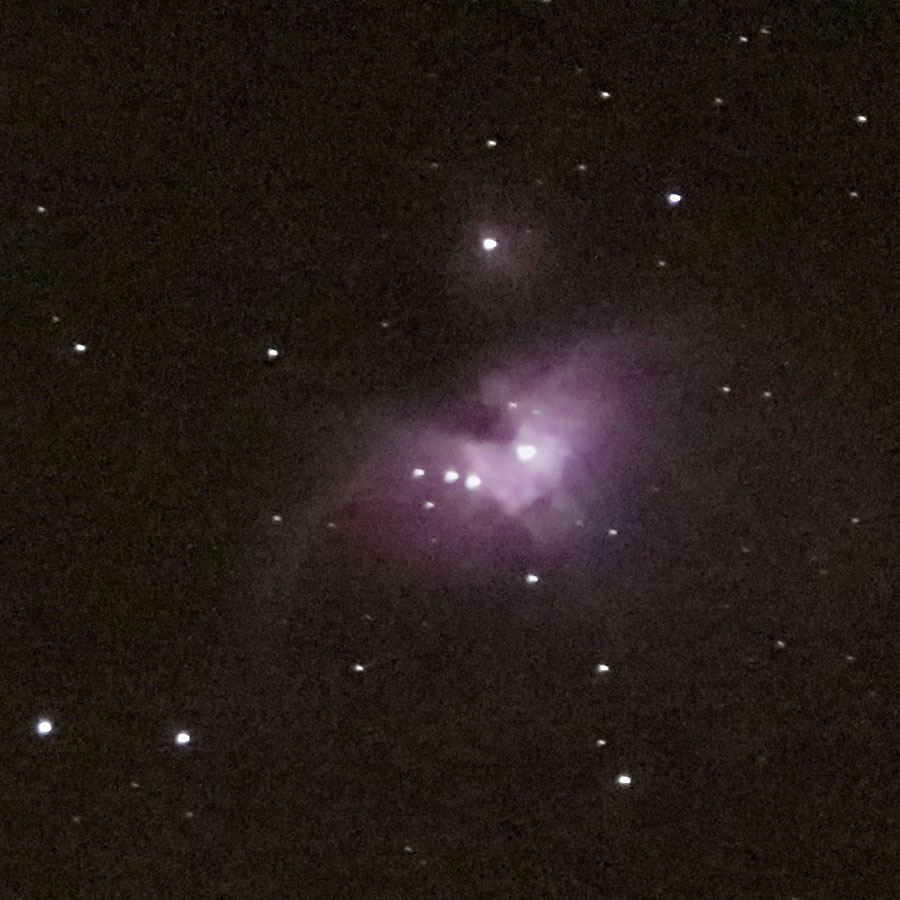
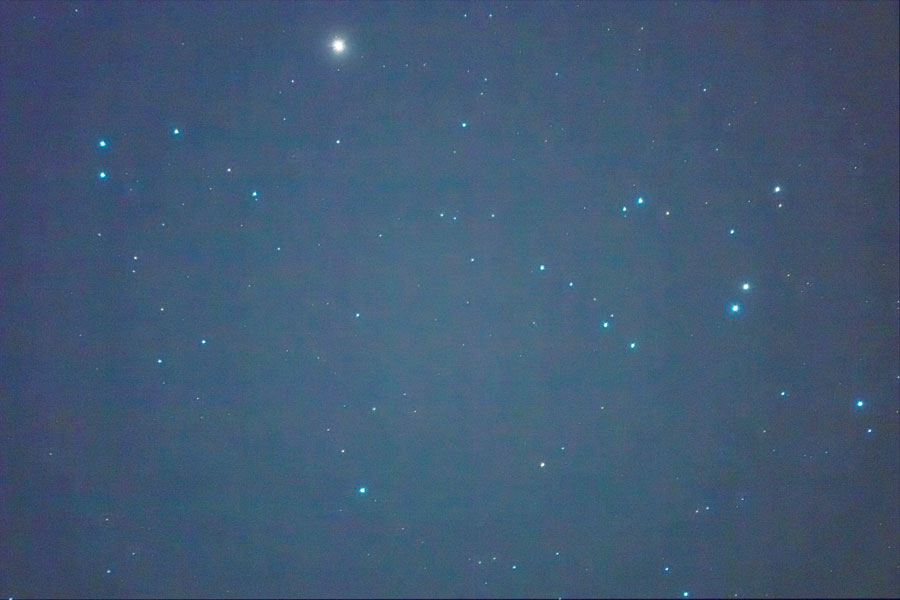
30 Seconds Exposure Time
 |
 |
|
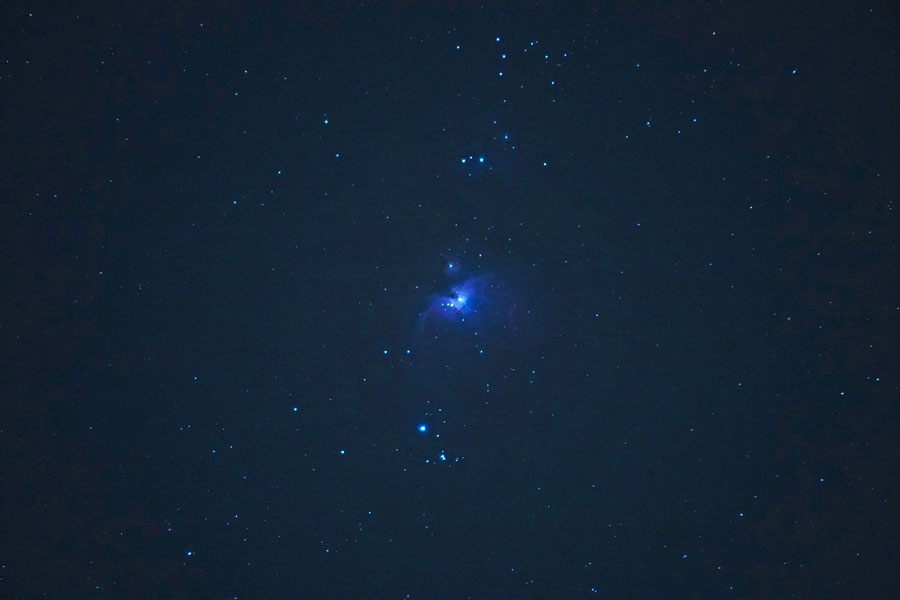
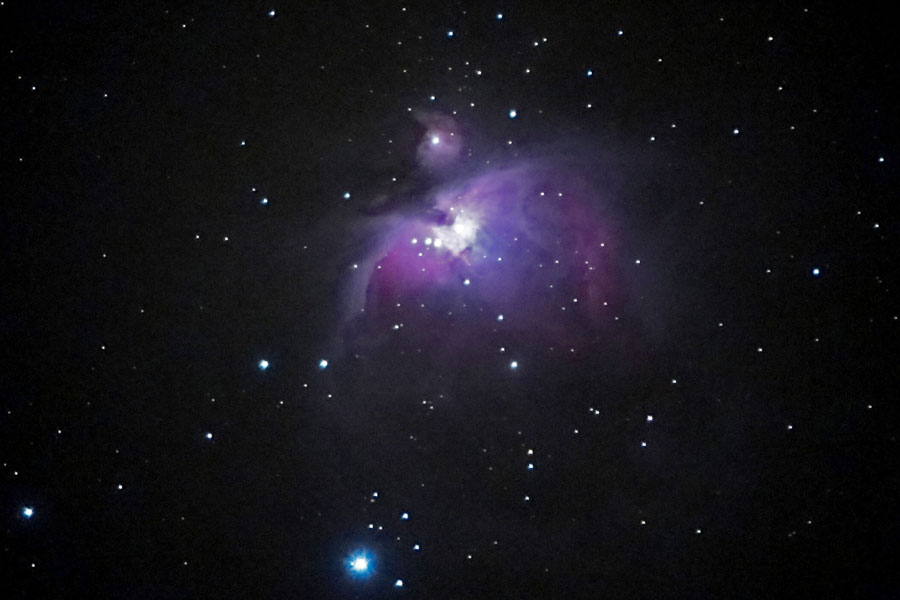
M 42/43 with Sony RX10 M4, ISO 1600 |
M 42/43 with Sony RX10 M4, ISO 1600, processed |
|
 |
 |
|
M 42/43 with Sony RX10 M4, ISO, 4 photos stacked in Affinity Photo (average) |
M 42/43 with Sony RX10 M4, 4 photos stacked in Affinity Photo (average), processed |
|
 |
 |
|
M 42/43 with Sony RX10 M4, ISO, processed, section |
M 42/43 with Sony RX10 M4, 4 photos stacked in Affinity Photo (average), processed, section |
Photo data: M mode with 30 s and f/4, 600 mm, ISO 1600, long-time noise suppression off, manual focus
Comparison of the Stacked Photos (10 and 30 Seconds)
|
|
|
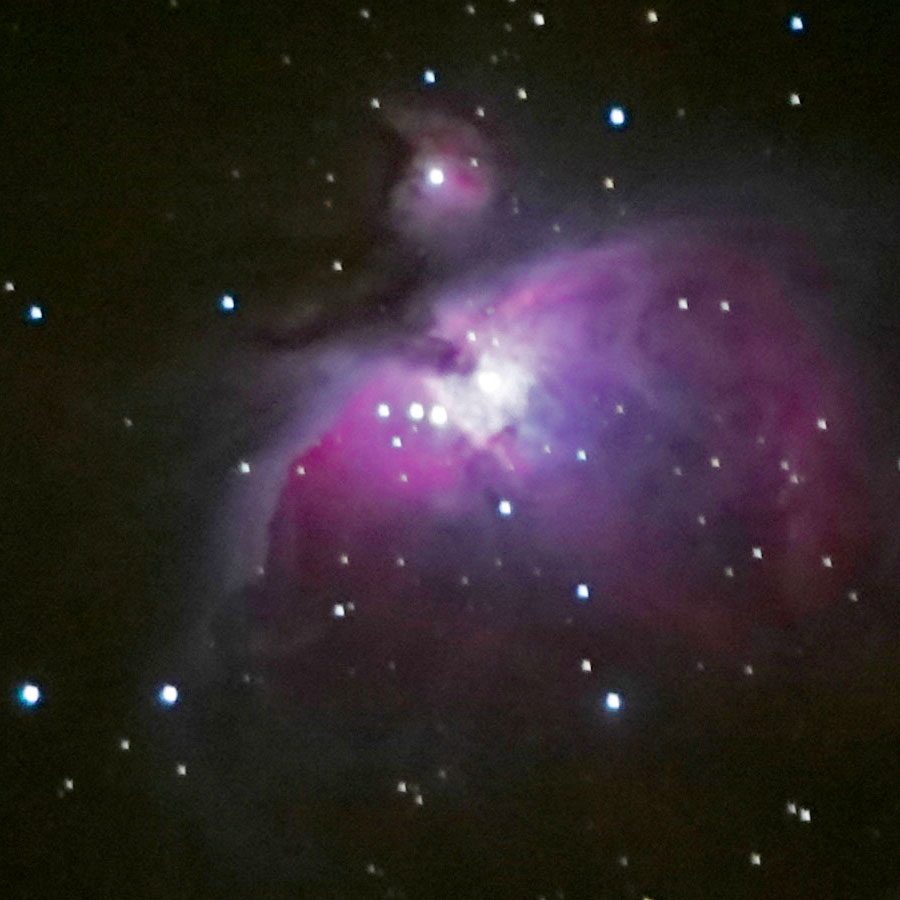
M 42/43 with Sony RX10 M4, 10 s exposure time, 8 photos stacked in Affinity Photo (average), processed, section |
M 42/43 with Sony RX10 M4, 30 s exposure time, 4 photos stacked in Affinity Photo (average), processed, section |
|
|
 |
|
M 42/43 with Sony RX10 M4, 10 s exposure time, 8 photos stacked in Affinity Photo (average), processed, section |
M 42/43 with Sony RX10 M4, 30 s exposure time, 4 photos stacked in Affinity Photo (average), processed, section |
Conclusions
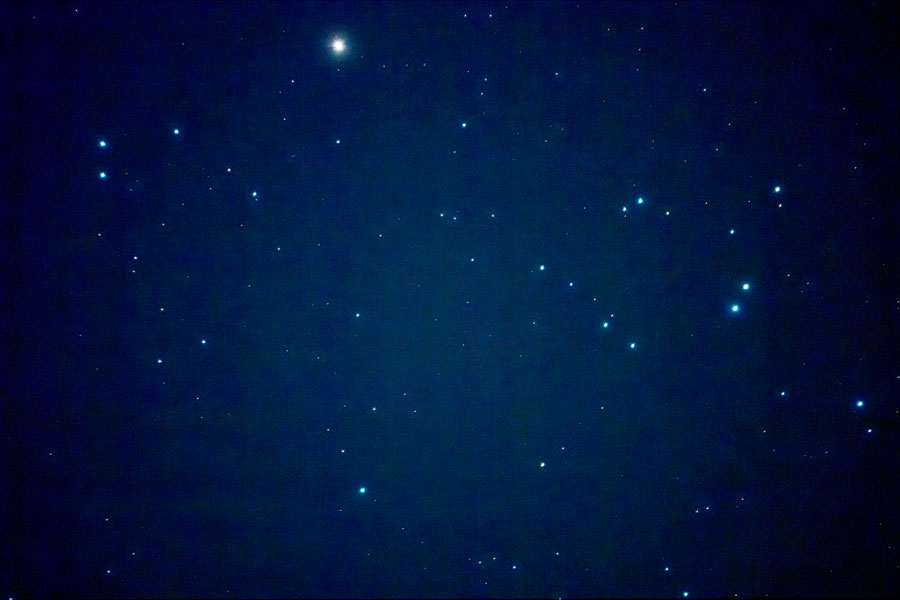
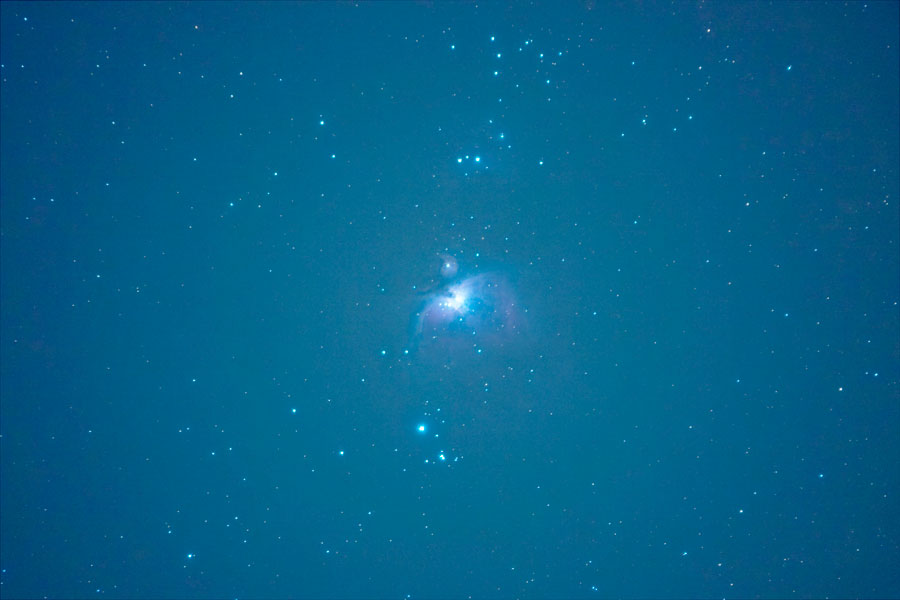
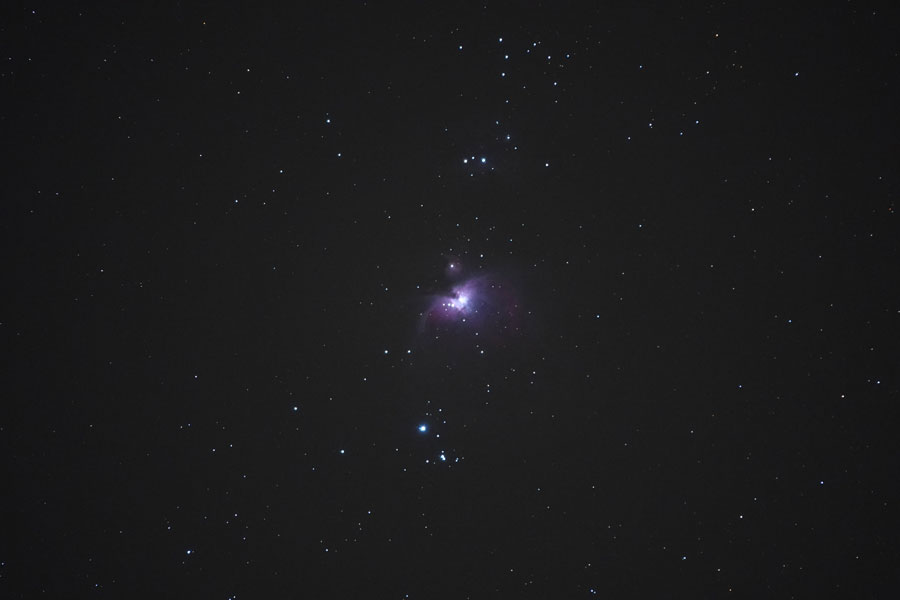
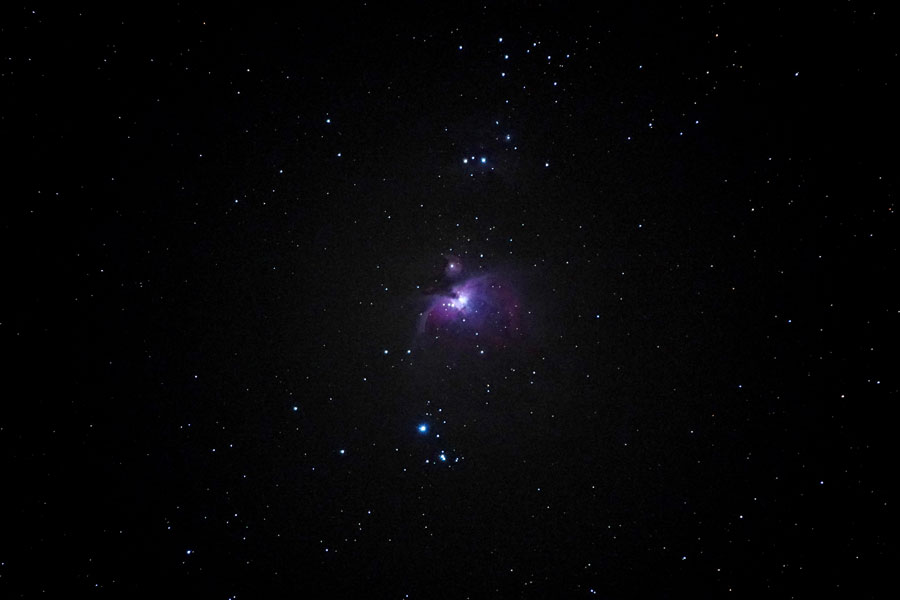
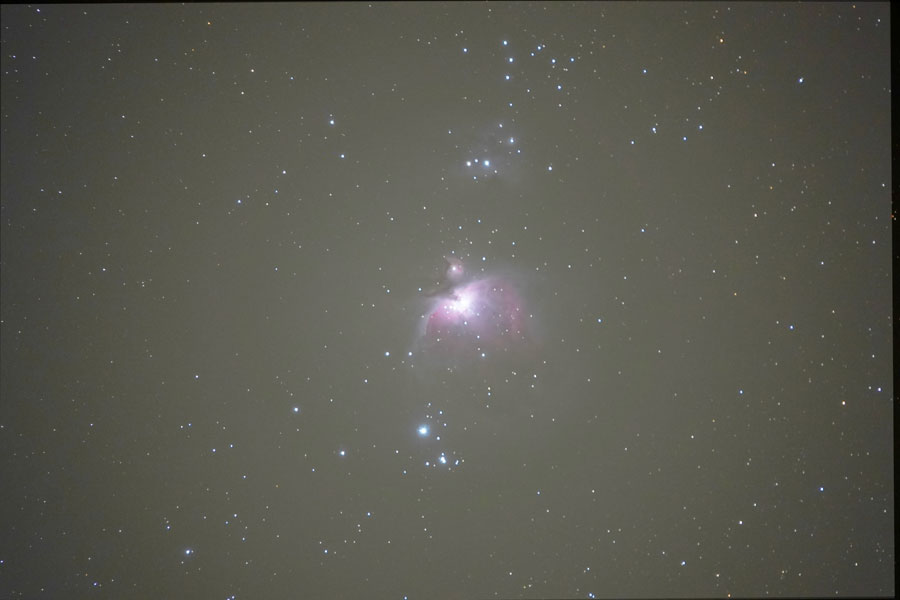
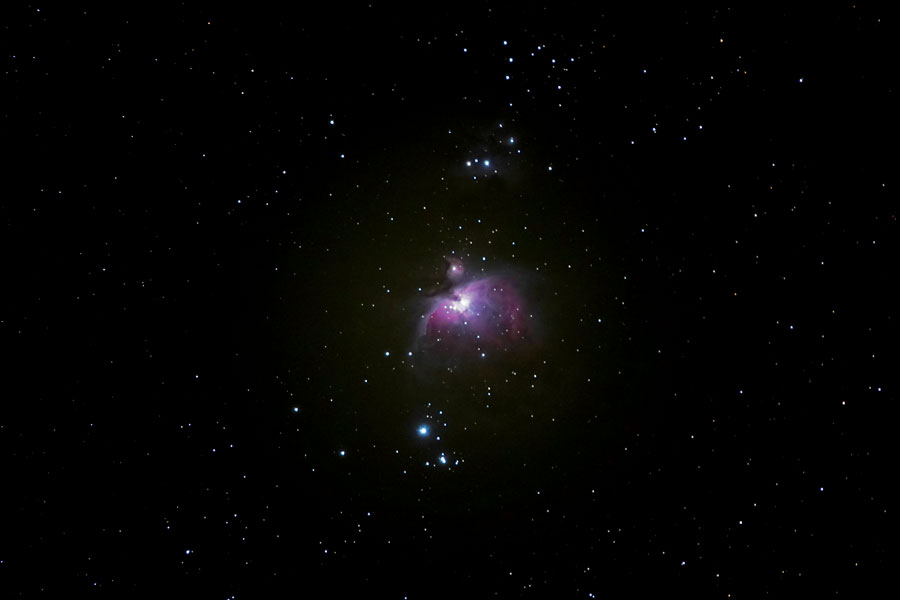
From 10 seconds exposure time on, the automatic white balance works, although it seems to me to be better at 30 seconds exposure time than at 10 seconds. With the longer exposure time, the details are "in principle" better, but unfortunately you also see more disturbances due to inaccuracies of the tracking. Probably, 20 seconds would be an ideal value for the exposure time for an AZ mount.
All in all, the results are much better with longer exposure times than with an exposure time of one second. Unfortunately, you then also need an automatic tracking...
Comparison: M 42/43 with RX10 M4 versus C5 and Atik Infinity
|
|
|
M 42/43 with Sony RX10 M4, 10 s exposure time, 8 photos stacked in Affinity Photo (average), processed, section |
M 42/43 with Sony RX10 M4, 30 s exposure time, 4 photos stacked in Affinity Photo (average), processed, section |
|
 |
 |
|
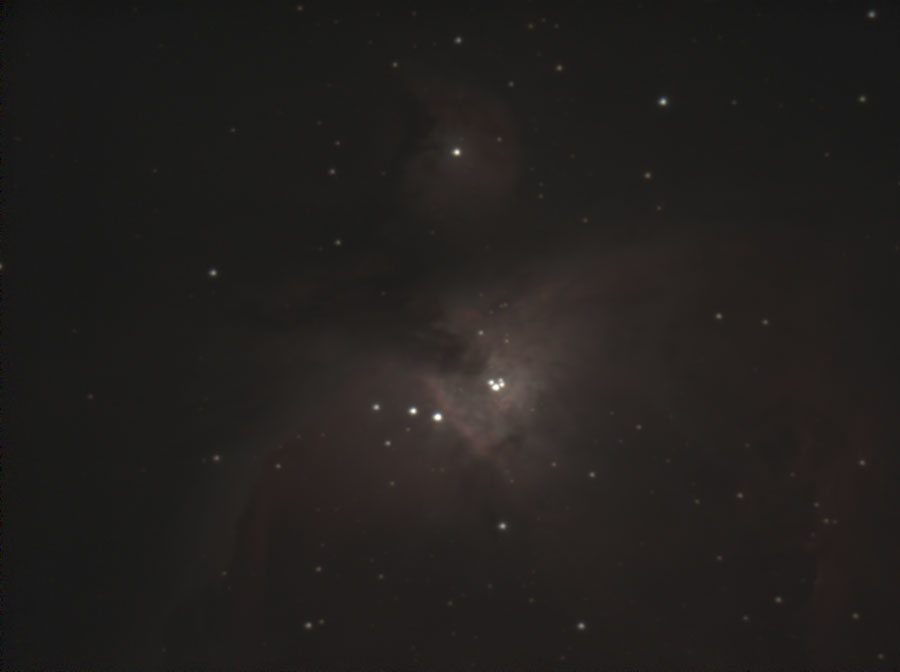
M 42/43 with Atik Infinity and C5 |
M 42/43 with Atik Infinity and C5, processed |
Even if the M42/43 photos taken with the Sony RX10 M4 look great in small scale, a comparison with a "real" astronomy camera like the Atik Infinity reveals that it cannot compete with it in any respect!
Taking Astronomy Photos with a Camera - Tips
There are three things that can make life difficult with astronomy photos using just a camera (and no telescope):
- Focusing: When shooting with a telephoto lens, it is enough to manually set the distance to infinity. If you take photos with a camera with built-in lens, it is more complicated (see below). I also took successfully photos of the moon using the autofocus.
- Exposure: A small bright dot in front of a black background is not correctly exposed by any camera, but overexposed.
- Protection against camera shake: With the moon, you easily get exposure times down to 1/1000 sec, with the planets this is however different. With a suitable choice of sensitivity (ISO) and aperture, I reached exposure times around 1/20 - 1/30 sec. But if the telescope is mounted on a shaky mount, this will not help much...
Focusing: Setting the Distance to "Infinity"
Basically, on all my cameras that I use stand-alone for astrophotography and that have a fixed lens, I set the distance to manual focus (MF) and then manually to "infinity" (unless there is an explicit "infinity" setting like on Ricoh cameras). I have also successfully photographed the moon with autofocus.
Not with every camera (example: Sony RX100 M1), it is easy and fast to check whether the distance is indeed set to infinity. Since the Sony RX100 M4 shows a rough distance scale as soon as you set the distance, this can be recognized quickly with this camera and corrected if necessary (even if I never know in which direction I have to turn the control ring for this...), the same applies to the Sony RX10 M3/4.
Note: At medium to long focal lengths, however, I found that the image was not sharp at all when I set the distance to infinity. Here you have to set the focus on infinity "by eye" on bright stars. Strong focus peaking and the automatic viewfinder magnification help me here (it may also make more sense to activate the viewfinder magnification manually). Unfortunately, our Sony cameras show a strong hysteresis when focusing and react with strong delays in the dark, so that focusing can become a patience game.
Exposure
A bright object or even a small bright dot in front of a black background generally leads to overexposure when using the normal exposure controls (spot metering may work for larger objects). One option that I use more often is to use exposure compensation and underexpose 1 to 3 exposure (EV) steps. Of course, this requires some trying, but most of the time you have the time for it.
However, it is best to adjust the exposure manually according to the "eye impression" provided by your digital camera (according to the viewfinder image, especially during playback). I select an aperture that is not too small and then adjust the exposure time until the exposure "fits" (which is not always easy to see...). Bracketing is certainly one way to find the right exposure.
However, some cameras, such as the Sony RX100 M4 and M1, do not make it easy to set aperture and exposure simultaneously in manual mode (MF and M mode), especially when manual focus is set and a setting ring is occupied by this or another function. Unfortunately, only a look into the camera manual will help here! See next!
Setting Aperture in M Mode
Usually, you can use the Control Ring in M mode to set the aperture value and the control wheel to set the shutter speed. However, when you assign another function, such as exposure compensation or zoom, to the Control Ring or use the manual focusing, which is also controlled by the Control Ring, the latter is no longer available for setting the aperture. Since exposure compensation is not needed in M mode, the "bottom" button on the control wheel is in this case used to toggle between setting shutter speed and setting aperture. That is really a brilliant idea - once you have grasped it!
Protection against Camera Shake
First of all, a photo tripod or a telescope mount is recommended if you want to take astronomy photos with a camera. However, my tripods and mounts are not very stable and let the camera shake as soon as you touch it. In such a case, you should avoid touching the shutter as much as possible or separate the time of shooting from the time of shutter release (if this is possible and the equipment does not tremble for too long). You have the following options:
- Self-timer (2-10 sec); it is usually too cumbersome for me to use the self-timer in the dark...
- Wireless: Control the camera via camera app on a smartphone or tablet computer (or use a laptop computer)
- Wired: USB cable release or wire cable release*; for the Sony RX100 M1/M4 I bought the simple remote commander Sony RM-SPR1.
*) The cable release on my Leica M (type 240) caused camera shake due to the movement of the cable!
References
- SONY RX100 V Quick Change Adapter Kit 52mm by Lensmate: lensmateonline.com/products/lensmate-rx100-iii-rx100-ii-rx100-quick-change-adapter-kit-52mm?variant=998641683
- Sony Remote Commander RM-SPR1: www.sony.com/electronics/interchangeable-lens-cameras-tripods-remotes/rm-spr1
|
made by |
| 18.10.2023 |