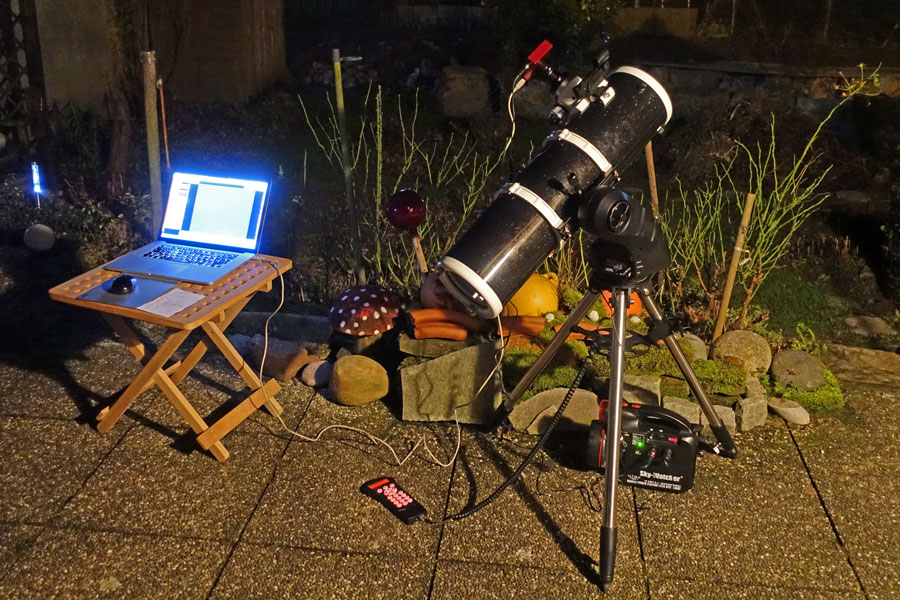
Photo: My test equipment
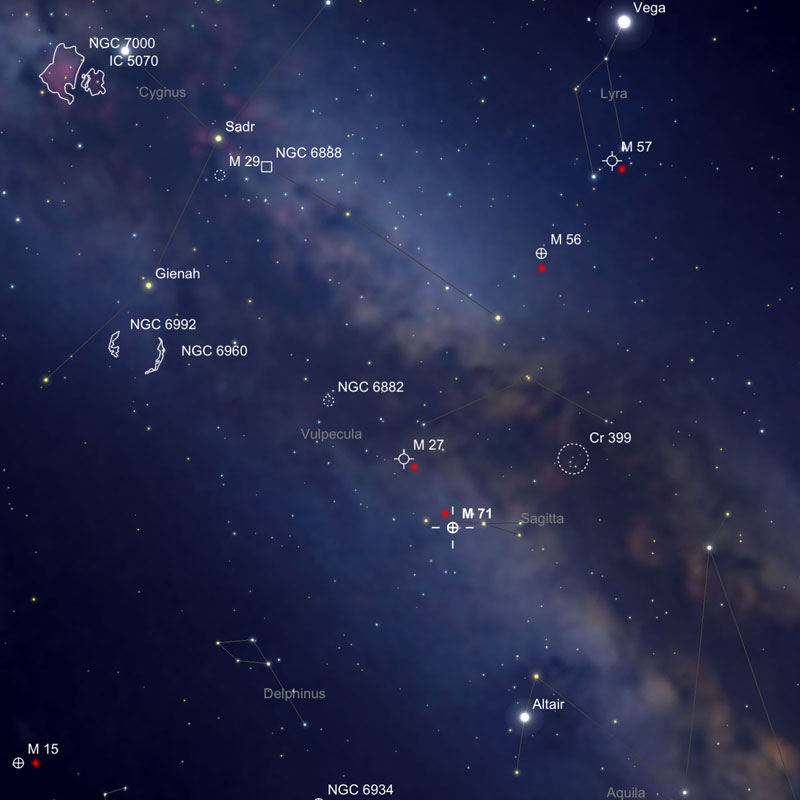
Chart: Locations of the sky objects M 15, M 27, M 56, M 57, and M 71 (larger chart)
Introduction | Photos | References
On this page I present photos taken with the Atik Infinity camera on December 31, 2017.
The following photos were my fifth attempt with the Atik Infinity camera.
The Sky-Watcher Explorer 150PDS already shows in its name that it is focused on astrophotography:"P" means "photo" and "DS" means "dual speed",that is, it offers a focuser with 1:10 ratio, which is a "must" for photography. As expected, I got into focus with the Explorer 150PDS without any problems.
For December 31, 2017, rain was predicted for the evening, but the sky was nearly clear at sunset. I therefore took the opportunity to finally try out the Atik Infinity camera at my Explorer 150PDS on the Star Discovery AZ GoTo mount. Again, I visited my "proven" test objects M 15, M 56, M 57 and M 27 (in this order), and at the end M 71, to try something new. Attempts at NGC 7000 and 7006 failed.
DSOs:
Here are a photo of my equipment and a chart showing the locations of the sky objects that I tested:
|
|
|
Photo: My test equipment |
Chart: Locations of the sky objects M 15, M 27, M 56, M 57, and M 71 (larger chart) |
I can state that the results turned out much better than those of previous tests. Only focusing is somethings that I have not yet "maxed out"... Again, this test showed that post-processing can improve the results. However, I found out that when I observed the objects on the screen, they were clearly more colorful than they appear afterwards on the saved images, whatever the reason for this may be... Probably, this is due to the size of the objects: in smaller size, the objects apperar fainter.
I would like to mention another issue, which beame clear to me only after I had dealt in more detail with the Atik Infinity software. I saved the images in JPEG format during the observation, and with the 8-bit checkbox unchecked. Therefore, I assumed that the images were in 16-bit format, although I should have known better: images have only 8-bit color in JPEG format, and accordingly, my image editng applications displayed them as "8-bit." At some point in time, I understood this, and will store images in TIFF format (or PNG format) only in the future. I also noted the misleading checkbox in my review of the software.
And here are the photos:
 |
 |
 |
||
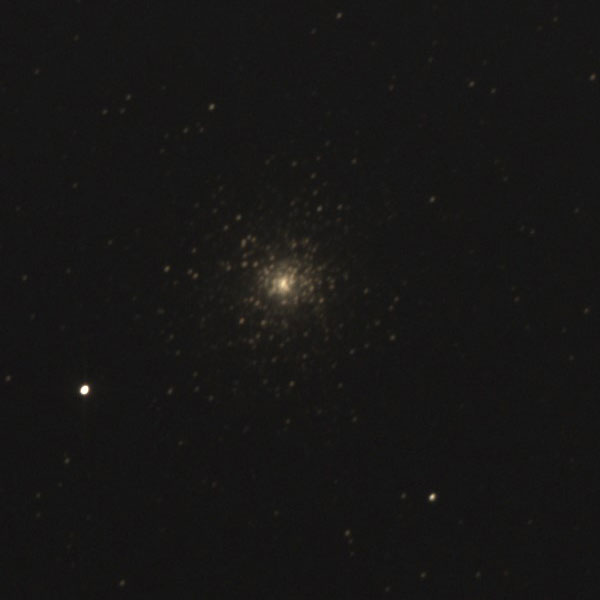
M 15 (Pegasus), unprocessed |
Ditto, post-processed |
Ditto, post-processed and sharpened |
||
 |
 |
 |
||
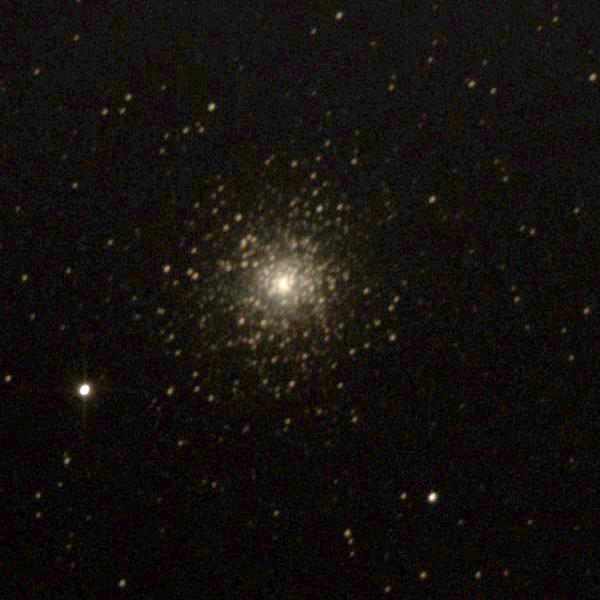
M 15 (Pegasus), unprocessed |
Ditto, post-processed |
Ditto, post-processed and sharpened |
||
 |
 |
 |
||
M 56 (Lyra), unprocessed |
Ditto, post-processed |
Ditto, post-processed and sharpened |
||
 |
 |
 |
||
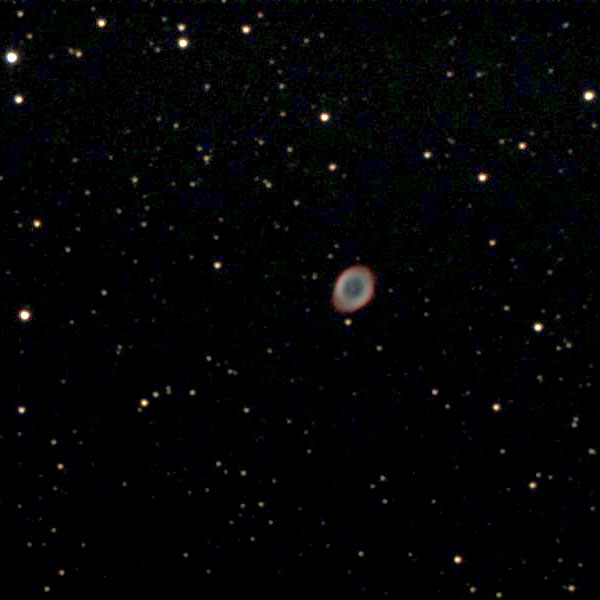
M 57 (Ring Nebula in Lyra), unprocessed |
Ditto, post-processed |
Ditto, differently post-processed |
||
 |
 |
 |
||
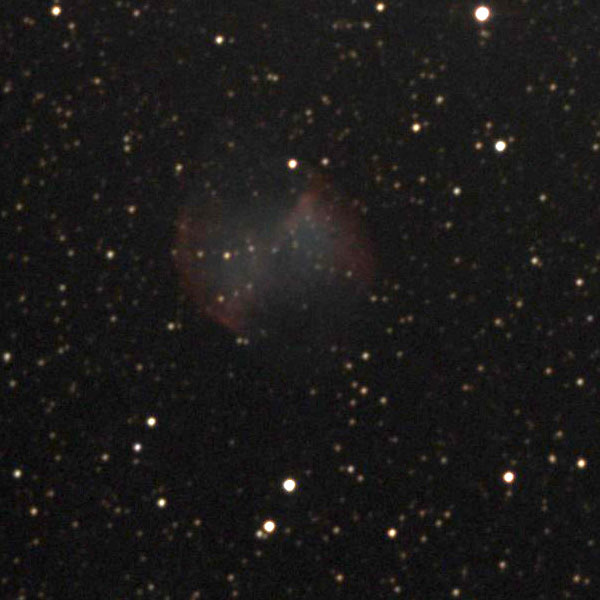
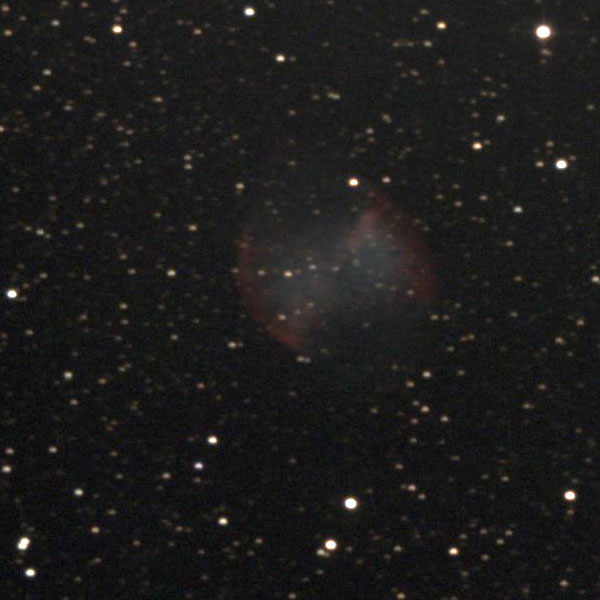
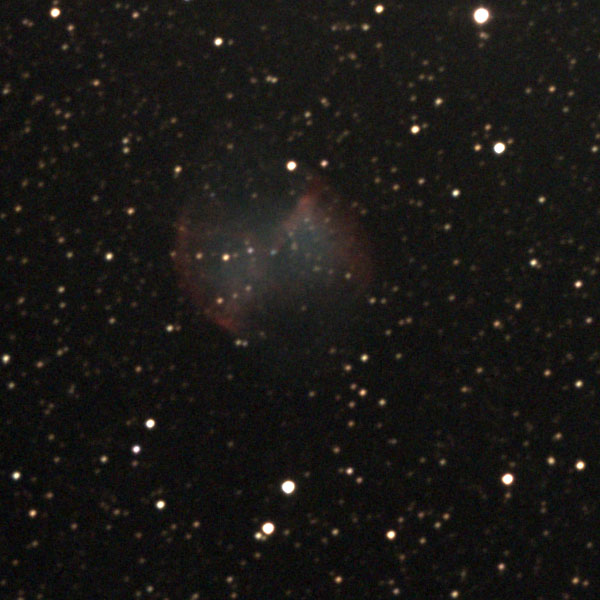
M 27 (Dumbbell Nebula in Vulpecula), unprocessed |
Ditto, post-processed |
Ditto, differently post-processed |
||
 |
 |
 |
||
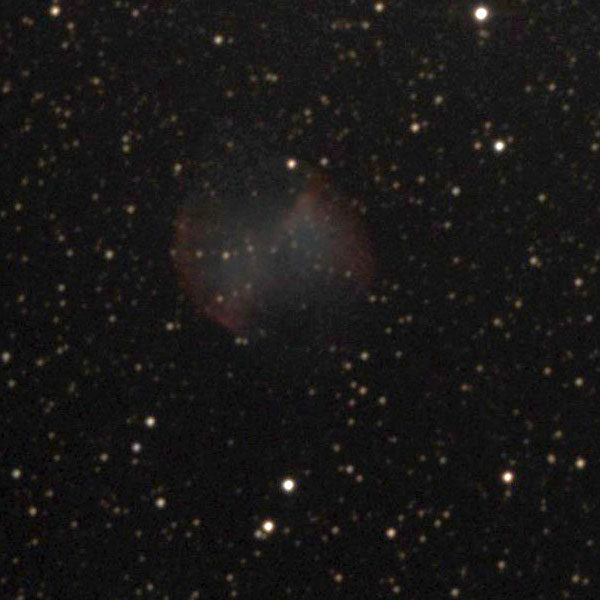
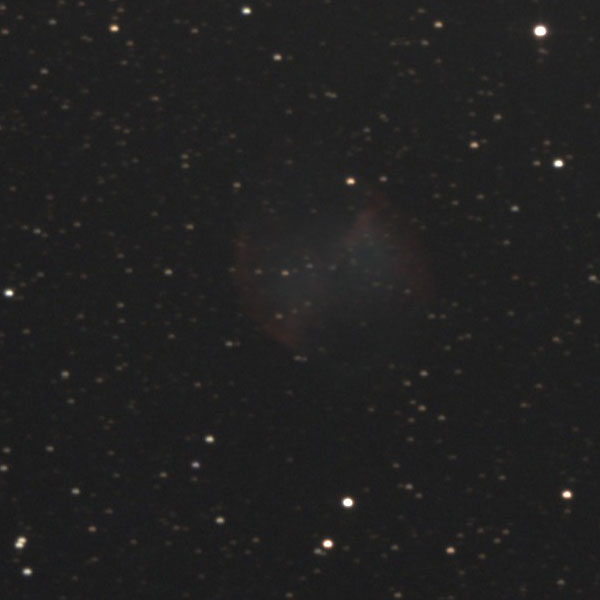
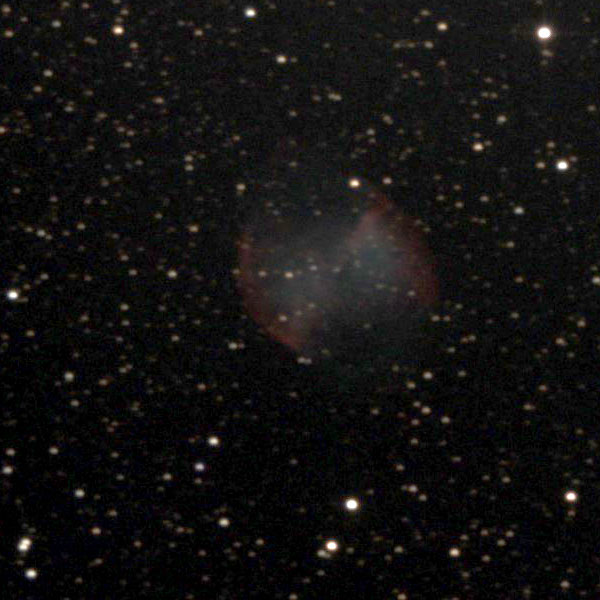
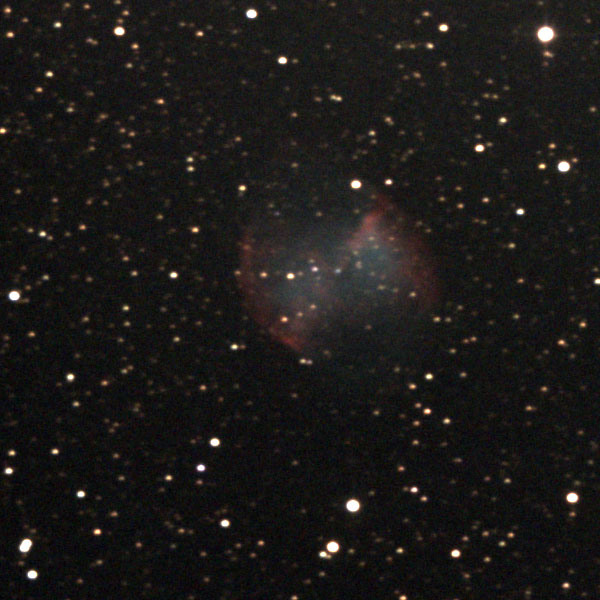
M 27 (Dumbbell Nebula in Vulpecula), unprocessed |
Ditto, post-processed |
Ditto, differently post-processed |
||
 |
 |
 |
||
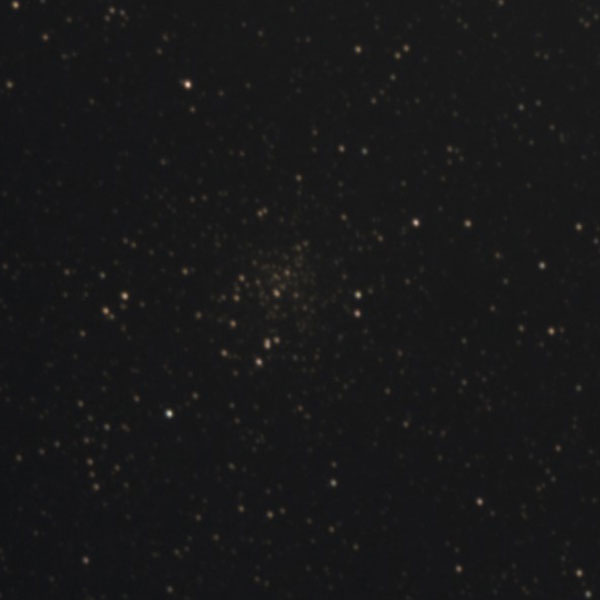
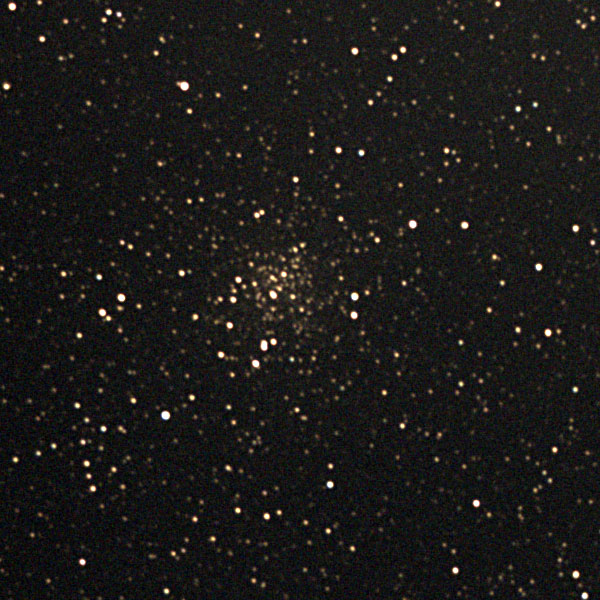
M 71 (Sagitta), unprocessed |
Ditto, post-processed |
Ditto, post-processed and sharpened |
All in all, I am quite satisfied with the results of this test.
Usually, I save images directly during the observation, particularly, for the case that I forget to start the recording... This time, I had started recording, and this allowed me to compare my directly saved and post-processed images with images that I created from Stacks that I built in "Replay" mode. This allowed me to sometimes reject images that were not optimal, but admittedly I did not do this systematically. In the meantime, I had also learned that JPEG images cannot be saved in 16-bit format, although the "Save" dialog suggests this (see my review of the Atik Infinity software). Here I saved images from "Replay" stacks in the 16-bits-TIFF format. And in the future, I will do so also during observations.
In the following, I present my "best" results (so far) that I created using both methods, that is save JPEG images during observations and TIFF images from stacks that I created in "Replay" mode (in the future I will also save TIFF files during observations).
8-bits Original |
|
8-bits Post-Processed |
|
16-bits Post-Processed ("Replay") |
|
|
 |
||
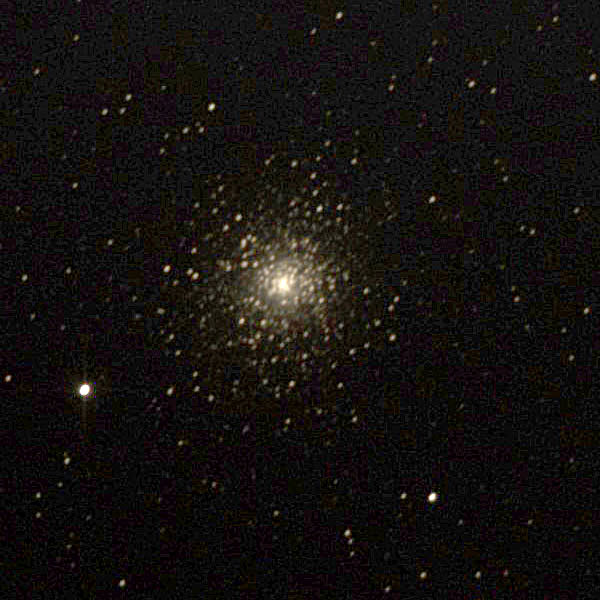
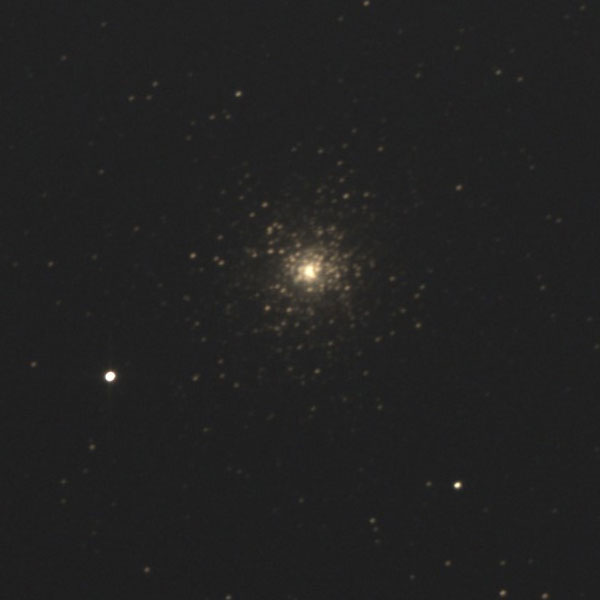
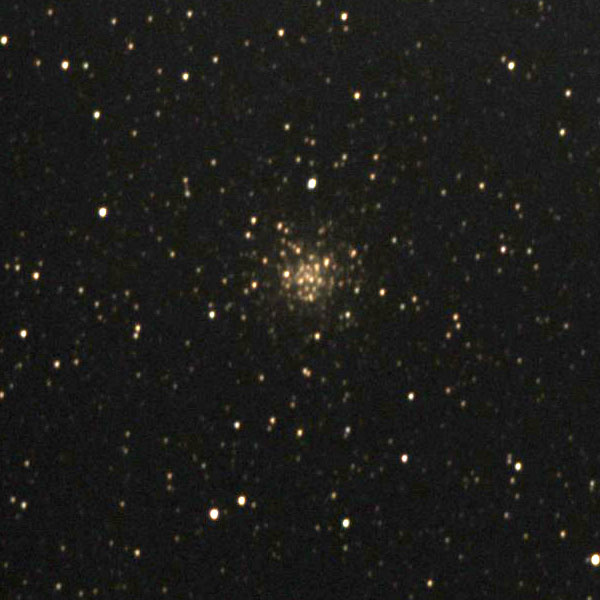
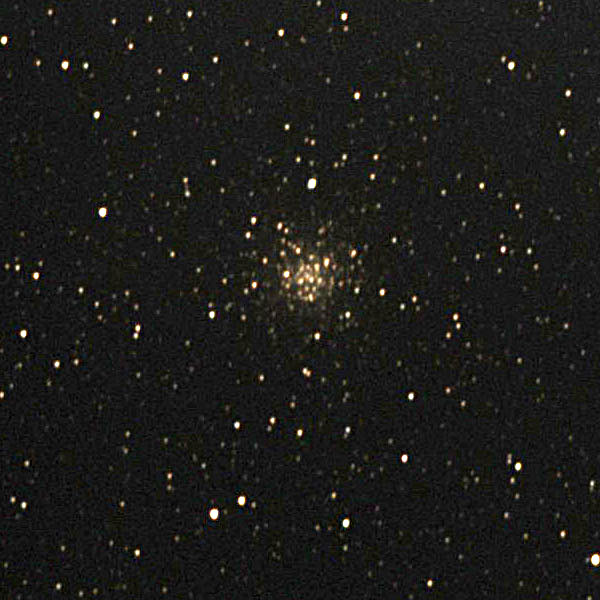
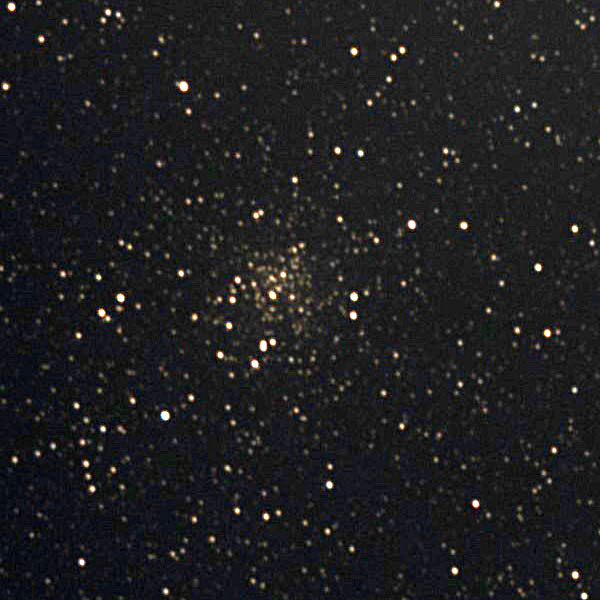
M 15 (Pegasus), unprocessed |
Ditto, post-processed and sharpened |
Ditto, post-processed and sharpened |
||
|
|
 |
||
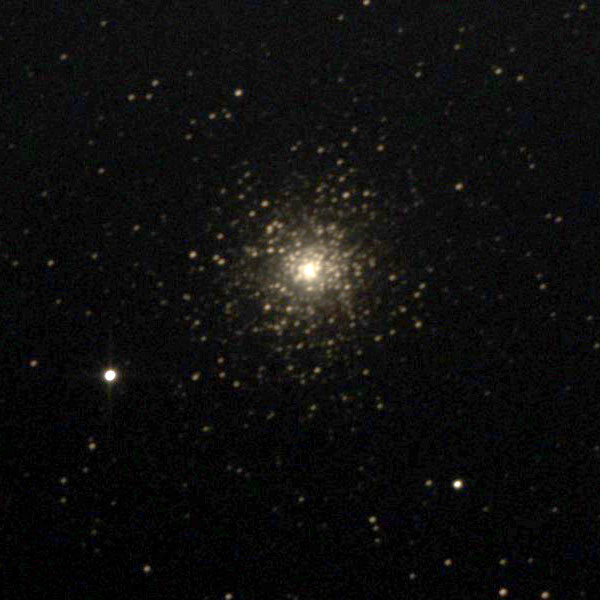
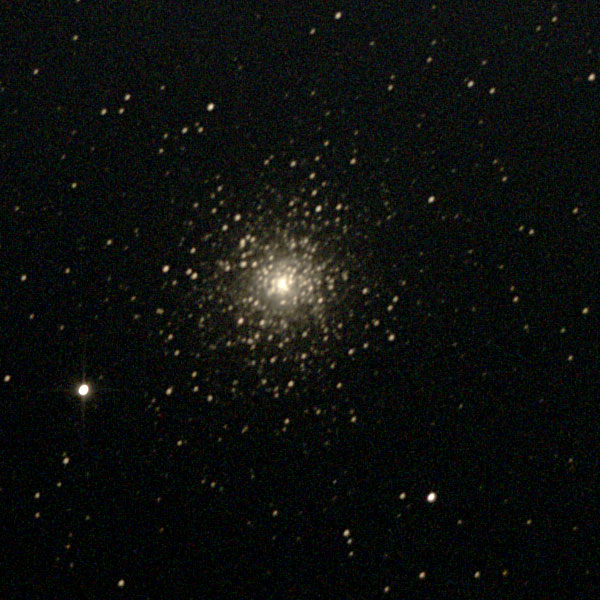
M 56 (Lyra), unprocessed |
Ditto, post-processed and sharpened |
Ditto, post-processed and sharpened |
||
|
|
 |
||
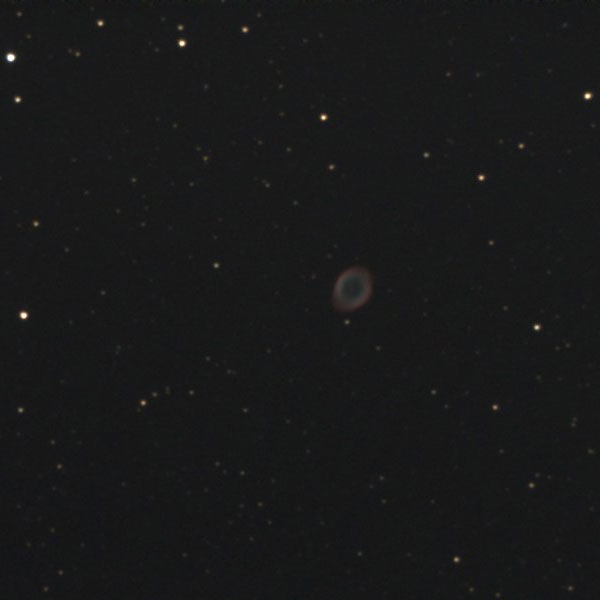
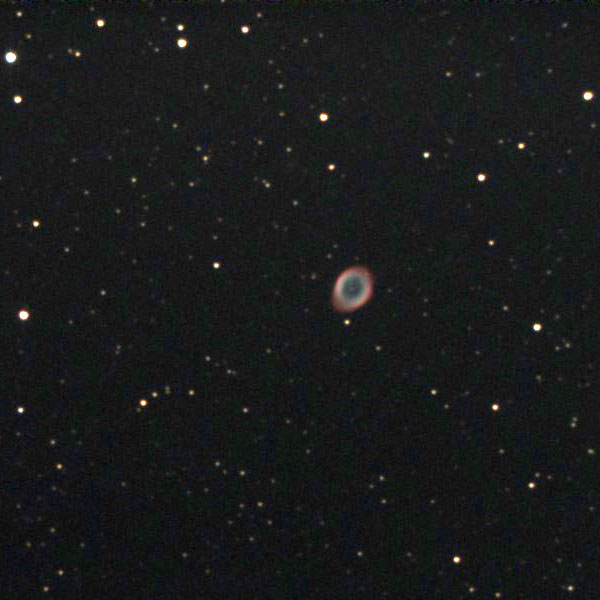
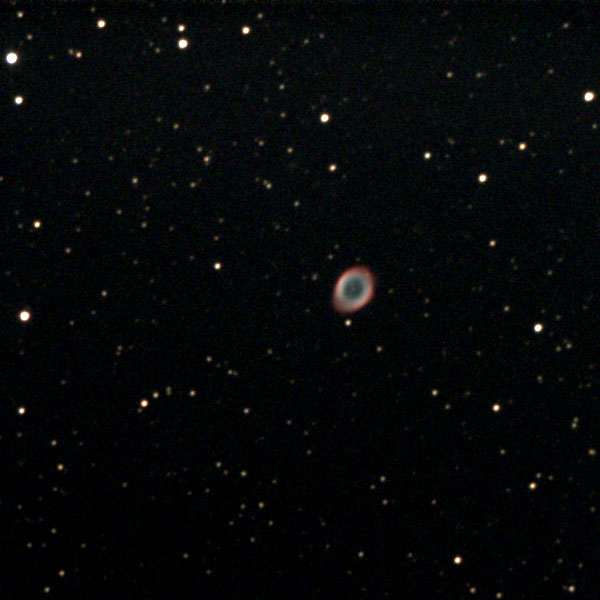
M 57 (Ring Nebula in Lyra), unprocessed |
Ditto, post-processed |
Ditto, post-processed |
||
|
|
 |
||
M 27 (Dumbbell Nebula in Vulpecula), unprocessed |
Ditto, post-processed |
Ditto, post-processed |
||
|
|
 |
||
M 27 (Dumbbell Nebula in Vulpecula), unprocessed |
Ditto, post-processed |
Ditto, post-processed |
||
|
|
 |
||
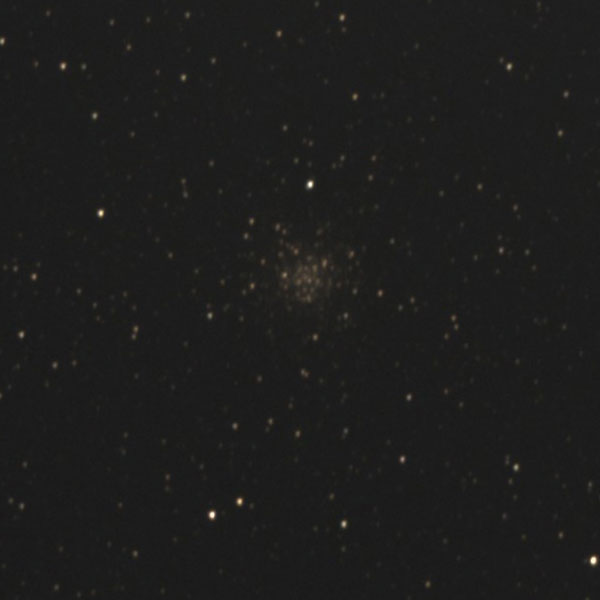
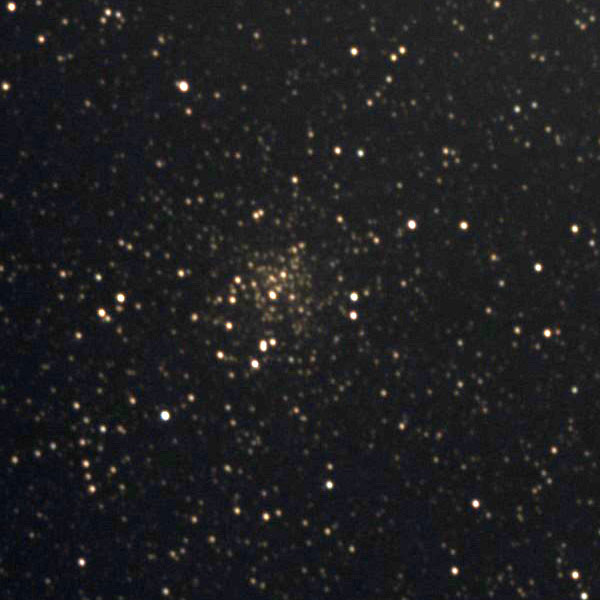
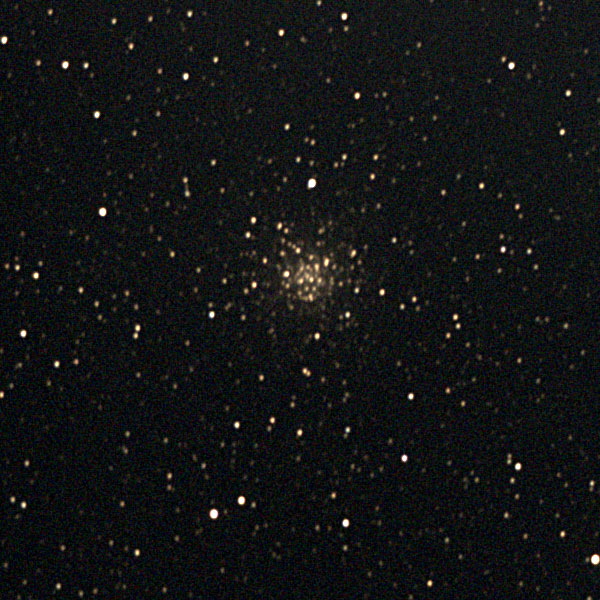
M 71 (Sagitta), unprocessed |
Ditto, post-processed and sharpened |
Ditto, post-processed and sharpened |
The comparison reveals that differences are fairly minor in my different post-processing attempts. At a closer look, the stars often look sharper and rounder in the 16-bits versions, perhaps because I removed some images from the stack. The nebulae seem to be better in 16-bit mode. On the other hand, I managed to get two of the three 8-bits versions of the globular star clusters a little bit brighter than their 16-bits counterparts. Overall, I conclude that it does make sense to undergo the additional work and create optimized stacks in "Replay" mode for potentially better results.
![]()