Unistellar eVscope - More Experiences (V. 1.0)
Introduction | The New App Version (Version 1.0.0) | Very First Photos with the New App Version | Changes with Version 1.0.3: Overlay Can be Added or not, Rectangular Format Possible | Charging the eVscope | Gallery | Message "No Internet" | WLAN - Blues or Not? | Small Bug List | Conclusions on Version 1.0 | Links
Archive
On this page, I describe further experiences (no observations) with my electronic 4,5" Newton telescope Unistellar eVscope (I took part in a Kickstarter campaign in mid-November 2017; it arrived on January 27, 2020). This second "experiences" page covers experiences with the app version 1.0 (from March 12, 2020 on).
Note: Since Unistellar replaced app version 1.x described here with app version 2.0 at the beginning of July 2022, this page has become obsolete! |
Further Notes: See page Overview of the Unistellar Pages for just that! For a detailed version history of the app, see page Unistellar App Version History.
Introduction
 |
 |
 |
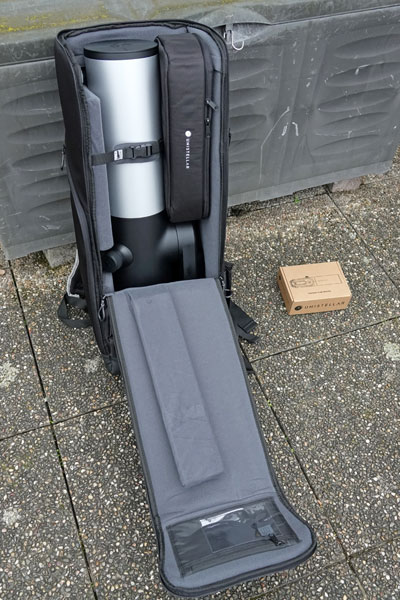 |
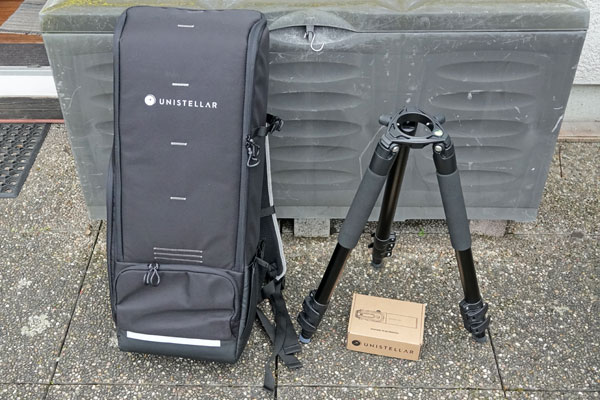
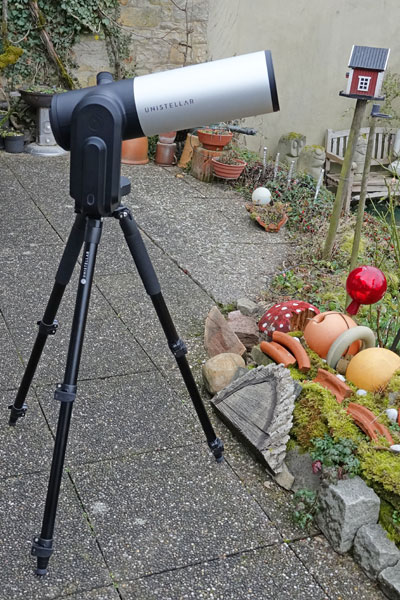
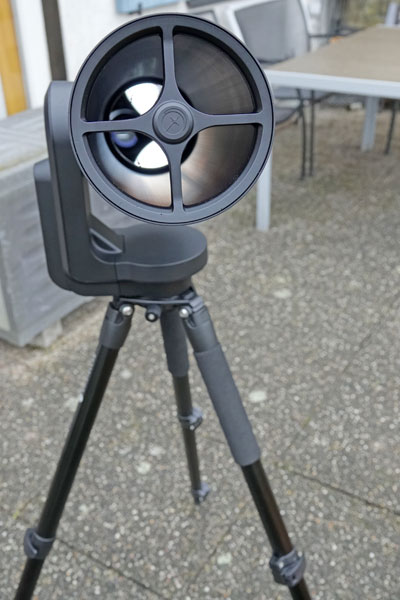
Photos: My eVscope (End of January 2020)
Read First, Please!
My eVscope arrived at my home at the end of January 2020. During the first weeks, it had an app with a version number below 1.0. My experiences with this early app version are reported on page Unistellar eVscope - First Experiences (V. 0.9).
Note: Those who already start with a newer app version do not need to read the above-mentioned page.
The following experiences are based on the app version 1.0 (1.0.0 to 1.0.6) and refer partly to changes compared with the original state, partly to changes made in the course of this version. Version 1.0.0 was still quite unstable, and two updates (1.0.1 and 1.0.2) were soon published. It is possible that these have increased the app's stability. Version 1.0.3 allows you to switch off the label ring (called "overlay"). Two further version updates followed until the end of June 2020 (up to version 1.0.6). Among others, they introduced a German and a Japanese user interface and the option to use tablet computers for controlling the eVscope. The following changes were made regarding the functionality and the user interface (list not complete) in the course of version 1.0:
- Possibility for taking a dark frame to remove hot pixels
- Parking function for the telescope
- Focusing aid for the eyepiece (eyepiece focus helper)
- GoTo and alignment can be aborted
- Improved battery life in cold weather
- Enlargement of the round image section from 1080 x 1080 to 1120 x 1120 (1.0.0), rectangular image in sensor size without overlay (1.0.3)
- German and Japanese user interface (1.0.5)
- Improvements and additions to the object catalog
- The app can be used with the iPad (WiFi) (1.0.5)
For a more detailed version history, see page App Version History.
Note: Anyone who has purchased an eVscope of a later delivery (batch) or is considering buying an eVscope will not be interested in many of the experiences described below because he or she will be using the app at a later stage! For these eVscope owners, there is therefore no need to read this page, unless you are interested in how the app has changed over time.
The New App Version (Version 1.0.0)
The new app version (V 1.0.0) has been available in Europe since March 12, 2020, and I loaded it the same day (a Canadian eVscope owner was the first to point this out to me on the day before). First of all, the app required me, as did the previous version, to update my eVscope. In contrast to the Canadian eVscope owner, who needed three attempts, this succeeded right away. Besides bug fixes, which were urgently needed, the new app version 1.0.0 offered the following new functions:
- Possibility for taking a dark frame to remove hot pixels
- Parking function for the telescope
- Focusing aid for the eyepiece (eyepiece focus helper)
- GoTo and alignment can be aborted
- Improved battery life in cold weather
- Enlargement of the round image section from 1080 x 1080 to 1120 x 1120
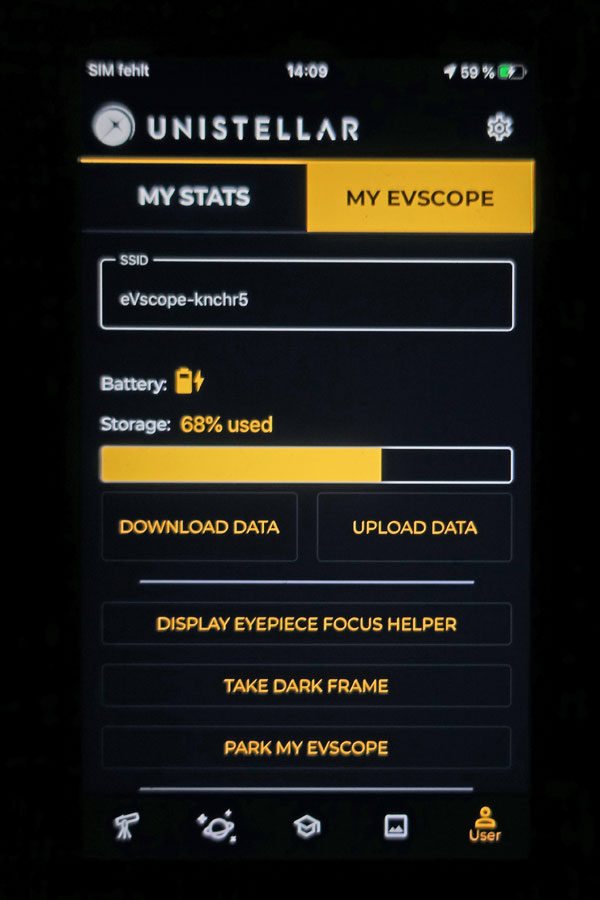
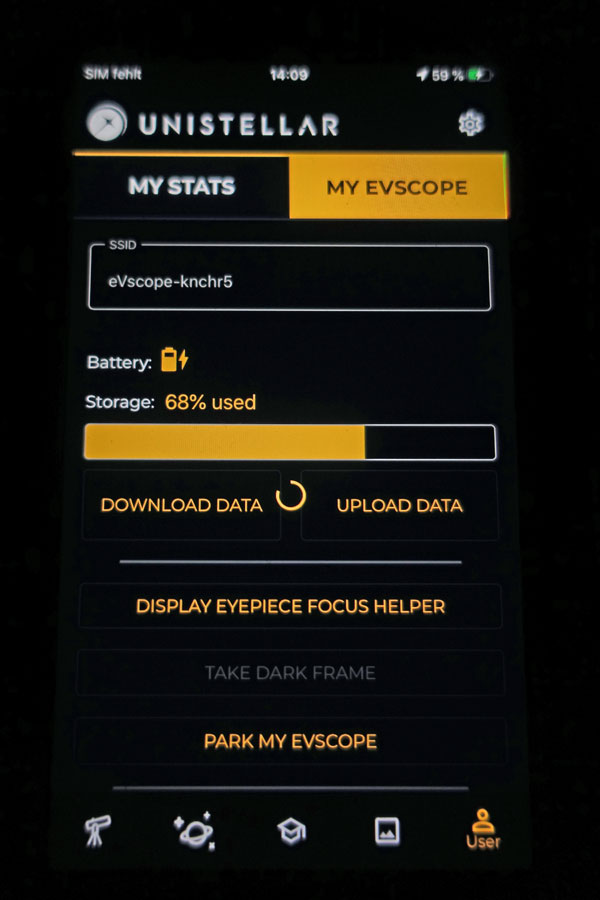
Photo: The app screen in the "User" tab now shows the three new functions eypiece focus helper, dark frame, and parking function
So the first thing I did after the update was to take a dark frame:
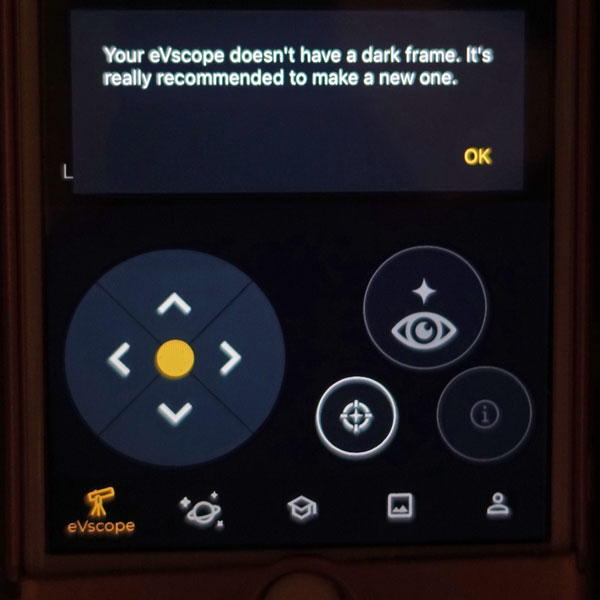
After the update, the app "noticed" that there is no dark frame yet and recommended to take one. I then switched to the "User" tab and clicked "Take Dark Frame" (see photo further above). | 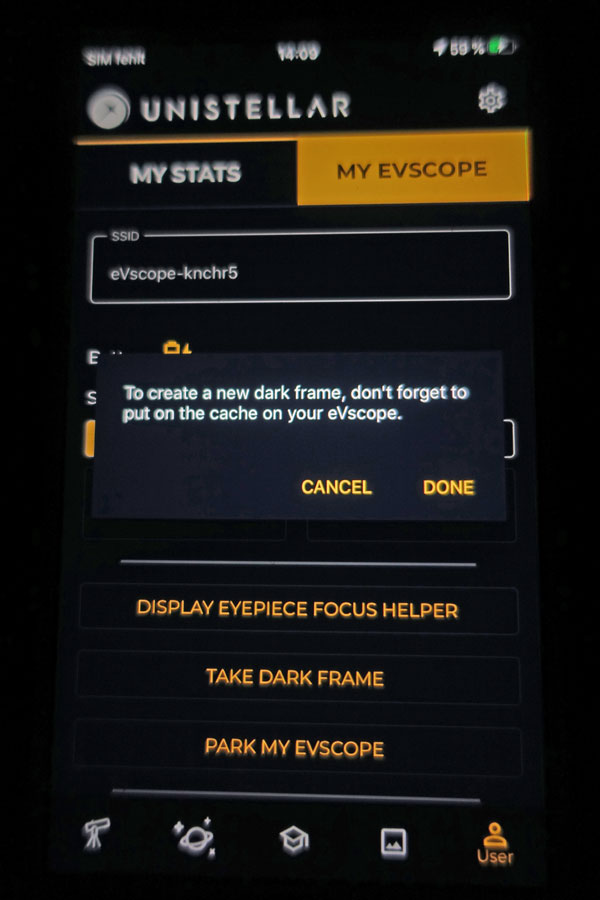 |
 |
||
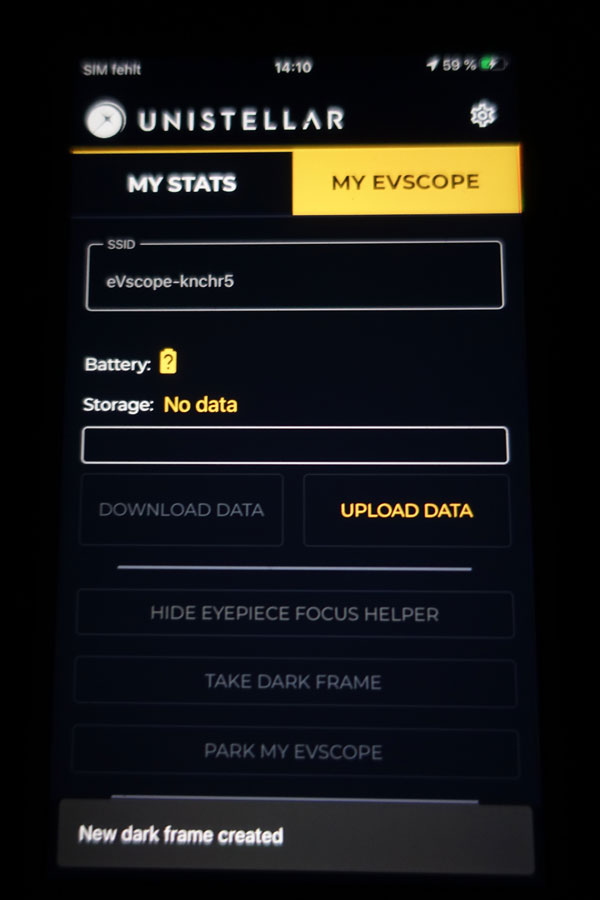
First, a message appears that reminds you to put the telescope cap on; you should also do all this in a dark room. |
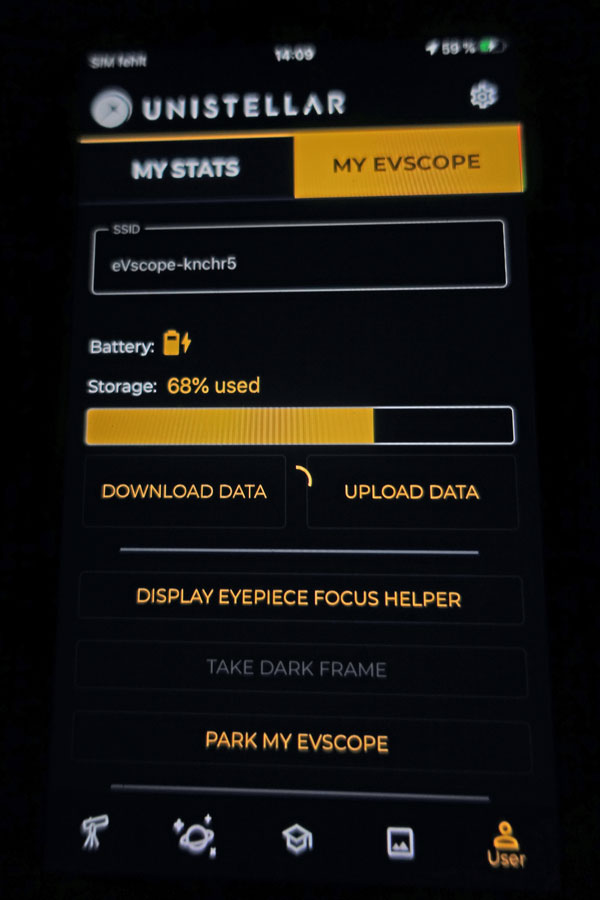
The dark frame is taken... |
|||
 |
 |
 |
||
Ditto |
Ditto, it takes a while... |
Finished! Connection to eVscope interrupted. |
On that same evening, I was able to take a few photos and at least found that the hot pixels were drastically reduced. Later, I found that when I observe in "Enhanced Vision" mode for a longer time, some hot pixels are appearing.
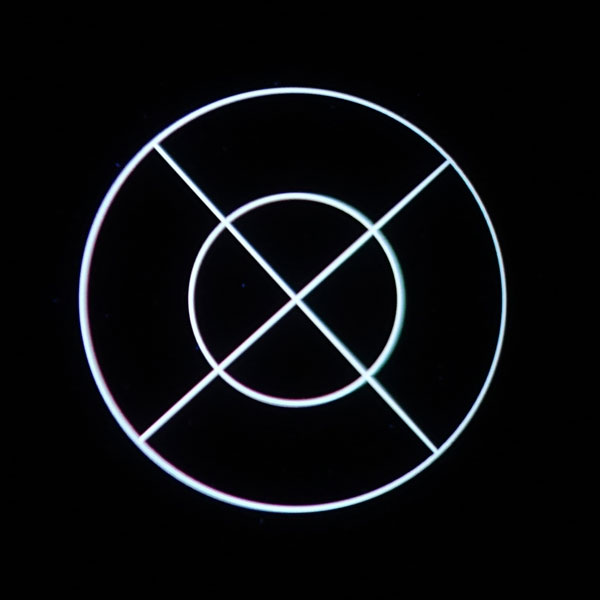
I also tried the new focusing aid for the eyepiece (eyepiece focus helper), but at first did not understand how it works. In the meantime, however, I got it! If you activate the eyepiece focus helper, a pattern is displayed for one minute in the eyepiece, which you can use to focus the eyepiece (by turning it). The app shows a timer that runs backwards. So you know how much time is left for focusing. If the time was not sufficient for the focusing, you can re-activate the function.
 |
 |
|
| The eypiece focus helper: a pattern is displayed in the eyepiece that can be used for focusing |
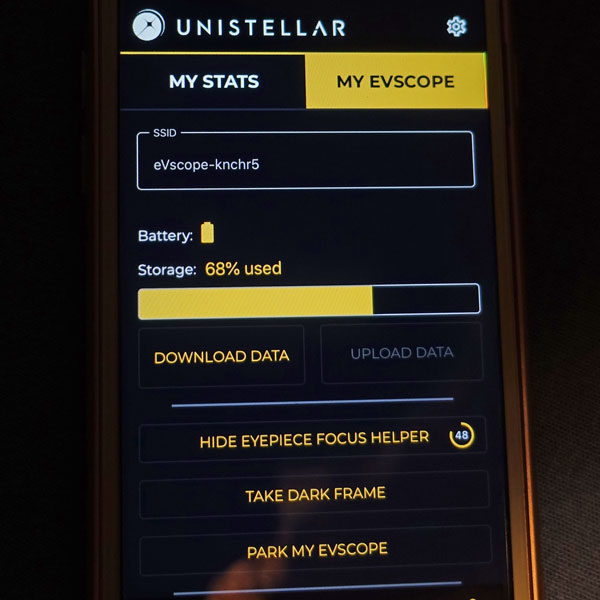
The timer for the eyepiece focus helper (to the right of the button text) |
After a little "wobbling", the parking function puts the tube in a vertical position and switches the eVscope off. You can tell that the eVscope is switched off in the app by the fact that the WLAN connection is lost (and the smartphone searches for another WLAN connection...).
I discuss changes to the photos in the following section!
Very First Photos with the New App Version
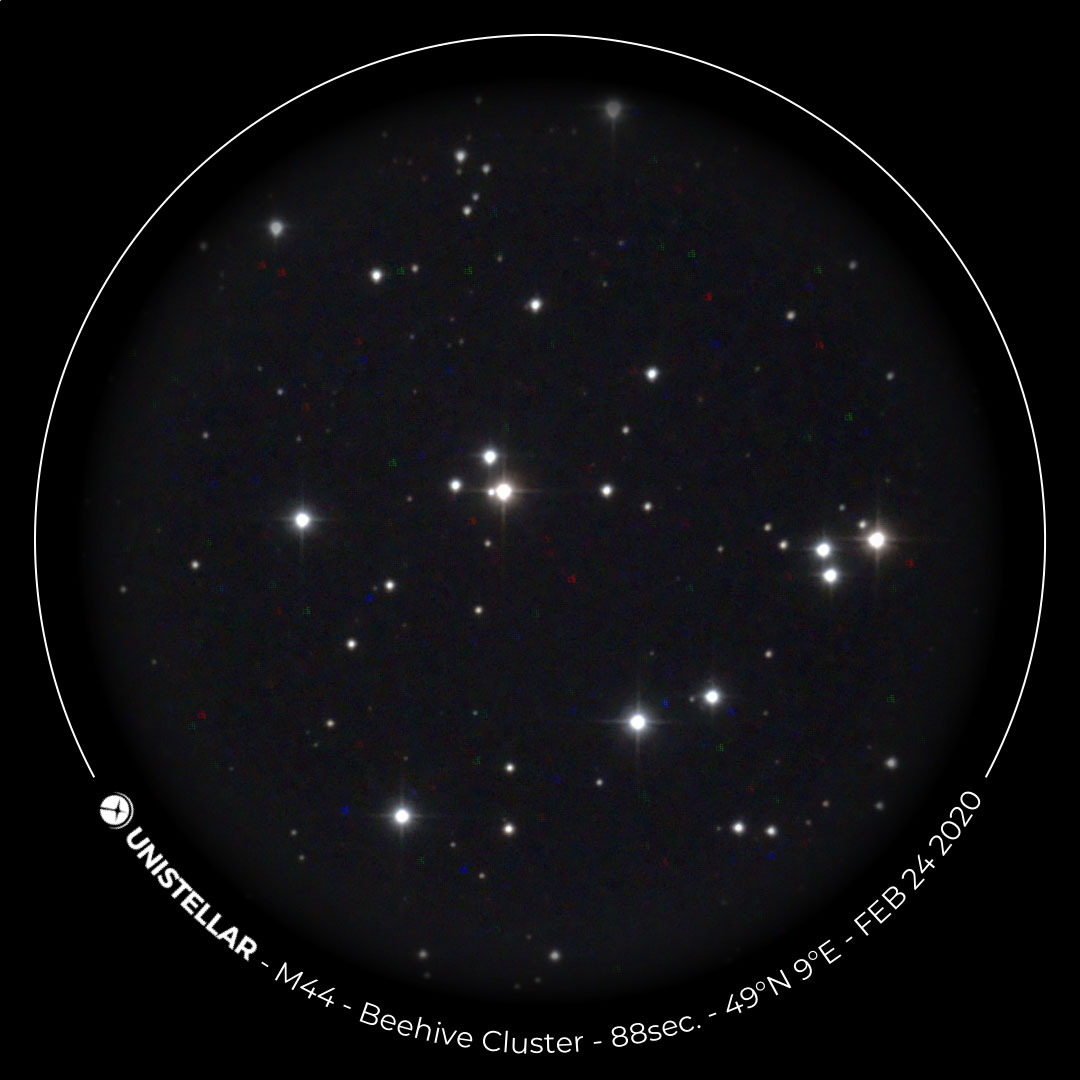
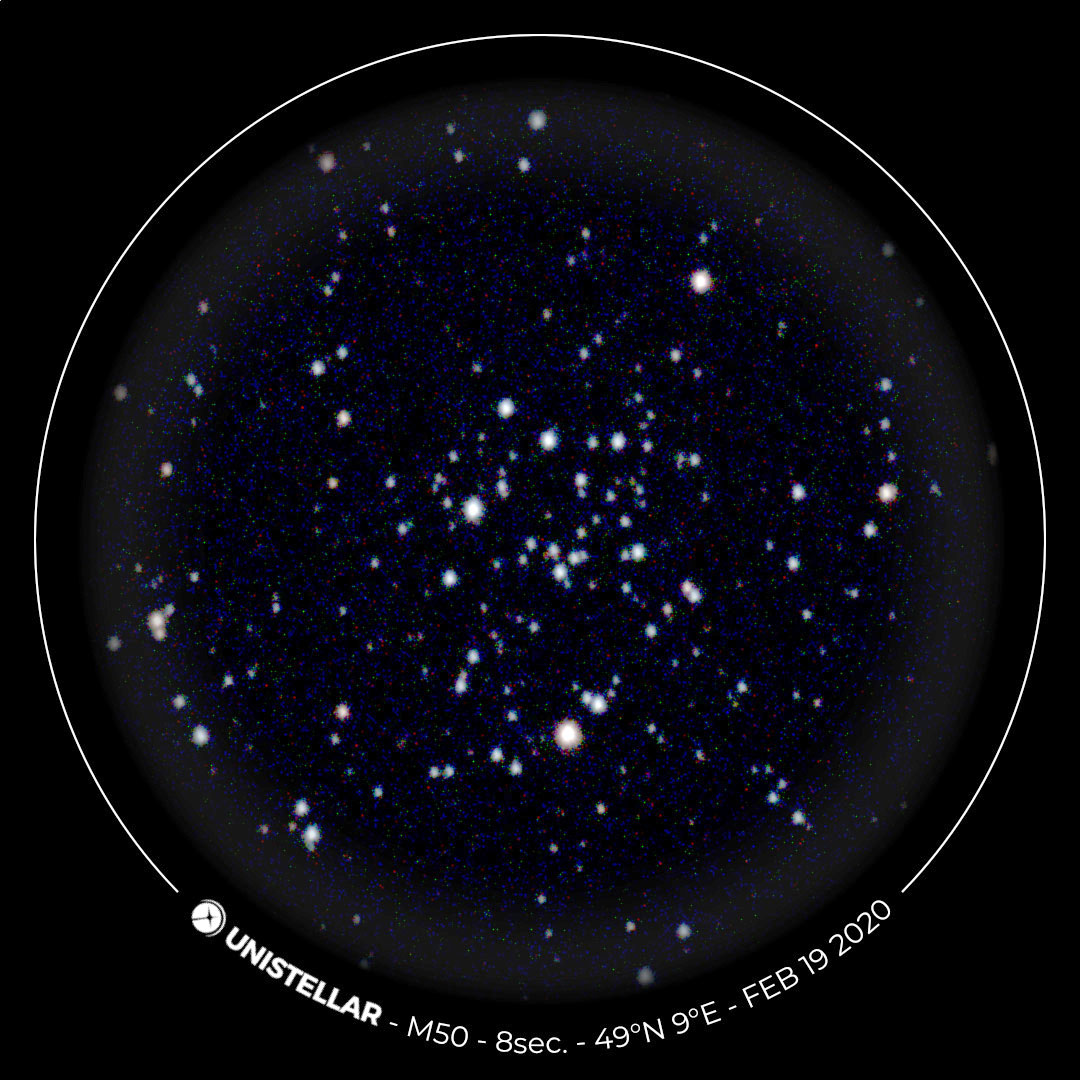
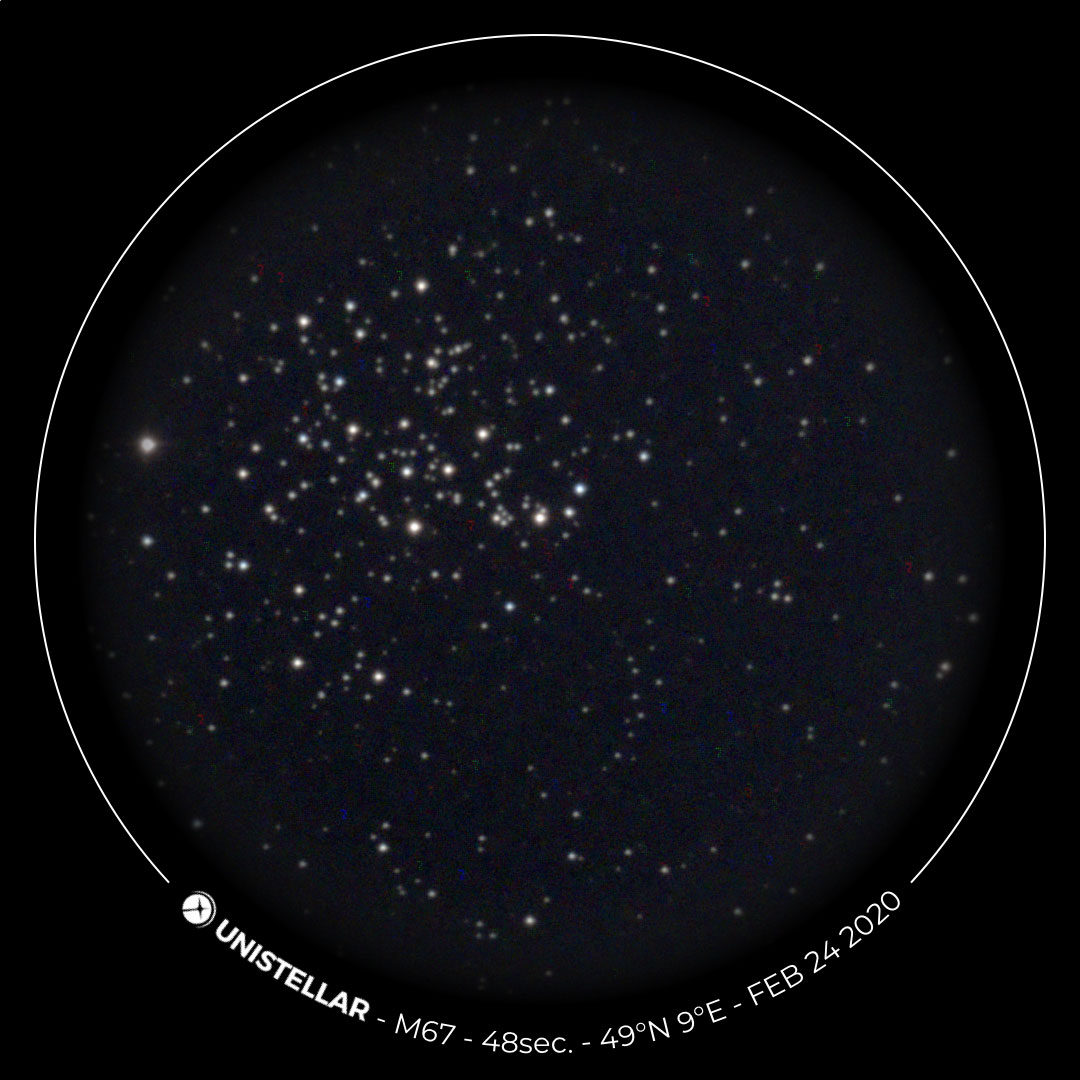
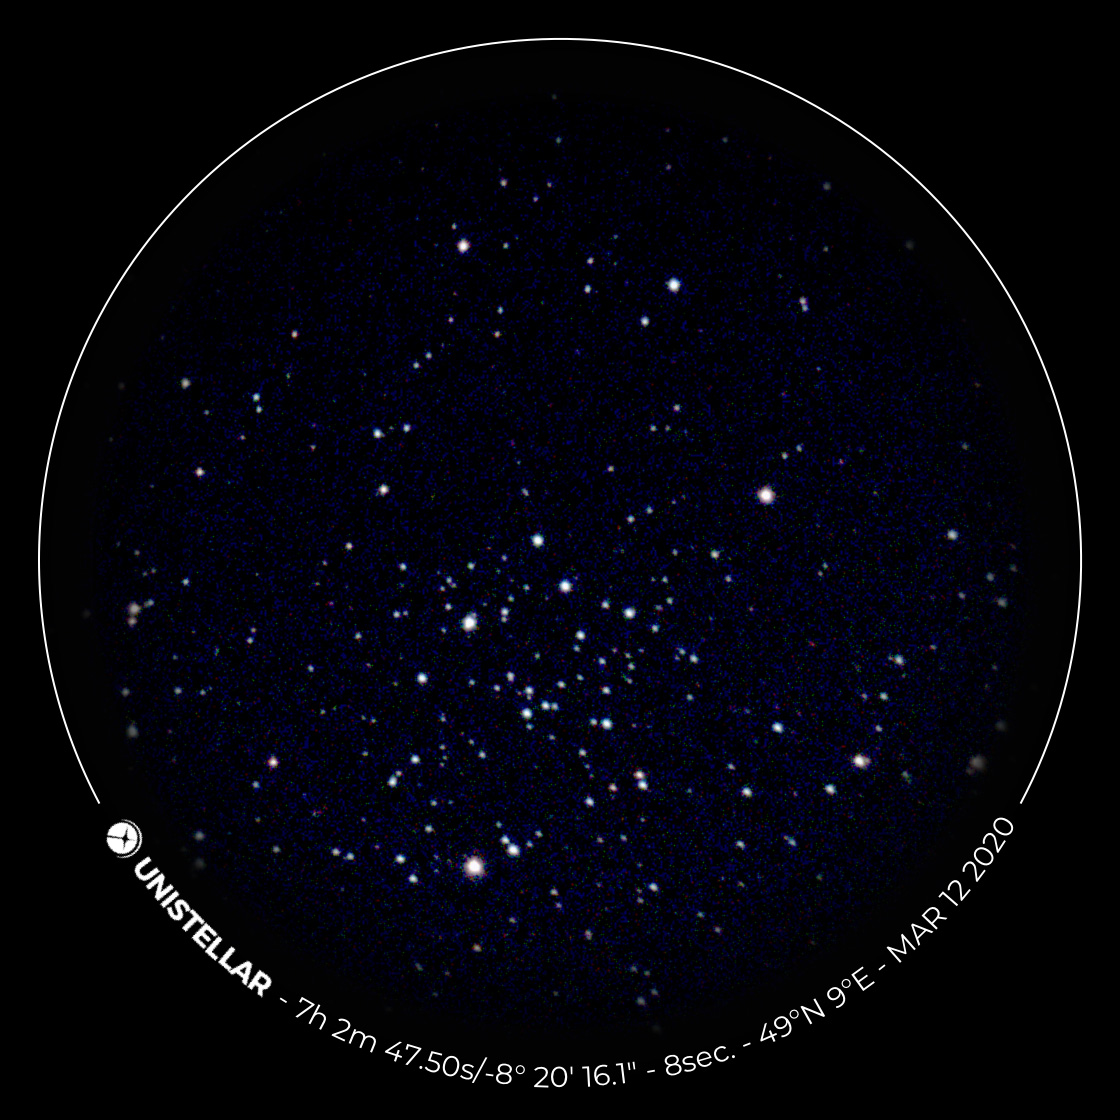
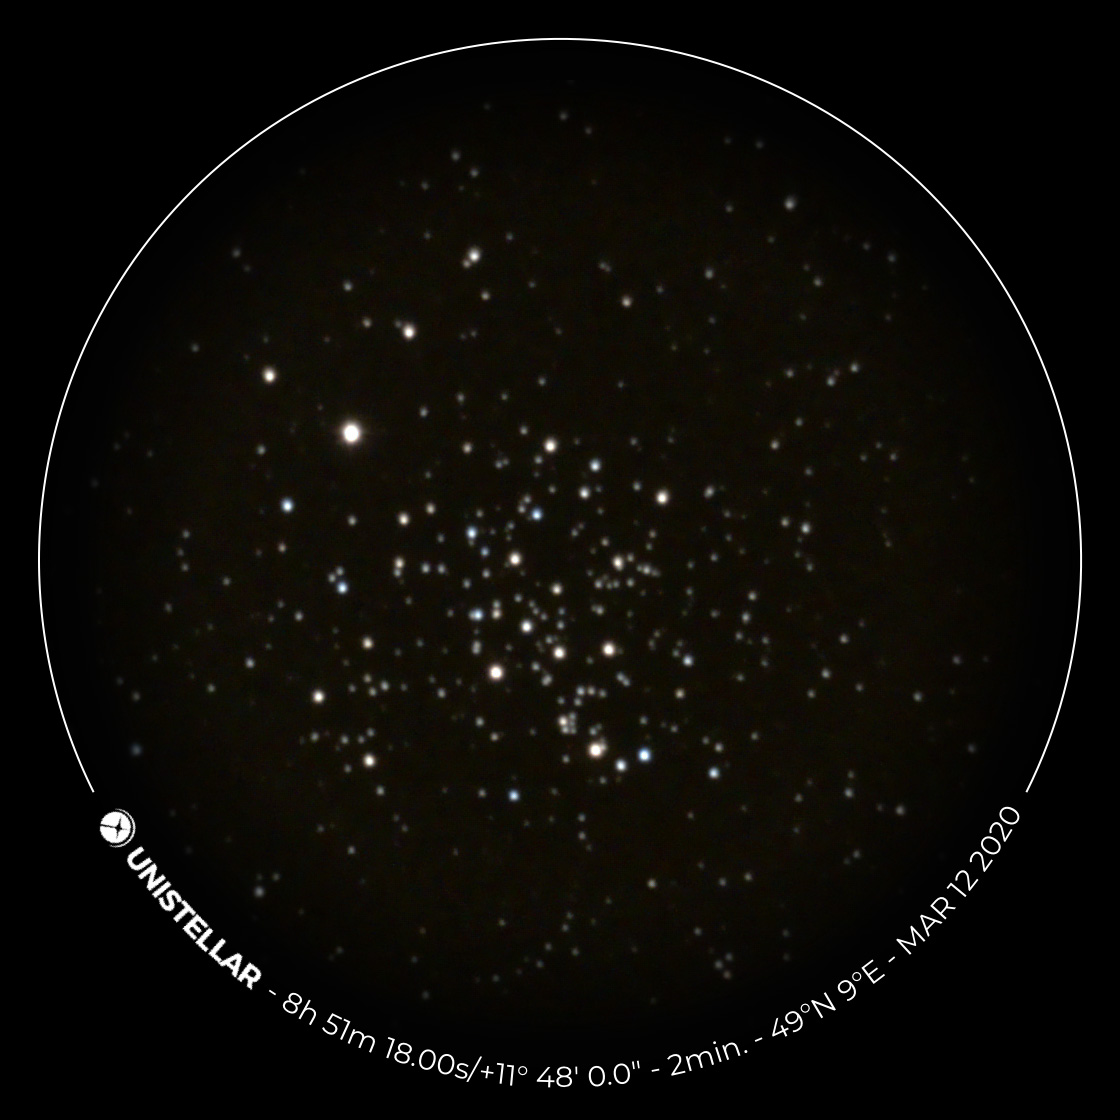
In the evening of the day when I installed the new app version 1.0 (12.3.2020), I was able to work briefly with the eVscope and observe three objects, namely M 44, M 67 (both in the constellation Cancer/Crab) as well as briefly M 50. In the following, I present my best photos here, together with older versions where there were still many hot pixels:
 |
 |
 |
||
M 44 - Feb 24, 2020 |
||||
 |
 |
 |
||
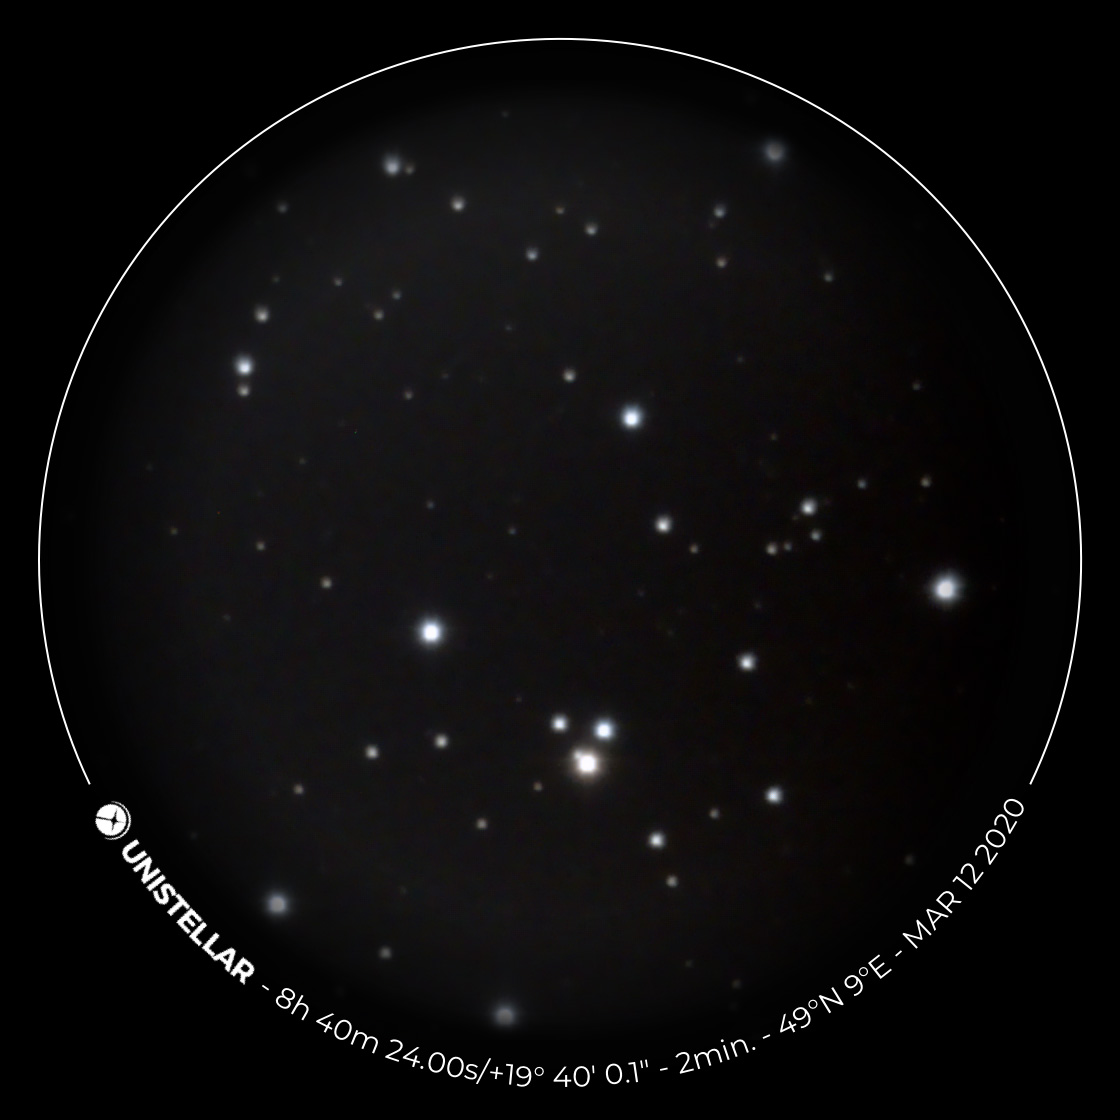
M 44 - Mar 12, 2020 |
After I took these first photos, and the next day some more, and compared them with the corresponding older ones, I noticed the following:
- The image size was enlarged from 1080 x 1080 pixels to 1120 x 1120 pixels. This moves the overlay outwards so that the sensor area is better utilized.
- "Hot pixels" seemed to be suppressed very well now after taking a dark frame recording; in the course of time, new ones will surely appear (they already did), so that a new dark frame image will have to be taken.
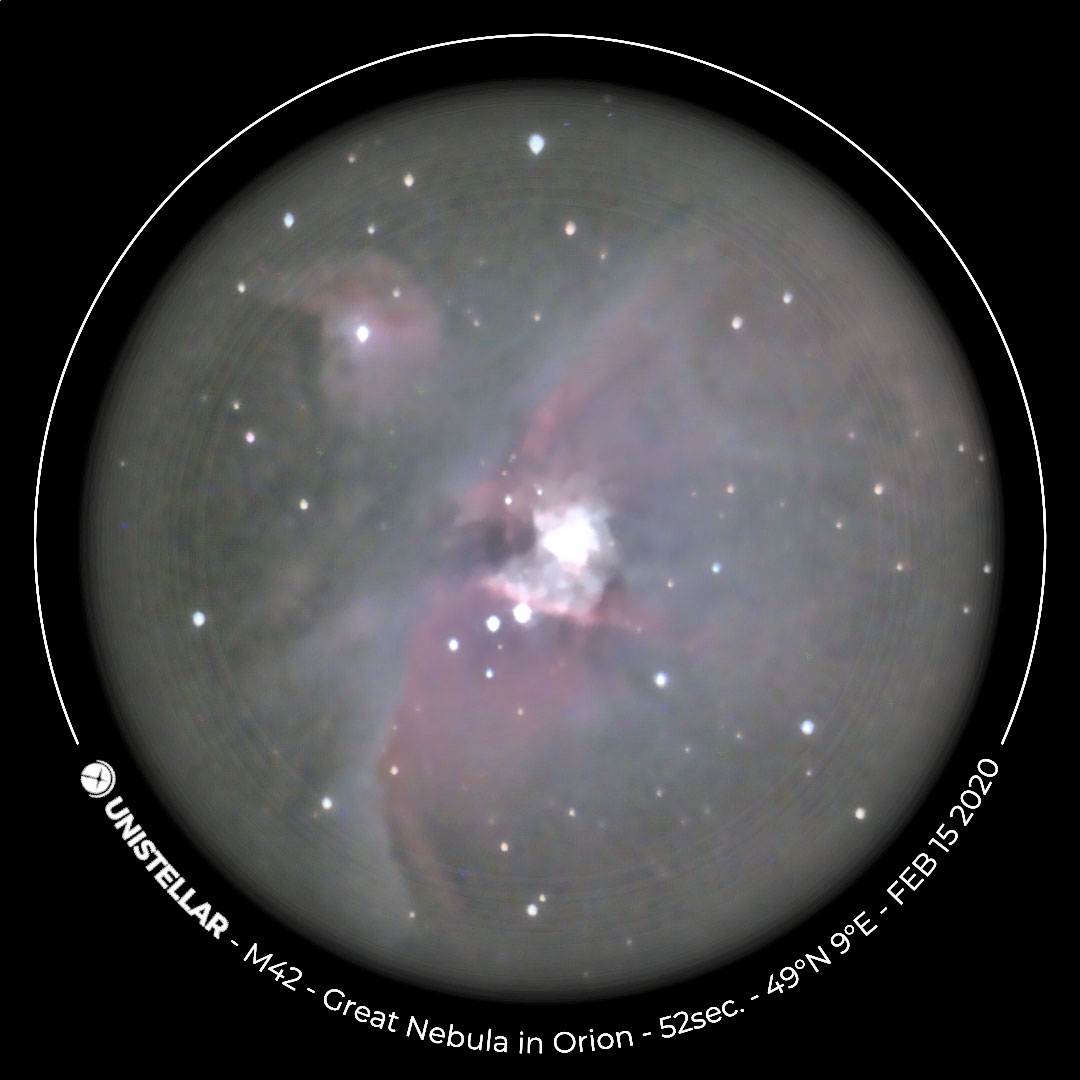
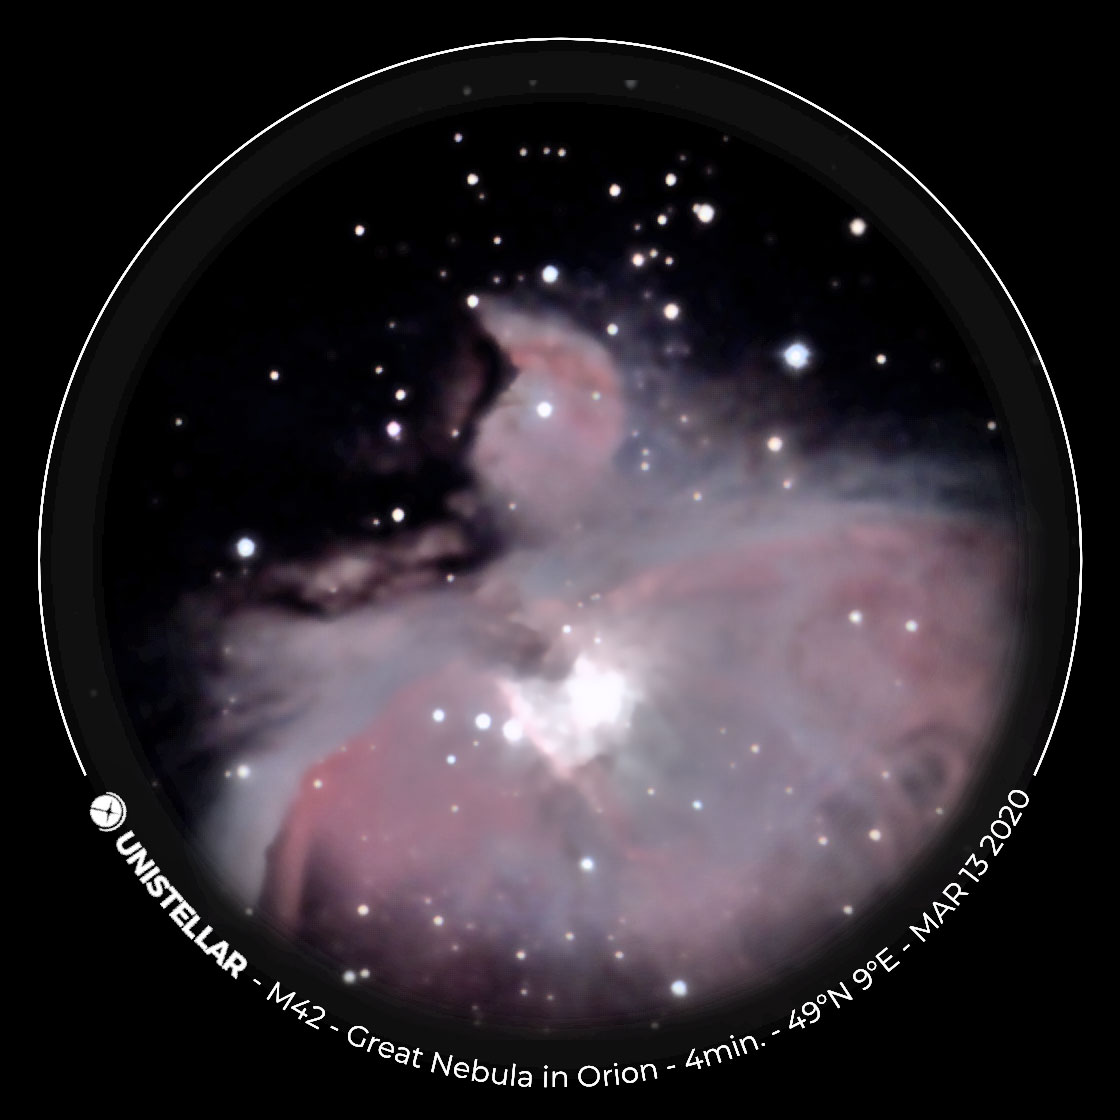
- The rings at the edge of the image field, which were supposed to create a vignette, were still there, but are much less disturbing now (see photo below). This was a definite improvement!
 |
 |
|||
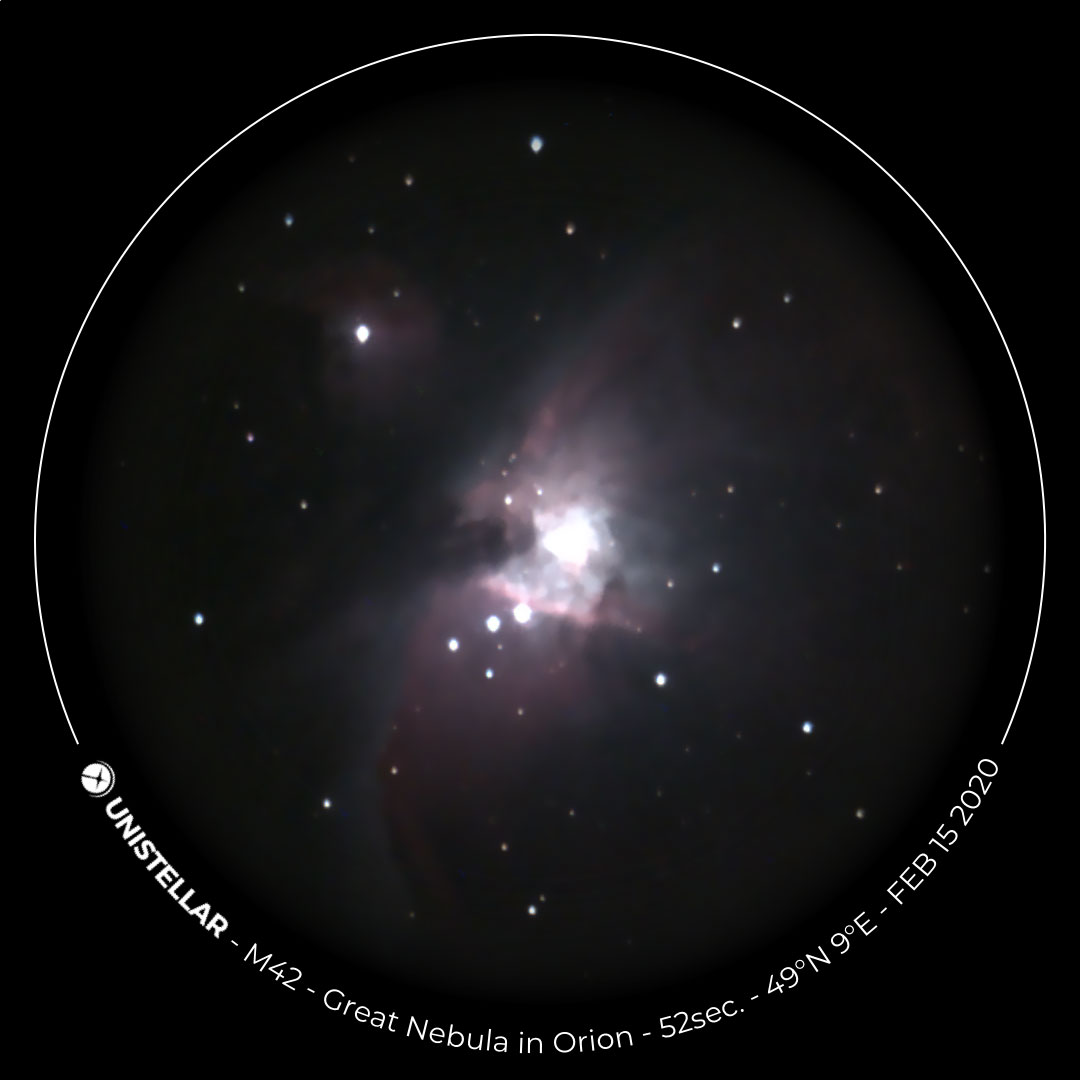
M 42 original with old app version |
Further M 42 original with old app version |
|||
 |
 |
 |
||
Photos above made extremely bright in order to reveal the rings (click the images to see the original size) |
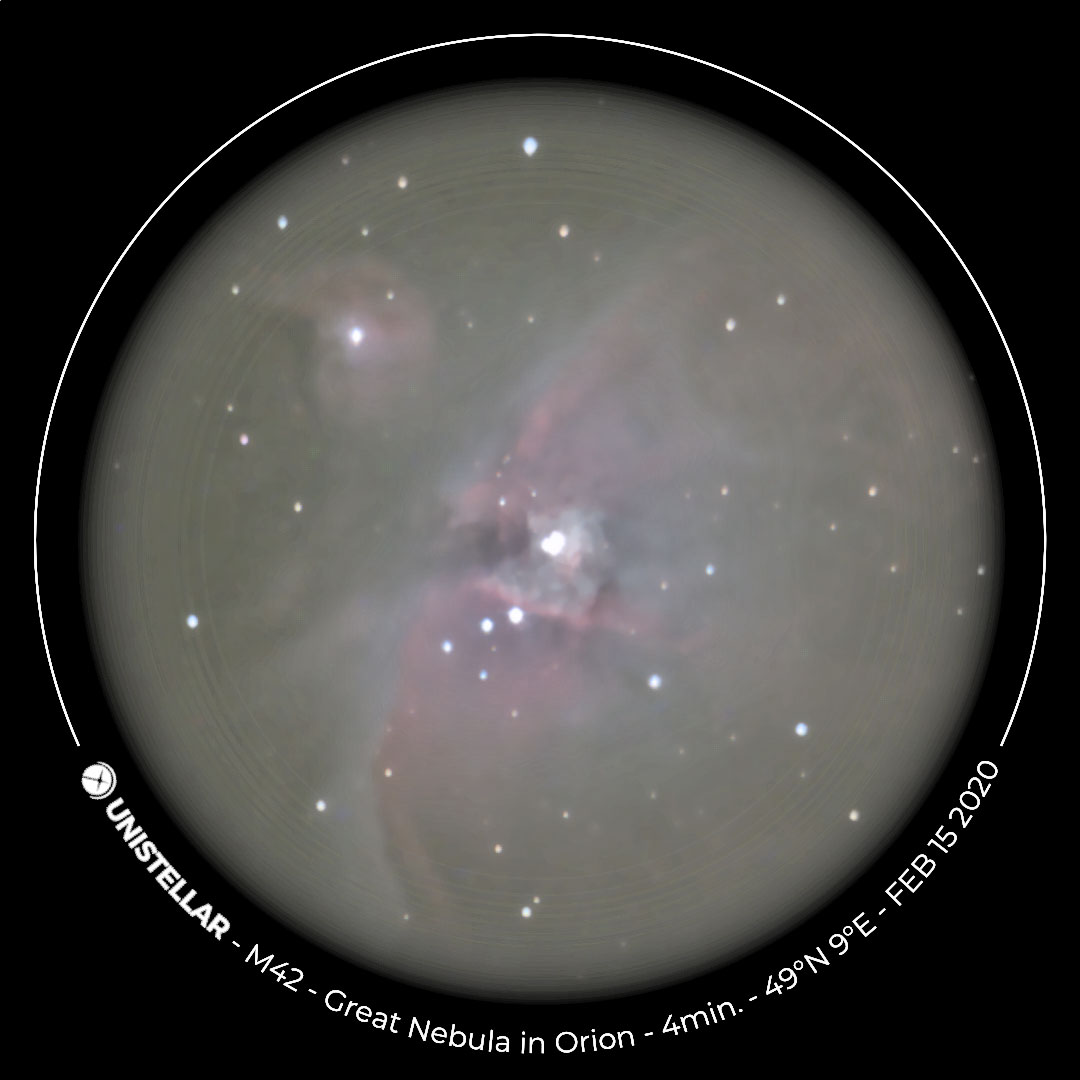
Photo below brightened up so that the vignetting becomes obvious (new app version) |
|||
 |
 |
 |
||
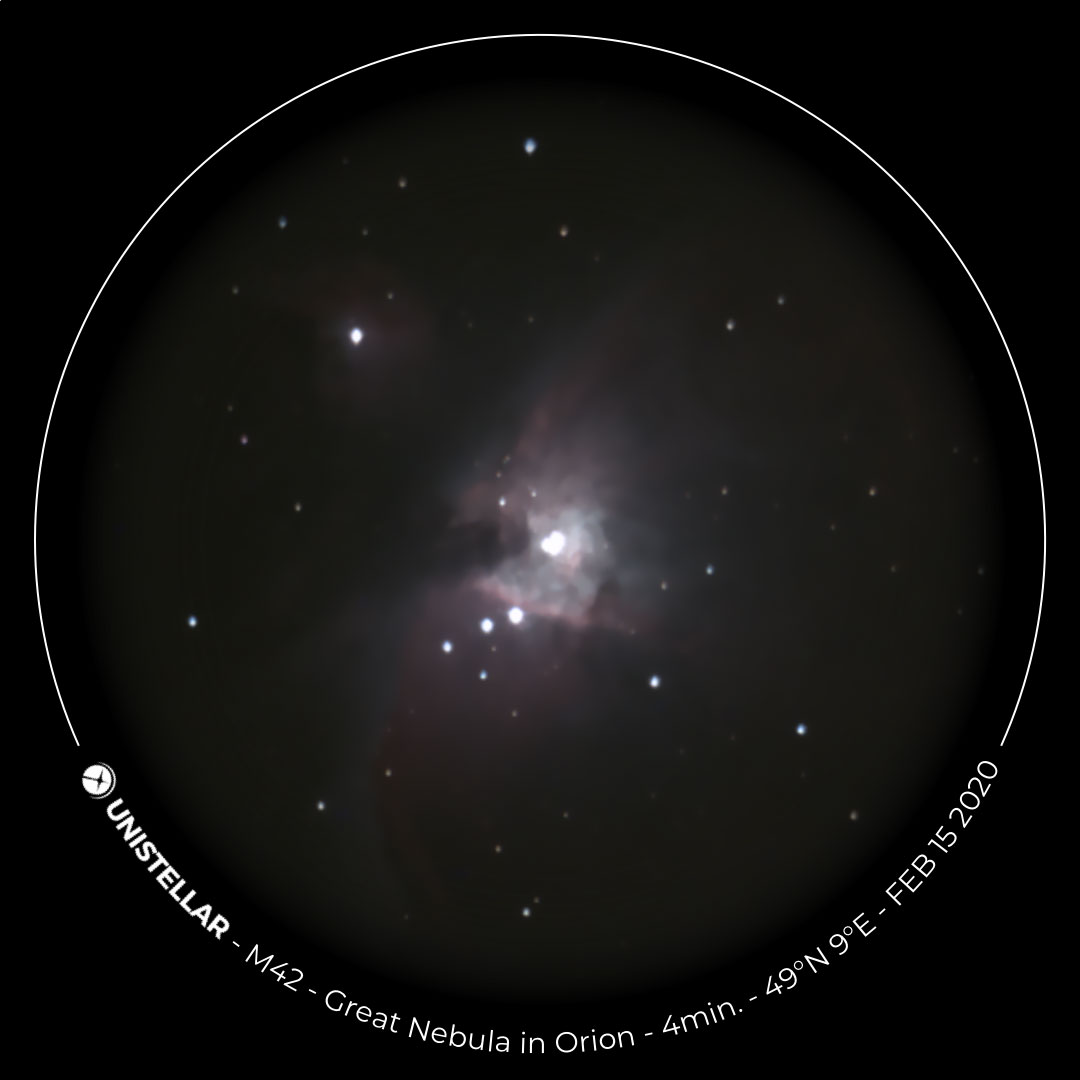
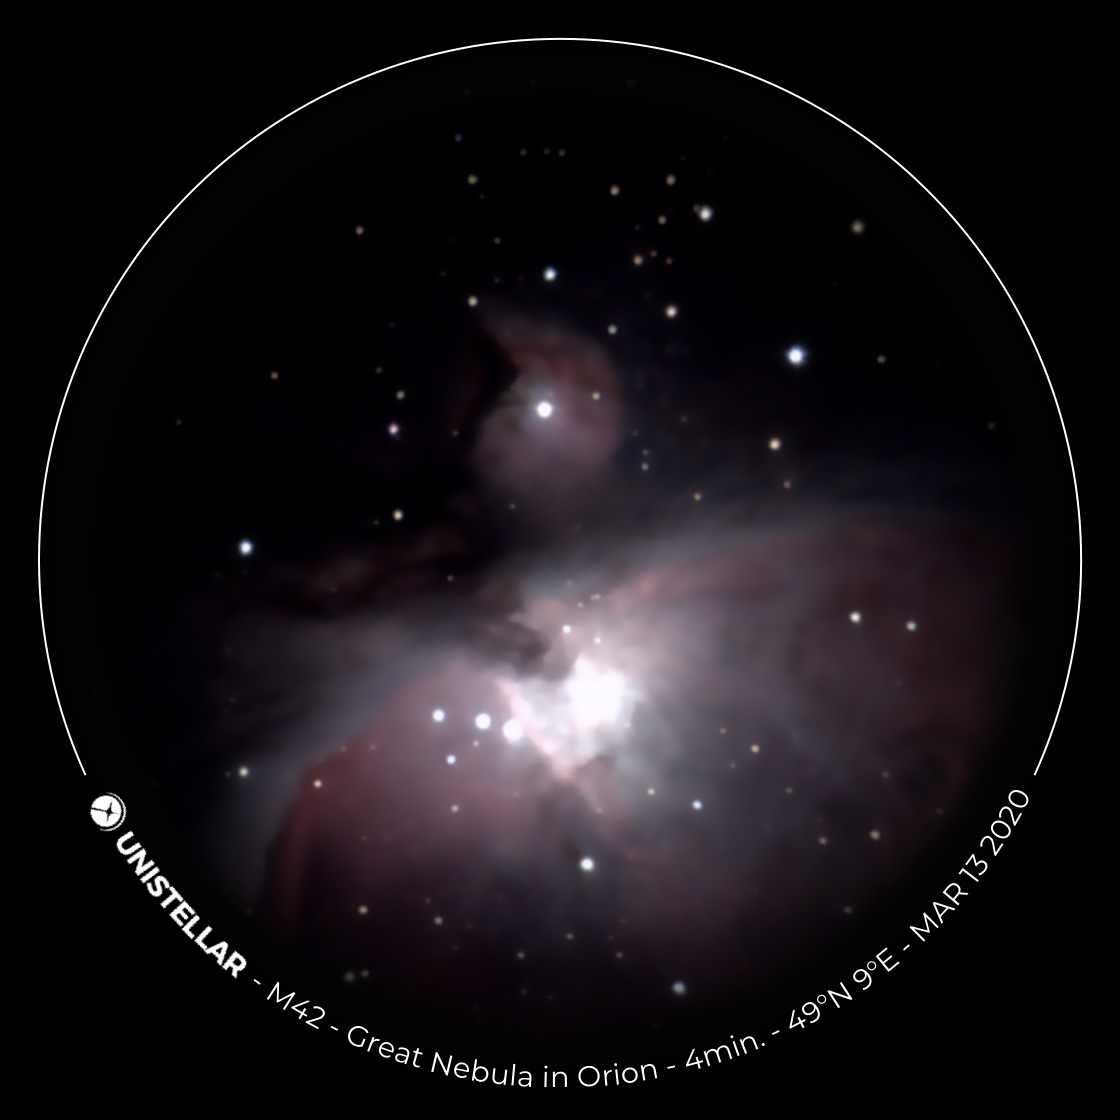
M 42 original with new app version |
Photo processed "to taste"... |
Photo brightened up with the same strength like those with the old app version |
||
Changes with Version 1.0.3: Overlay Can be Added or not, Rectangular Format Possible
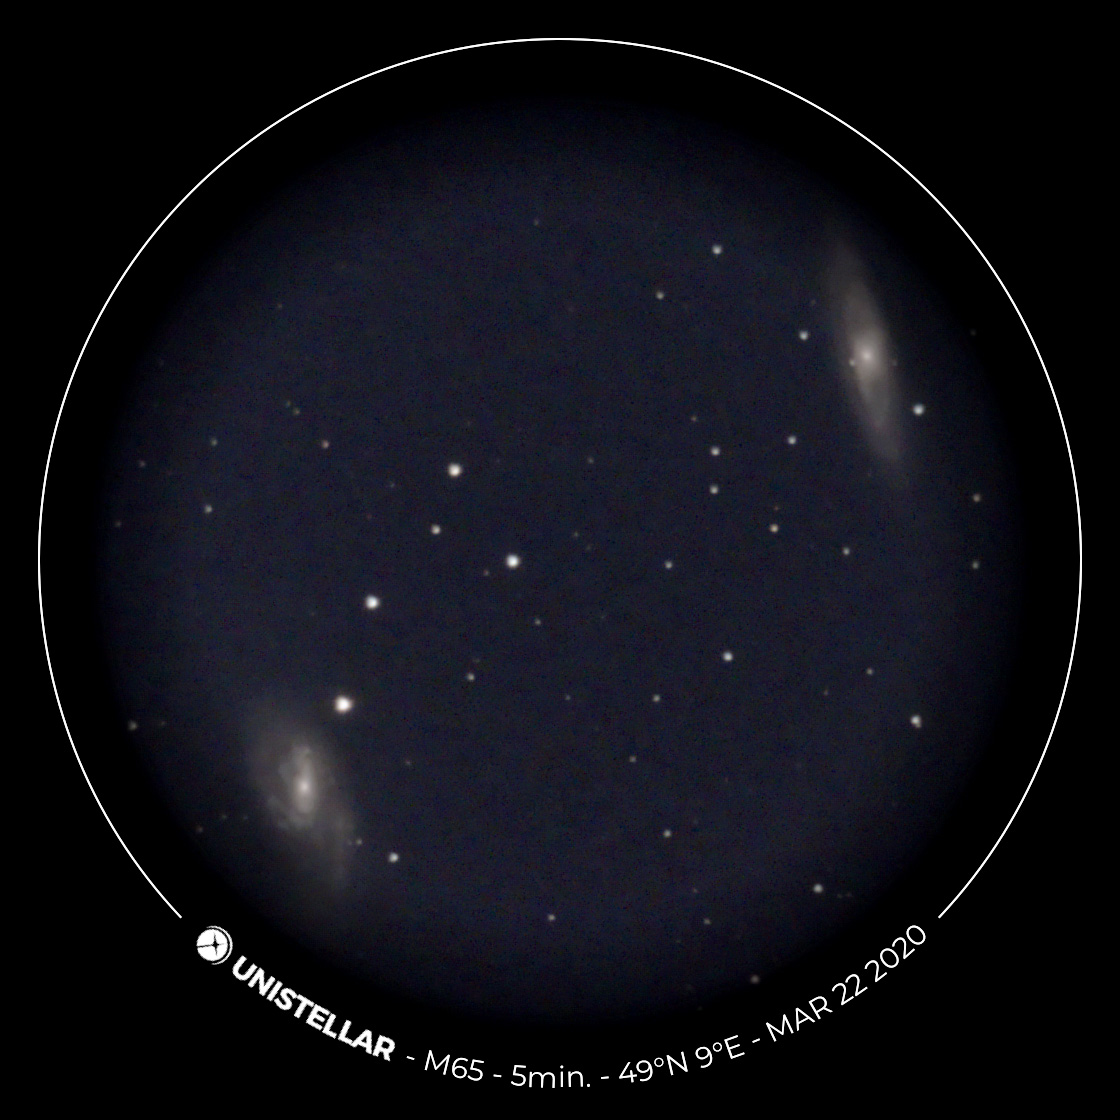
Version 1.0.3 introduced the possibility to turn the label (called "overlay") on and off in the app's user settings (User > General > Add an overlay when saving an image). It was not mentioned that the image size changes from 1120 x 1120 pixels with overlay to 1280 x 960 pixels (sensor format) without one. This option makes the entire sensor area available for photos, and makes it easier to position objects because the photo corresponds to the view on the smartphone. With an overlay, this only works reliably if you look through the eyepiece. The enlarged area also has the advantage that you can get several objects better into the field of view.
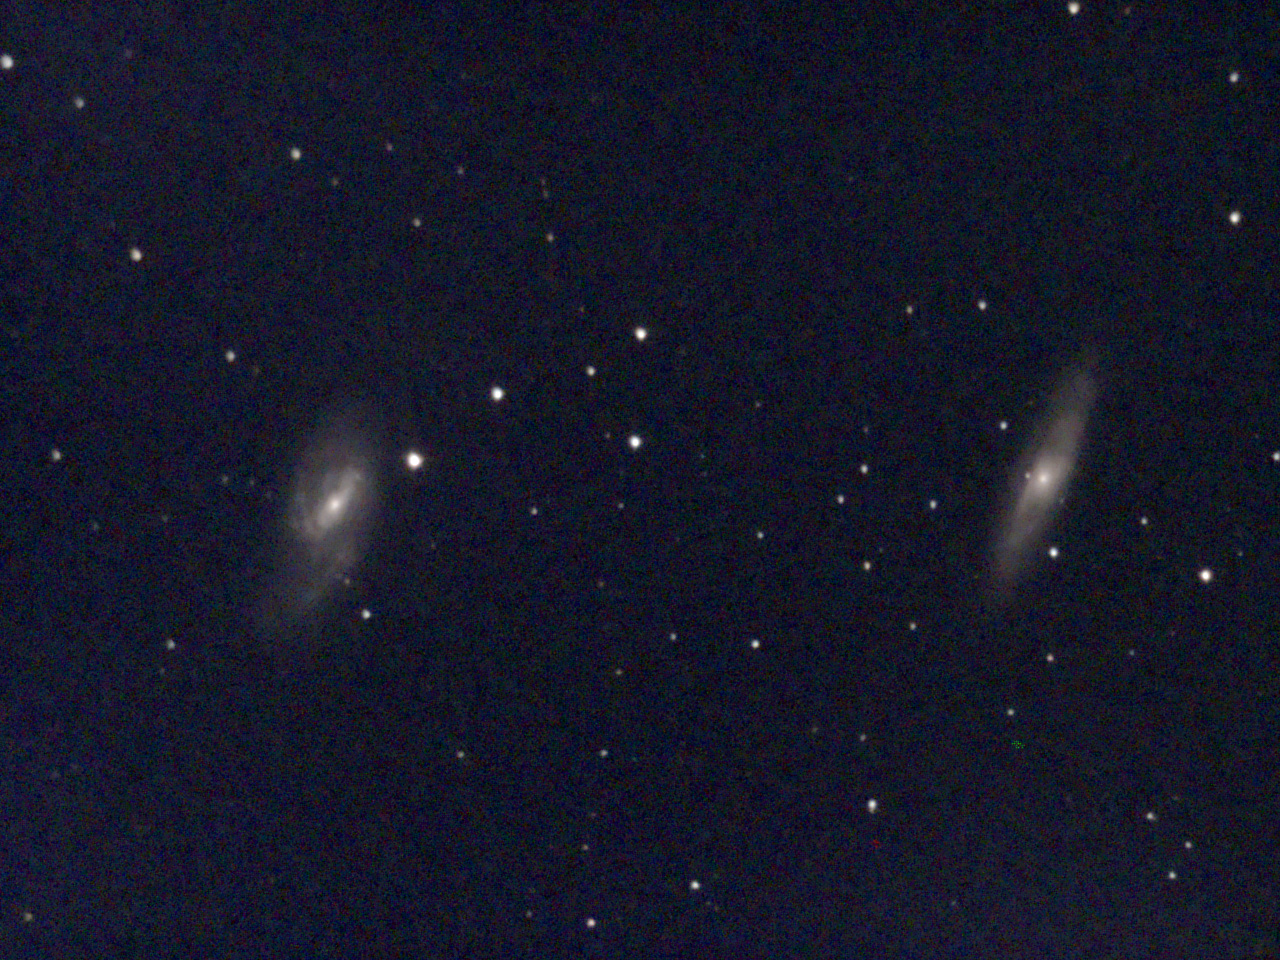
Example: For M 65/66 the overlay makes it quite tight, without overlay both fit well into the image:
 |
 |
|
M 65 & M 66 - March 22, 2020, processed |
M 65 & M 66 - April 23, 2020, processed |
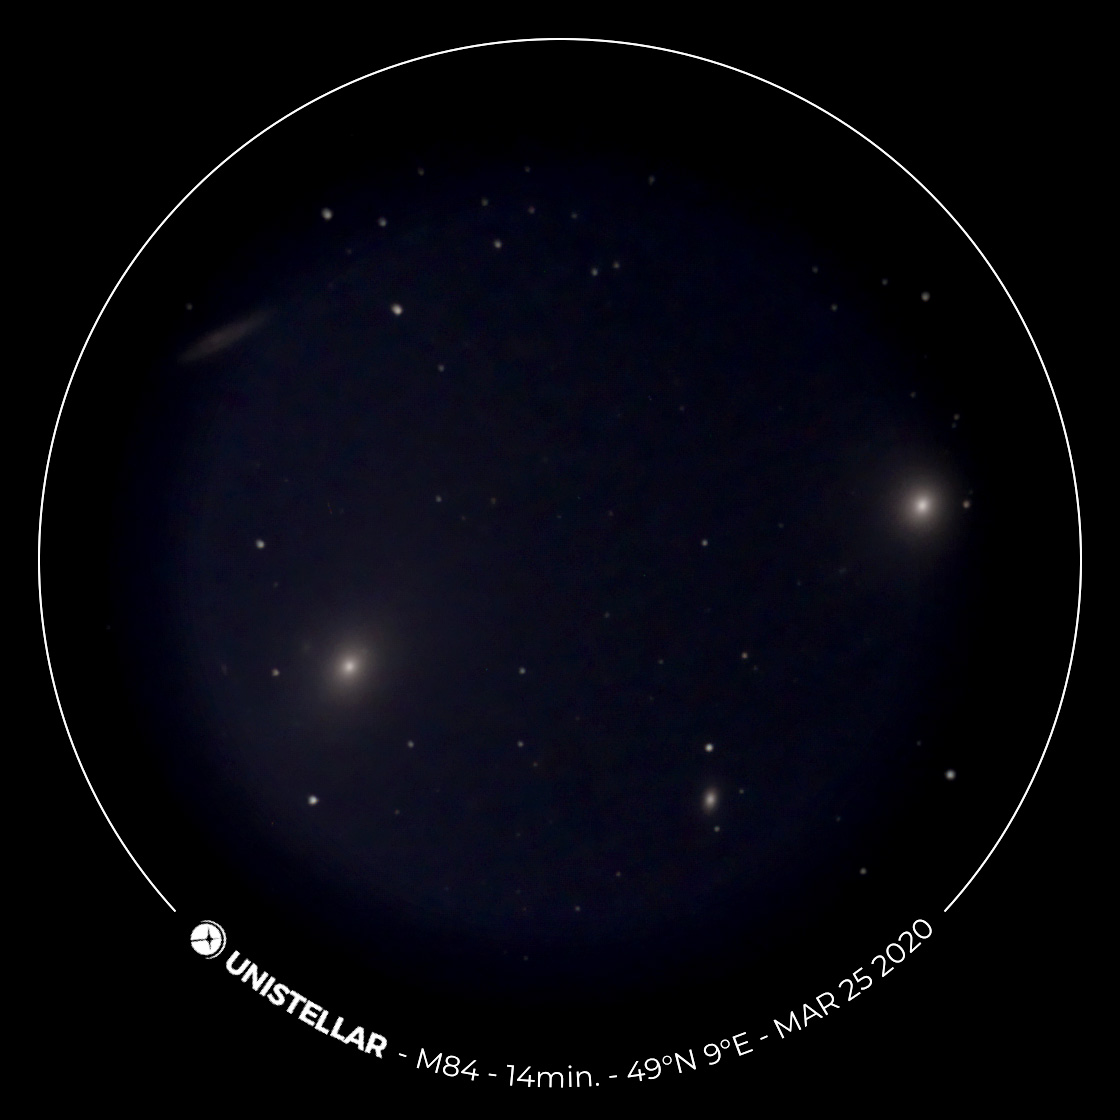
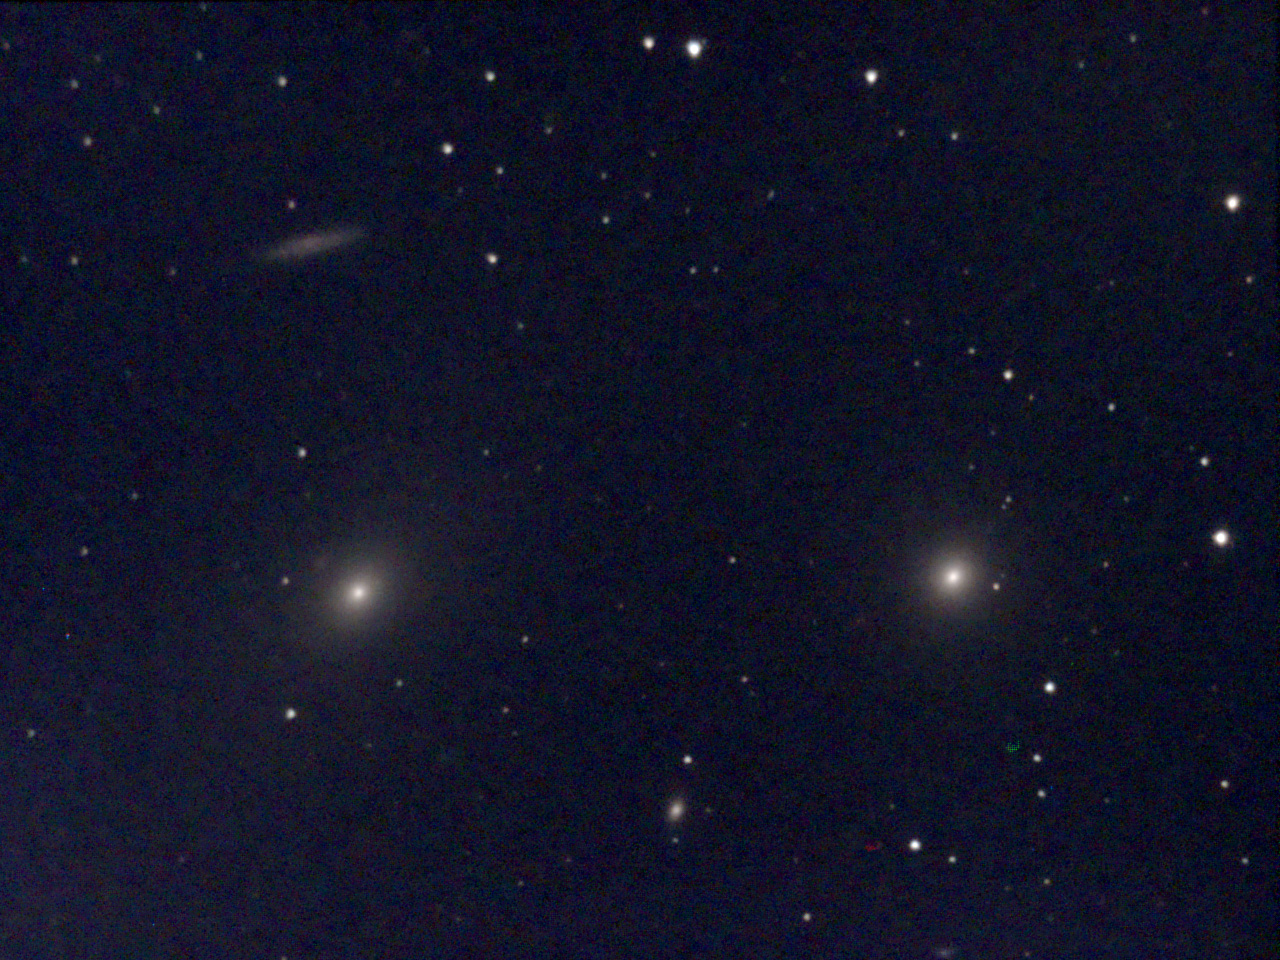
Example: With M 84/86, there is now more room for a third galaxy (NGC 4402):
 |
 |
|
M 86 and M 84 (right; top left NGC 4402) - March 25, 2020, processed |
M 86 and M 84 (right; top left NGC 4402) - April 22, 2020, processed |
How Do I Set the Rectangular Image Format?
In the app's user settings (User > General > Add an overlay when saving an image) you can add an overlay to the photo or not (see figure below):
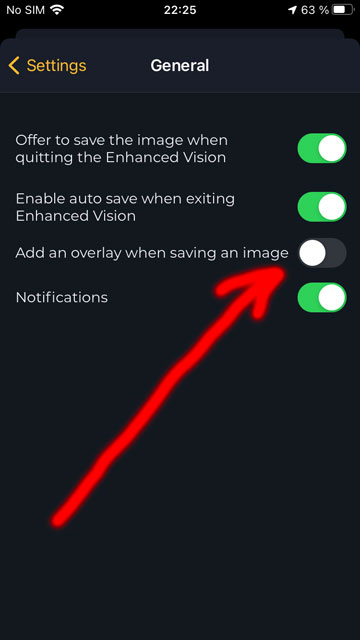
With an overlay, the photo has a square format, without it, it is rectangular and larger (for details see above).
Note: You have to turn off the overlay in order to set the rectangular format.
Update: Are there Differences in Size Between the Formats?
In his eVscope test at the beginning of 2021 in the magazine "Astronomie - das Magazin" (issue 16), Kai von Schauroth writes that a round mask with a soft vignette is placed over the eVscope image or photo and that the image is slightly enlarged. This results in round images with a diameter of about 1000 pixels. When I brighten up such images strongly, I get a "usable image diameter" of 920 to 930 pixels, which is even slightly less (the outer dimension is 1120 pixels). The tester does not write anything about the new rectangular format, which was not quite new at the time of the test, though.
However, I had always assumed that the rectangular format corresponds exactly to the sensor format, so that nothing is enlarged. So I wondered how the "round" format fares in this respect. To check this, I overlaid two photos of the same sky object, taken shortly after each other in both formats, in Photoshop using different layer modes (difference, exclusion). My result was that in difference mode the photos cancelled each other out at the center, proving that they are the same size.
 |
 |
 |
||
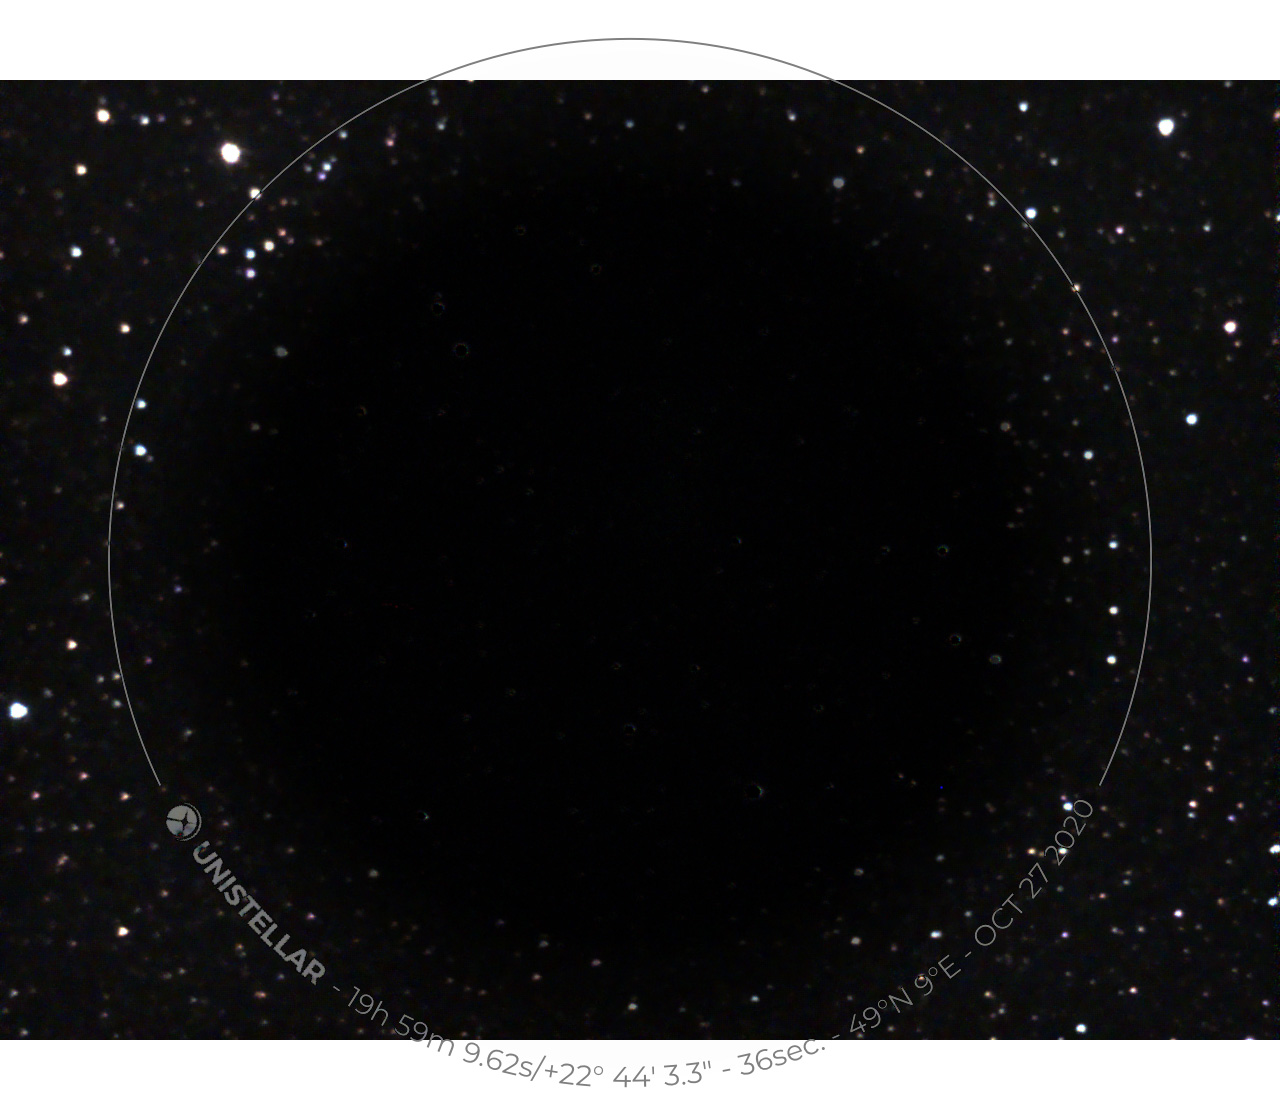
Heavily brightened photo to make the mask stand out; if you measure in the original photo (click on the preview to get it), you get 920-930 pixels for the image diameter |
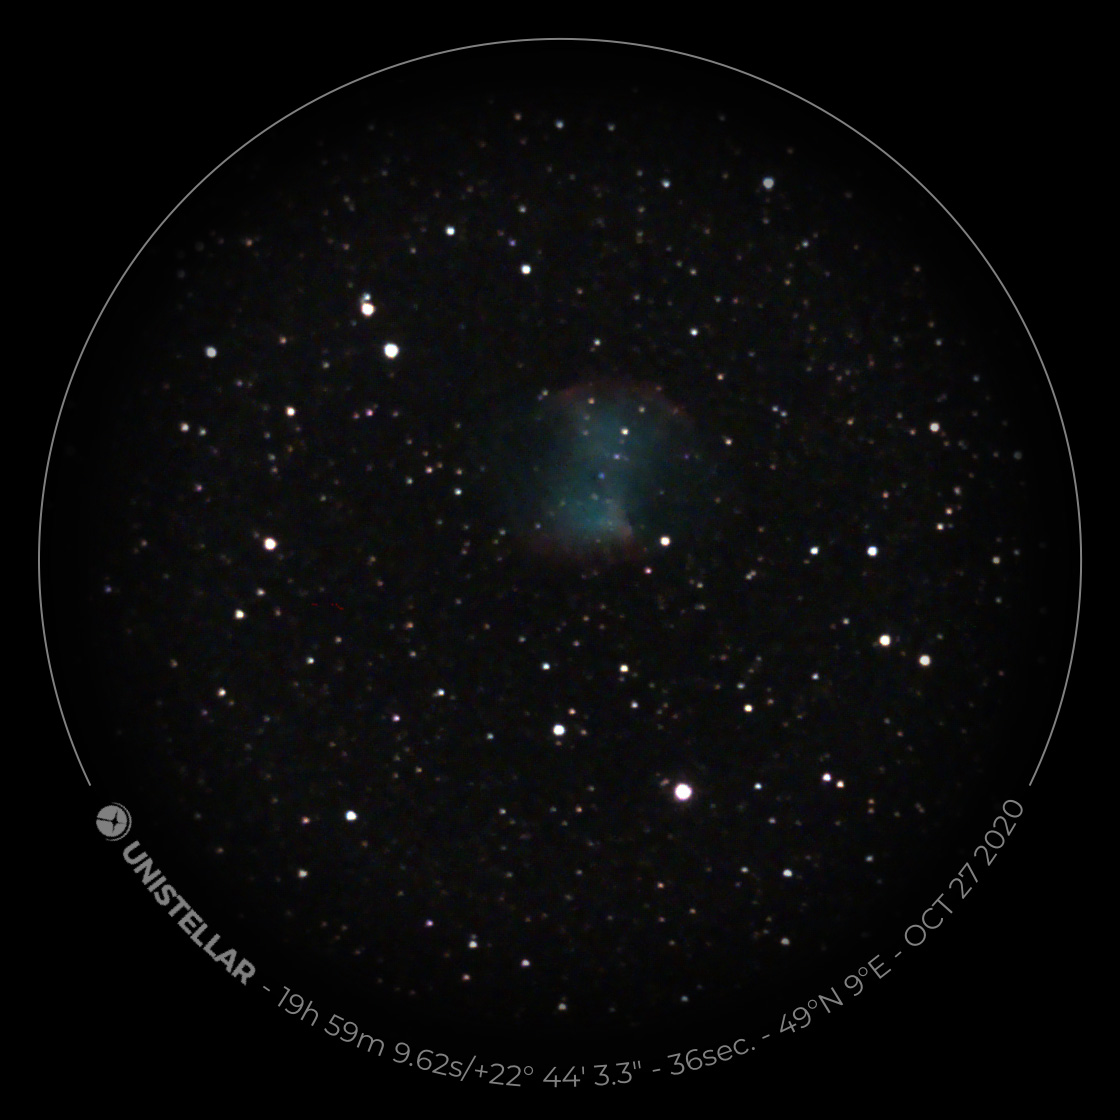
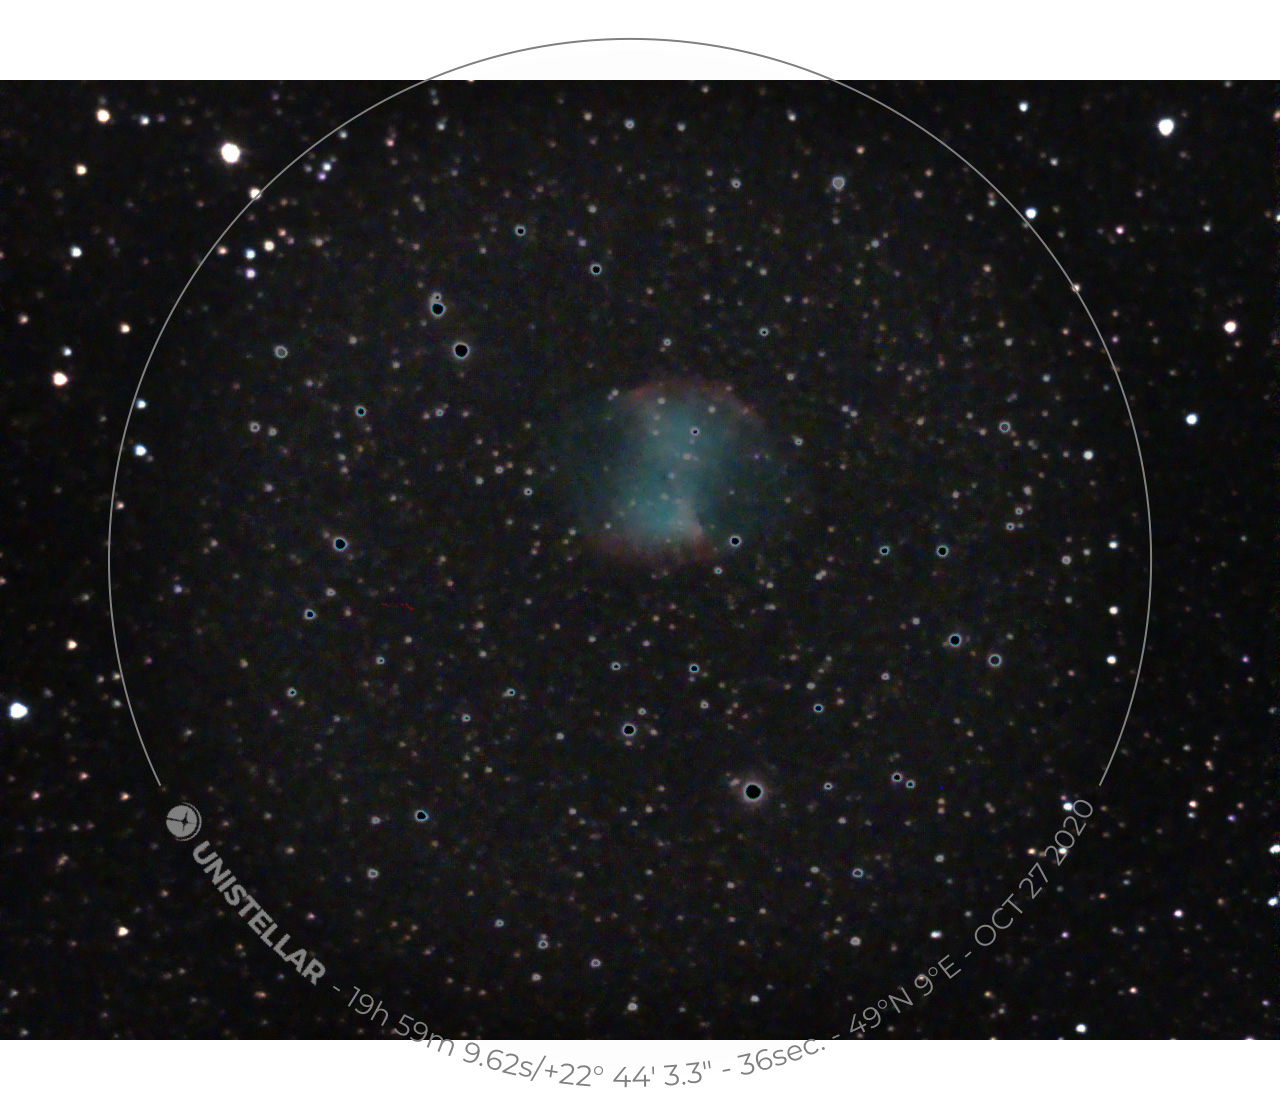
M 27 taken in "round" format; it appears larger here because it is scaled to the same width as the rectangular format |
M 27 taken in rectangular format; it appears smaller here because it is scaled to the same width as the "round" format |
||
|
 |
 |
||
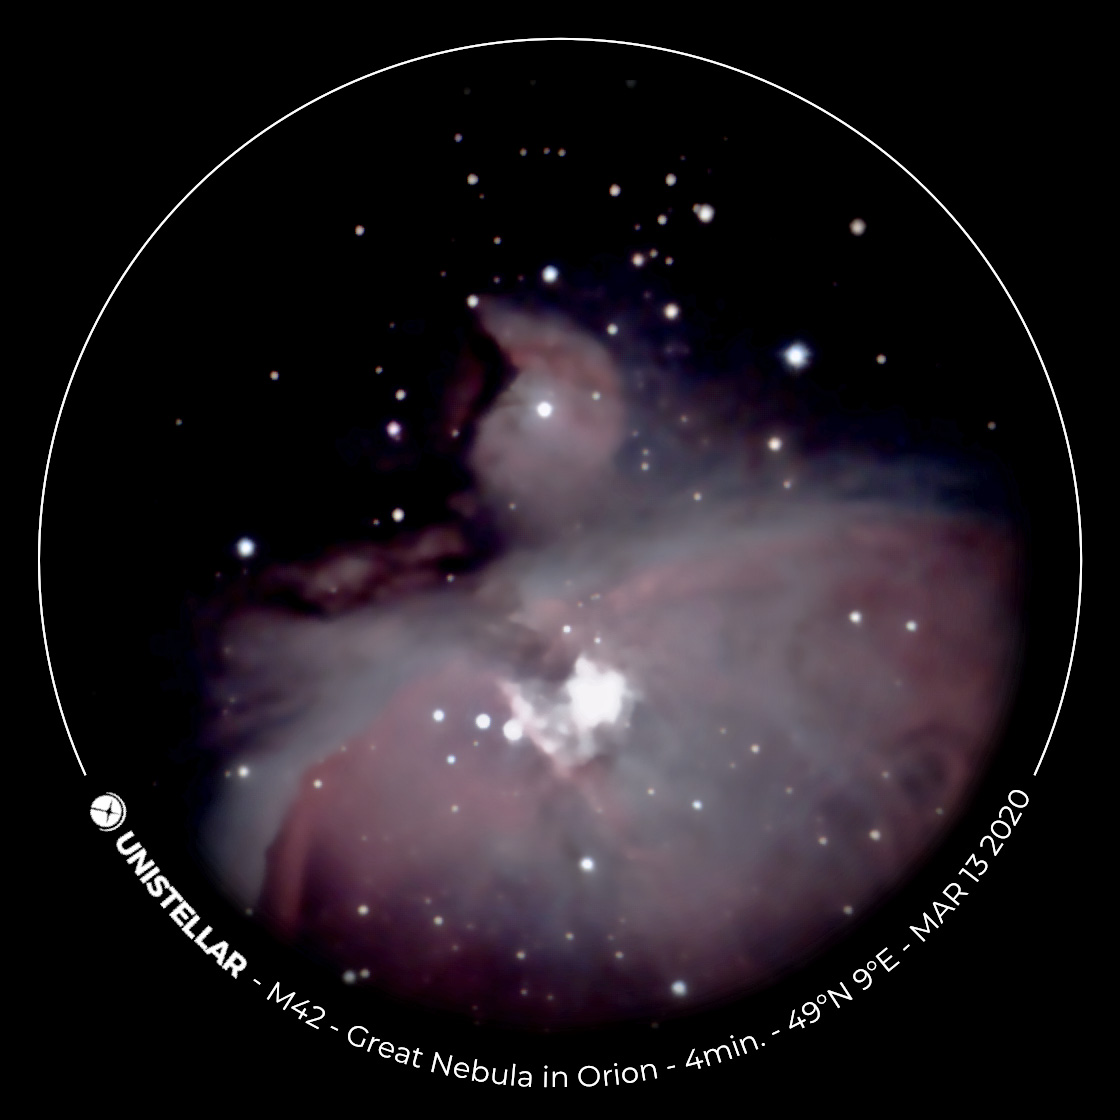
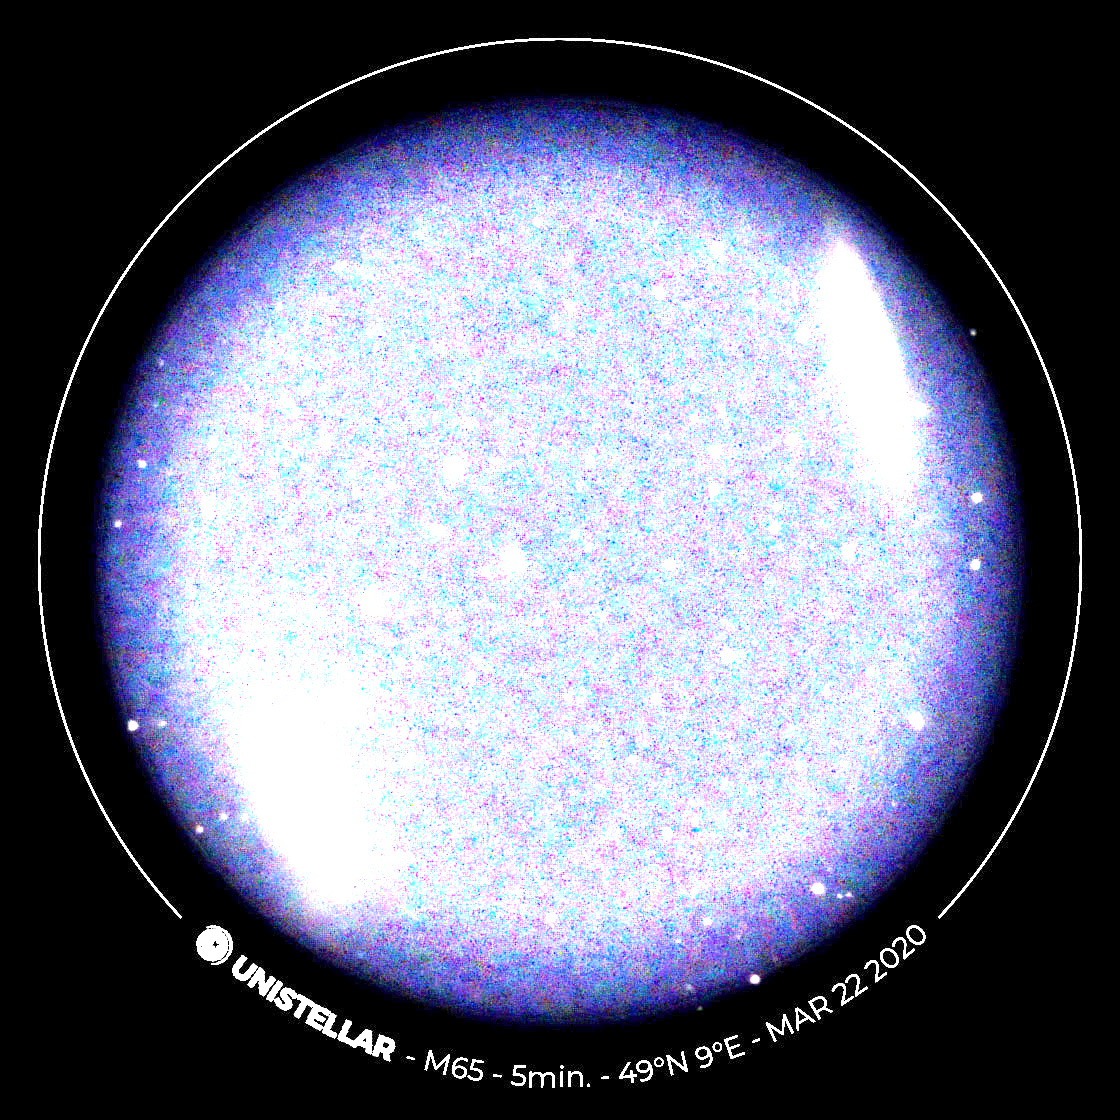
M 42 photo brightened up so that the vignetting becomes obvious |
Both photos above superimposed in "difference" layer mode: At the center, the image information cancels out - so they are of the same size |
Both photos above superimposed in "exclusion" layer mode: this mode as well proves that both objetcs are of the same size |
This result only proves that the sky objects are displayed in the same size in both formats. I cannot say whether a slight magnification takes place beforehand, but I consider this rather unlikely because the magnification would then have to be applied to all use cases, i.e. also to the image in the smartphone.
Charging the eVscope
According to the Unistellar Knowlege Base (What is the recommended temperature range for my eVscope?), the eVscope can only be charged between +10°C and +40°C; this also applies to charging the eVscope while observing. On request, I also received the following information from Unistellar (Yann) on February 6, 2020:
- About the charging problem, it is absolutly true that right now that there is a built-in mechanism that prevent battery for charging if the temperature is too low. We know that charging your battery under 5° can sometimes cause damage.
- But things will change a bit with the next update: Version 1.0. You will be able to charge and use your eVscope even at a low temperature. We did a lot of tests in very low temperature (even at -20° Celcius), with the version 1.0, and the results are much better!
Gallery
Initially, the photo gallery of the Unistellar app was a "book with seven seals" for me. On the other hand, it offered so little functionality that I did not see any reason to use it at all. In the end, the gallery seems to be a copy of the album "Unistellar", which the Unistellar app creates in the Photo app when you save photos (using the store icon). In this respect, it is more recommendable in my opinion to use the Photo app, at least, if you are not connected to the eVscope - but also in general. So I thought! But the gallery can also be quite useful, namely for judging the photos you have just taken (see page Tips and Tricks). This is much more convenient with the gallery than with the Photos app.
Message "No Internet"
While doing the SD card exchange, I noticed something that I had not taken note of before, but that was discussed in the Kickstarter forum. After a few seconds, my iPhone shows a message that there is no Internet connection:
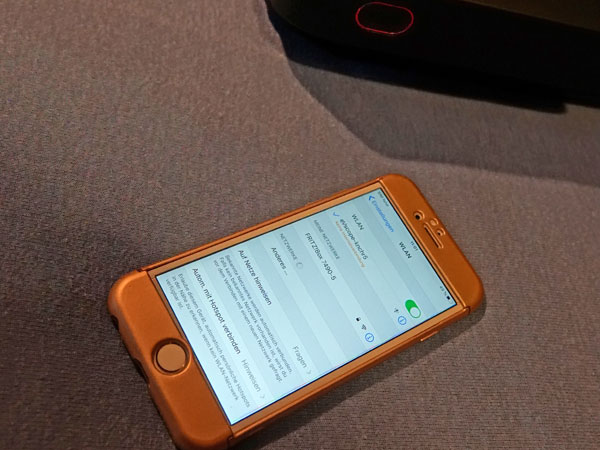
This is indeed the case, because the iPhone is now connected to the WLAN network that the eVscope sets up, but this message appears like a warning that suggests that something is wrong. In fact, everything is fine, and the app correctly connects to the eVscope (at least most of the time...)
P.S.: A video tutorial from Unistellar also points out that this message is completely normal.
WLAN - Blues or Not?
In the Kickstarter forum, some eVscope owners reports Wi-Fi issues with the eVscope. Typically, according to these reports, the WLAN connection would soon get lost after an initial successful connection. Regrettably, this has never been thoroughly discussed in the Kickstarter forum. Recently, a US eVscope owner complained in an e-mail to me that he has Wifi problems with his new eVscope, but regrettably did not get into details.
I did not write about Wi-Fi connection problems here on my Website, but this does not mean that there are none. This has probably to do with what you expect... My take on this is that the eVscope's WLAN signal is not very strong. According to my observations, it does not reach far, just a few meters. And it is also weakened by walls, that is, when the signal has to pass through rooms. So, the WLAN connection to my eVscope gets indeed lost from time to time or under certain circumstances, but I attribute this to the weak WLAN signal.
I usually hold my iPhone next to the eVscope after I turn the eVscope on and then connect my iPhone to its WLAN network. As far as I remember, I never had a problem with this procedure. Others seem to have already problems at this stage. One reason for this that is sometimes mentioned, is the following: Other, stronger WLAN networks may interfere with the eVscope's WLAN network and may take over, that is, take precedence. There may be many other reasons for WLAN failures, but regrettably I cannot comment on this because of my lack of experience with such situations...
Indeed, when I increase the distance between the eVscope and my iPhone, the Wifi connection may get lost and often this is what happens. This is particularly the case, when I put the eVscope on the terrace and go inside into the kitchen, because it is cold outside. Then, there are the winter garden and the kitchen between my iPhone and my eVscope. I usually sit close to the kitchen door, and there the connection may work or not (it tends to get lost from time to time and may reappear), but when I go to my wife who sits deeper inside the room to show her something on my iPhone, the connection usually gets lost. The connection typically is restored when I return to the winter garden or the terrace. In some cases, however, I have to reestablish the connection and after that restart the app, because it does not recognize the eVscope's WLAN.
So, I would definitely prefer a stronger WLAN signal, because the current state prevents us from observing with the eVscope on the terrace and us sitting in the warm kitchen in winter...
In certain cases, one may also be at a distance, where the WLAN signal is already somewhat "shaky" and the connection may get lost, reappears and so on...
So, all I can say is that the eVscope's WLAN works for me, provided that I care for the distance to the eVscope and for potential obstacles between the eVscope and my iPhone.
Small Bug List
- For some approached objects, the position was indicated in the photo, instead of the object name; this also happened (and did not change) for some objects during the course of an observation in "Enhanced Vision" mode.
- In the gallery, the first photo in the gallery was deleted instead of the selected photo (seems to be fixed).
- Some objects can only be found by their name and not by their catalog number (for Messier objects, Flame Nebula, and Horse Head Nebula it seems to work). Maybe that was my mistake, or the bug was already fixed. When I enter "2264", I get the Christmas Tree Cluster, which is correct (but you have to know that they are the same...).
Conclusions on Version 1.0
Version 1.0 of the Unistellar app has introduced a number of improvements, including some urgently-needed features (parking, dark frame recording) and also some detail enhancements (slight increase of the image field with overlay, abort options). I may not have noticed all of the detail improvements yet. Version 1.0.0 was still quite unstable, and two updates (1.0.1 and 1.0.2) were soon published. It is possible that these have increased the app's stability. Version 1.0.3 allows you to switch off the label ring (called "overlay"). Thank you, Unistellar! Two further version updates followed until the end of June 2020 (up to version 1.0.6). Among others, they introduced a German and a Japanese user interface and the option to use tablet computers for controlling the eVscope.
I draw a general conclusion about the eVscope after 3 months of ownership, based on app version 1.0, on page Unistellar eVscope - First Conclusions (Version 1.0).
This app version still had a number of bugs before the new app version 1.1 was published on October 5, 2020.
Links
- Unistellar Website: unistellaroptics.com
- eVscope Kickstarter campaign: www.kickstarter.com/projects/unistellar/evscope-100-times-more-powerful-than-a-classical-t/
- See also my page offering Astronomy Links.
|
made by |
| 19.09.2022 |