Telescope Accessories - Part 2
Introduction | LED Red + White Flashlight (Adjustable Brightness) | Power Tanks | Intenso Powerbank XS20000 | SkyWire Serial Accessory | Sky-Watcher SynScan WLAN | Sky-Watcher Synscan USB Dongle for GoTo Mounts without USB | Celestron StarSense AutoAlign for Sky-Watcher | Crosshair Eyepieces | Laser Collimator | Digiklemme 1 | Sky Quality Meter
On this and a further page, I present an overview of my telescope accessories. Since there are now so many accessories, I need two pages for this...
See also: Telescope Accessories - Part 1
Introduction
As with all hobbies, you are not done with astronomy when you buy a telescope with perhaps two kit eyepieces. Unfortunately, this is only the beginning of a series of further investments. These do not only apply to larger and larger telescopes, but also to better eyepieces, which can be even more expensive than beginners' telescopes, as well as a wide range of accessories that improve the observation experience or make it possible at all.
Note: One might list the Atik Infinity Colour camera and the ZWO ASI224 camera as an accessory here as well, but I present it in a section of its own. Here is the information page for the Atik Infinity, and here the one for the ZWO ASI 224. In the meantime, I sold both cameras ans acquired new ones...
In the following I present the second part of the most important accessories (except eyepieces), which I acquired over time. This includes devices that...
- support working in the dark (without losing your dark adaptation)
- simplify or are necessary for the use of a GoTo mount
- Power Tanks: 12V / 7 Ah rechargeable Power Tank (Sky-Watcher), 12V / 84 Wh rechargeable Power Tank (Celestron)
- Powerbank: Intenso Powerbank XS20000
- SkyWire Serial Accessory (no longer in my possession)
- Sky-Watcher SynScan WLAN (WiFi Wireless adapter control of the mount via smartphone or tablets)
- Sky-Watcher Synscan USB Dongle for GoTo Mounts without USB
- Celestron StarSense AutoAlign for Sky-Watcher (no longer in my possession)
- Crosshair Eyepieces: Crosshair eyepiece, 12.5 mm focal length, illuminated, Crosshair eyepiece, 23 mm focal length, can be illuminated
- allow to check and collimate (adjust) Newtonian telescopes
- Baader Laser-Colli Mark III (Laser Collimator) (no longer in my possession)
- measure the sky quality
LED Red + White Flashlight (Adjustable Brightness)
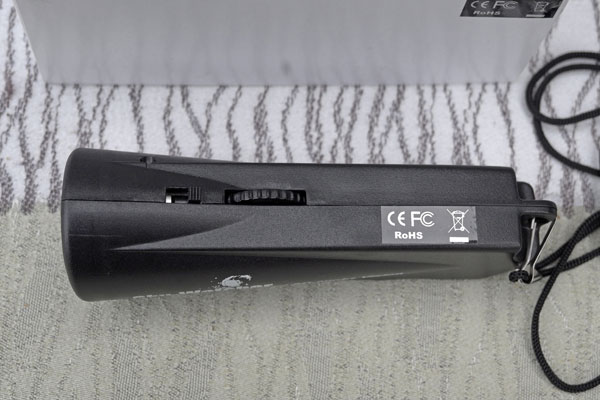
Flashlight with box, side view |
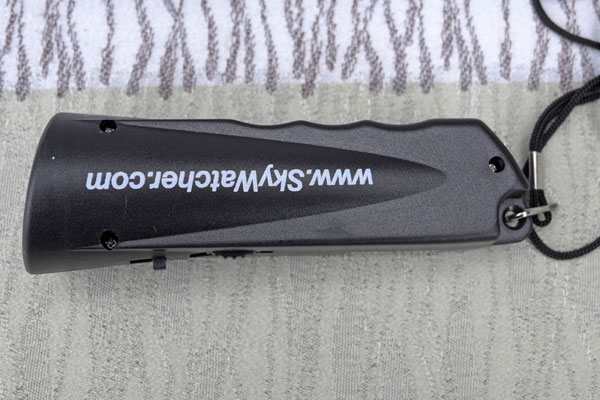
Side view: You can see three screws that need to be loosened to open the case for changing the 9 V battery |
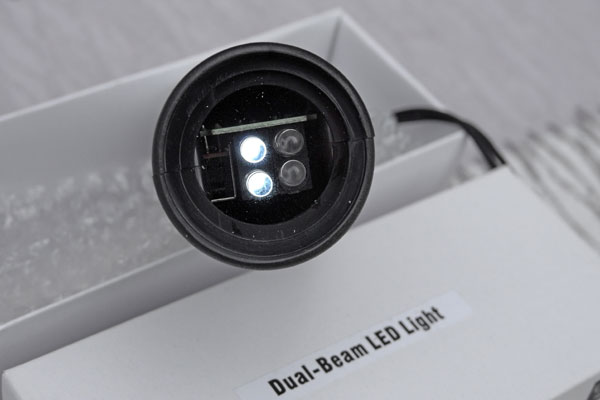
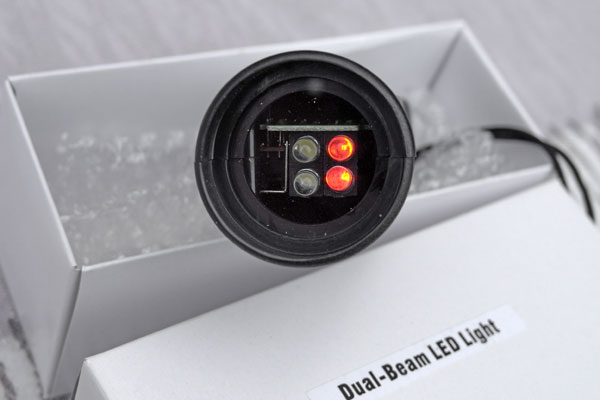
White light |
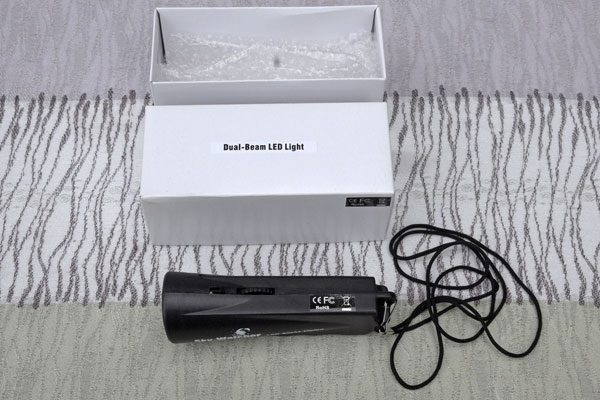
Flashlight with box, top view |
Top view: On the top you can see the red-white switch (left) and the control for setting brightness and turning the light on or off (center) |
Red light |
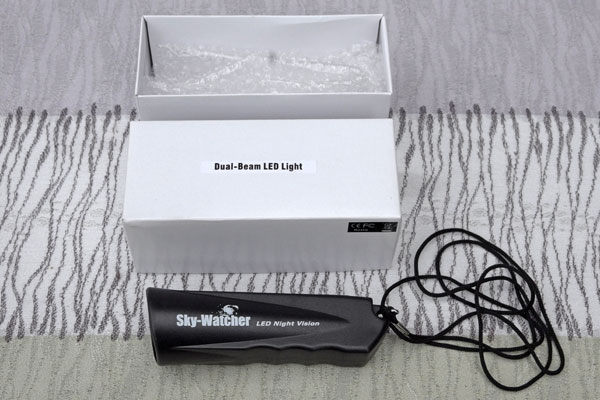
I use this lamp (from Sky-Watcher) to read star charts and astronomy books or do other things at the telescope without losing my dark adaptation. Unfortunately, the red light illuminates everything rather unevenly. Annoying is also that you have to unscrew the lamp for changing the battery (9V block battery; I am curious how long this will work...).
Link
- LED Red + White Flashlight - Adjustable Brightness: http://www.teleskop-express.de/shop/product_info.php/language/en/products_id/3461 (TS Optics version, seems to be identical to Sky-Watcher version)
Power Tanks
12V / 7 Ah Rechargeable Power Tank (Sky-Watcher)
|
|
|
|
|
|
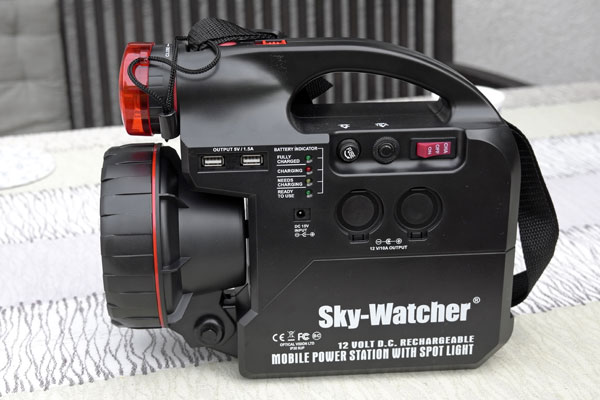
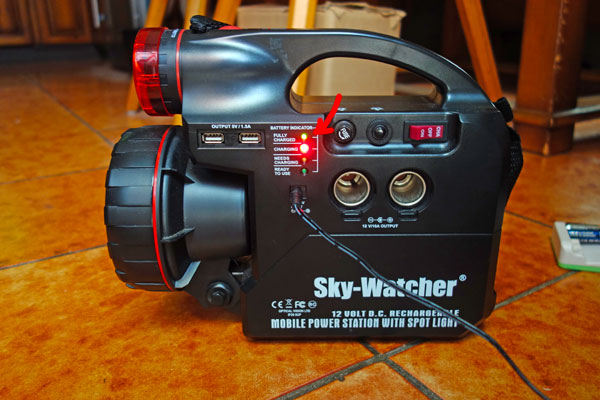
Long overlooked by me: When the battery is fully charged, a green LED is lighted |
|
|
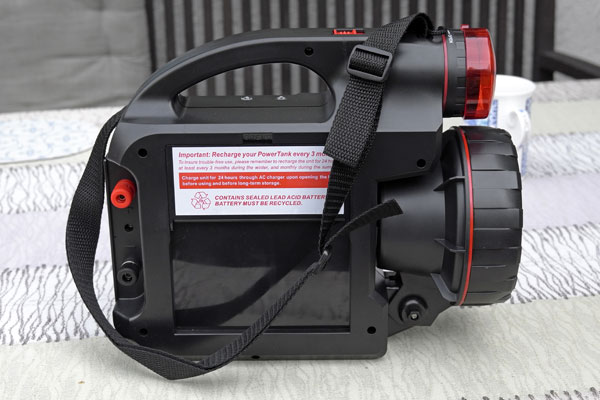
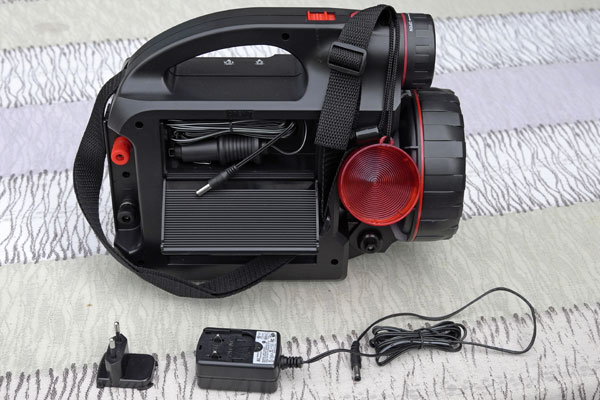
| The 12 V cable for charging via car battery and for supplying the GoTo mount is stored in a timber (with caption); initially, I thought it would be missing (in the instructions it is listed, but not where it is ...) | ||
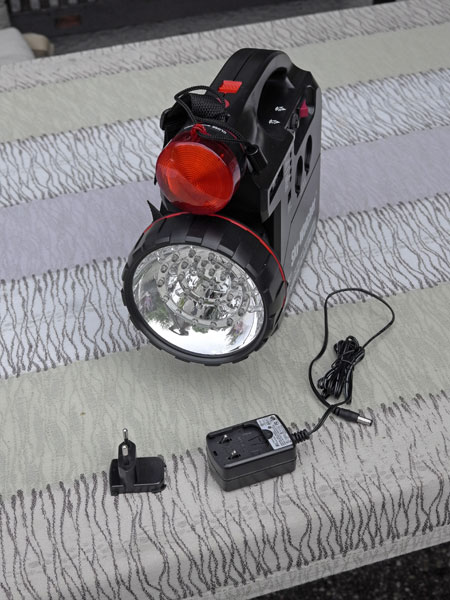

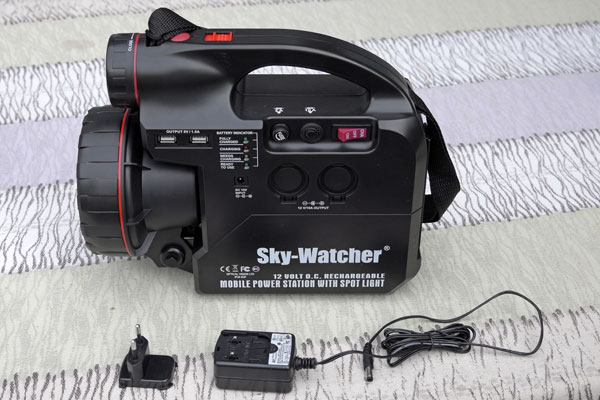
I bought the Sky-Watcher 12V / 7Ah Power Tank with red / white light and a rechargeable lead acid battery, because the 8 AA batteries, with which I had initially supplied the Star Discovery mount, had been used up very quickly. So I hoped that with this device power would last longer. However, I read that even the Power Tank is drained in only one night. In my eyes, this is not a problem, because you can recharge the Power Tank over night (if you do not forget this*...). At the moment, I can only tell that the power did not exhaust in one session.
*) You should recharge the Power Tank after each observation session before you stow it away, because fully charged battery cells are more robust against damage than partially charged cells (did I read in a forum).
Main technical data:
- Capacity 7Ah
- Outputs: 2 USB ports (5 V) and 2 ports for cigarette lighter plug (12 V)
- Integrated LED spot light (red only with a cap!), built-in, rotatable white LED lamp (30 LEDs)
- 230V charger included; 12 V cable included as well, but "hidden" in a compartment (required for supplying the GoTo mount)
- Carrying aid
Note: At the end of November 2024, I sold the Sky-Watcher 12V / 7Ah Power Tank power tank. I am therefore regrettably unable to report any further experiences with it on this site.
Link
- Sky-Watcher 12 V / 7 Ah Rechargeable Power Tank: www.astroshop.eu/power-supply/skywatcher-7-ah-rechargeable-power-tank/p,16095
12V / 84 Wh Rechargeable Power Tank (Celestron)
|
|
|
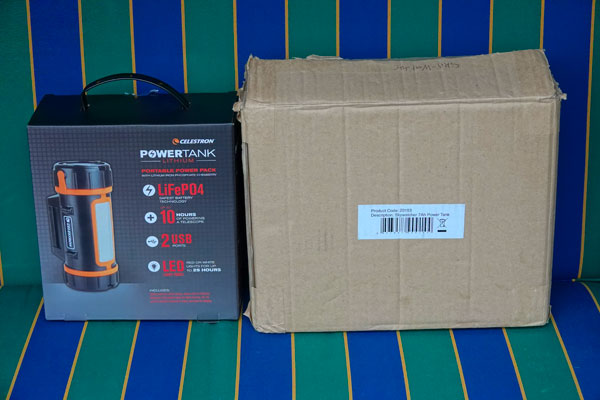
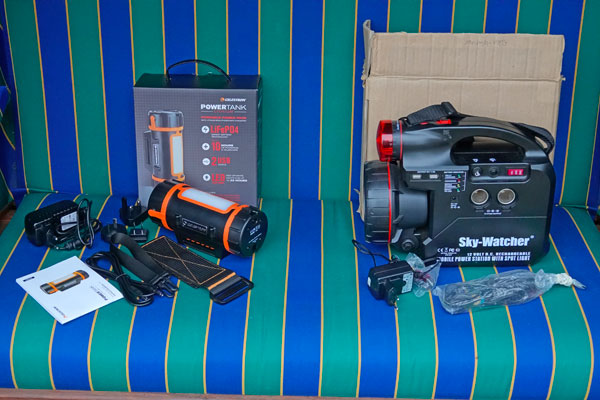
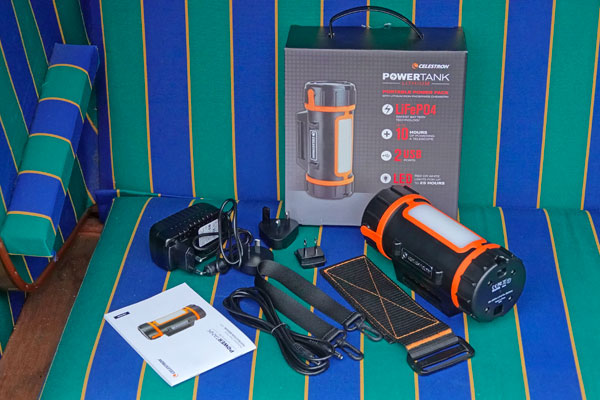
I bought the Celestron 12V / 84 Wh power tank with red/white light (far too bright) and a rechargeable lithium battery because I wanted a more compact "package" for my Sky-Watcher AZ-GTi mount for travel. Besides, a lithium battery has many advantages over a lead gel battery and is recharged in 3 to 4 hours.
Main technical data:
- Capacity: 84.4 Wh
- Charge time (from flat): 4 h
- Telescope power port: 12 V DC/3 A
- USB charging port 1: 5 V DC/1 A
- USB charging port 2: 5 V DC/2.1 A
- Light panel: Red or white, two intensites (far too bright)
- Size: 19 cm high, 7.6 cm diameter
- Weight: 1 kg
Note: In November 2024, I sold the Celestron 12V / 84 Wh power tank. I am therefore regrettably unable to report any further experiences with it on this site.
Link
- Celestron 12 V / 84 Wh Rechargeable Power Tank: www.celestron.com/products/powertank-lithium
Powerbank: Intenso Powerbank XS20000
Parts of the Intenso Powerbank XS20000 |
Ditto, Powerbank turned upside down |
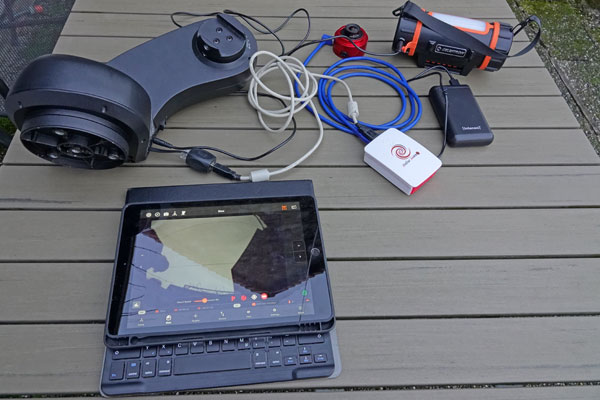
Powerbank in use |
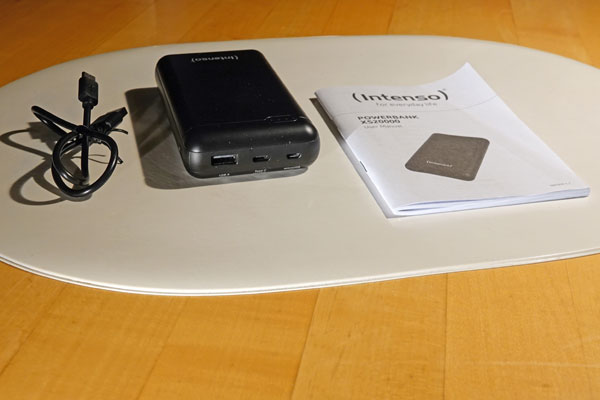
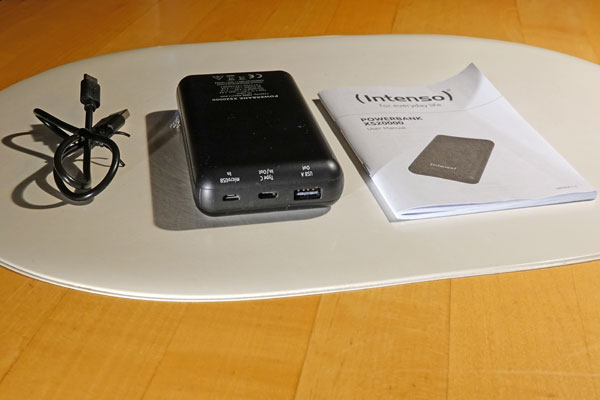
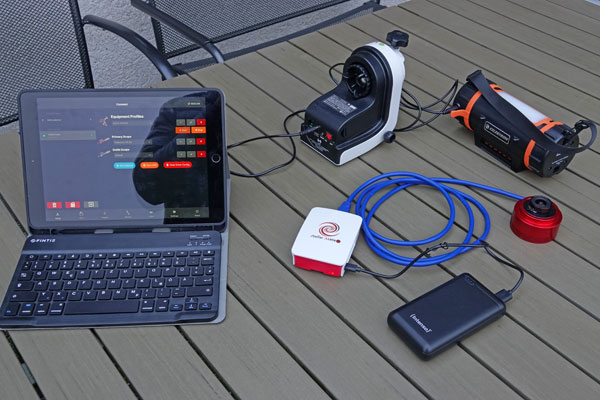
The Intenso Powerbank XS20000 offers a capacity of 20 Ah. I bought it for mobile operation of my StellarMate astronomy computer, and the capacity should be enough for more than one observing night. However, I sold ther StellarMate, but I can use it to power my Vaonis Vespera Pro.
I also use the powerbank to power my iPhones, which run out of power very quickly at night. To do this, I connect the powerbank to the iPhone via charging cable, put it in a jacket pocket, and hold the iPhone in my hand.
Link
- Intenso Powerbank XS: www.intenso.de/en/products/powerbanks/powerbank-XS
SkyWire Serial Accessory
Originally, I intended to use the Star Discovery GoTo mount only with the SynScan hand box, even though I knew that controlling the telescope using astronomy software applications such as Stellarium is possible with the Star Discovery mount. However, an RS232 to USB adapter is required to connect the hand box to the computer, but it is not guaranteed that such an adapter will work on the Apple Macintosh. So I did my first attempts on using GoTo with the SynScan hand box. This succeeded fairly well, but I am not a friend of this kind of interaction and find hand boxes rather counter-intuitive to use - quite in contrast to controlling telescopes using astronomy apps.
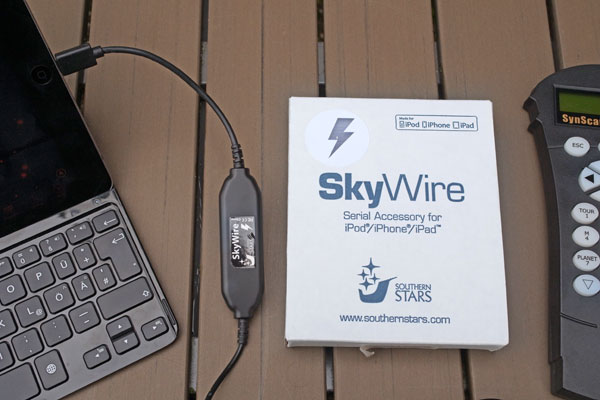
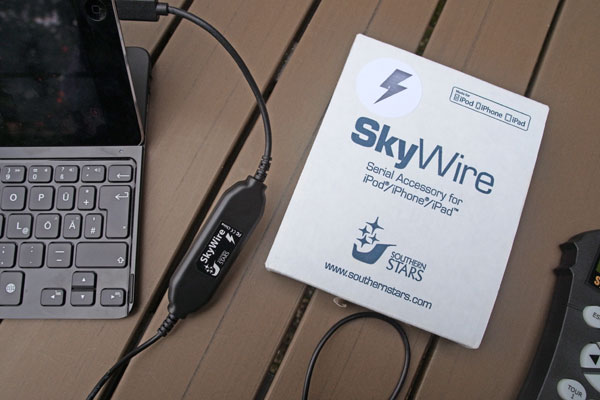
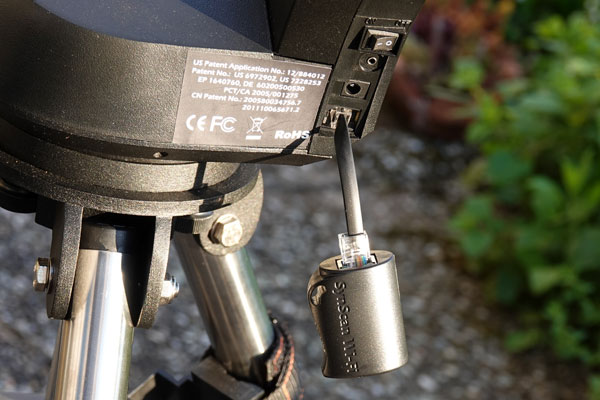
Southern Stars SkyWire Serial Accessory |
Ditto connected to iPad and hand box |
Ditto |
Ditto, detail |
Ditto |
Ditto |
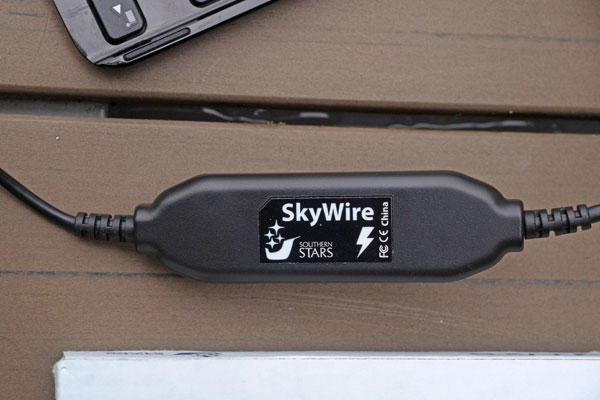

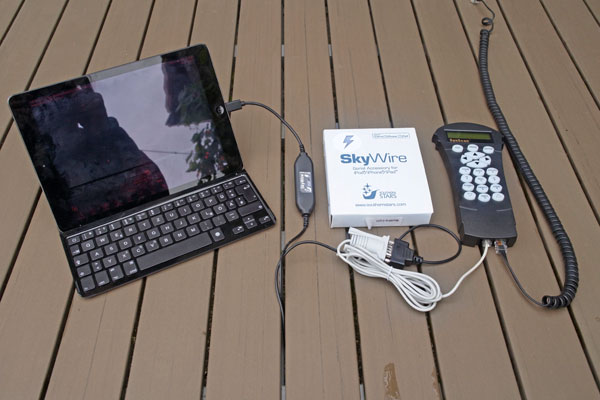
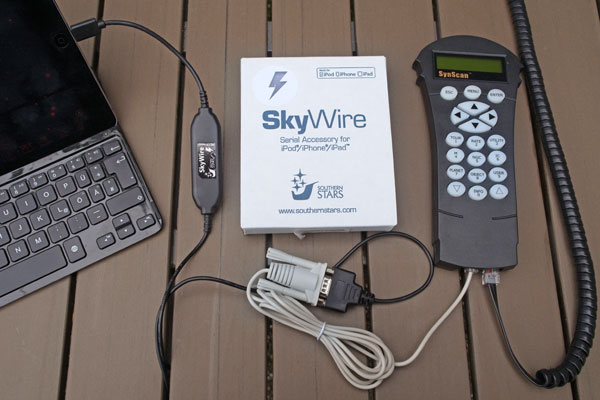
I accidentally came across SouthernStars' SkyFi WiFi control accessory* (built for Simulation Curriculum, the developers of the Starry Night and SkySafari astronomy applications), which seemed too expensive for me. But then I discovered that there is also a wired solution for the iPad from SouthernStars, the considerably cheaper SkyWire serial accessory (unfortunately it does not work with the MacBook ...). This device is available in two versions, a cheaper one for the old 30-pin connector and a slightly more expensive one for the Lightning connector. Since my iPad sports a Lightning connection, I would have needed an adapter for the cheaper version. But this combination would be priced similarly to the Lightning version - and would include a potentially wobbly adapter. So I finally decided to buy the Lightning version of the SkyWire serial accessory, because I was curious to learn how controlling a telescope using an astronomy app does work. I describe my experiences on an extra page.
*) Note: The SkyFi and SkyWire telescope control accessories are now owned and supported by Simulation Curriculum Corporation. Contact Simulation Curriculum for technical support on these products (from: www.southernstars.com/products/index.html).
Note: In May 2019, I gave away the SkyWire serial accessory because the SynScan WLAN adapter replaced it. I am therefore regrettably unable to report any further experiences with the Skywire serial accessory on this site.
Links
- SkyWire Serial Accessory: www.skysafariastronomy.com/products/skywire/index.html
- SkyWire Lightning Serial Accessory: store.simulationcurriculum.com/collections/frontpage/products/skywire-lightning-serial-accessory
- SkyWire Serial Accessory: www.teleskop-express.de/shop/product_info.php/language/en/info/p6526_SouthernStars-SkyWire---GOTO-mit-iPhone-5-und-SkySafari-Pro---Lightning-Anschlu-.html
SynScan WLAN
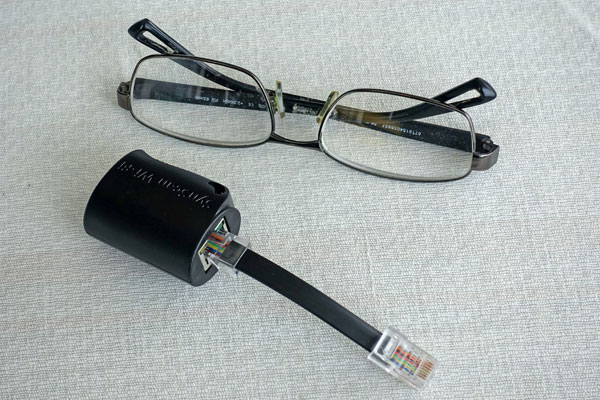
Box content (and glasses...) |
The adapter module |
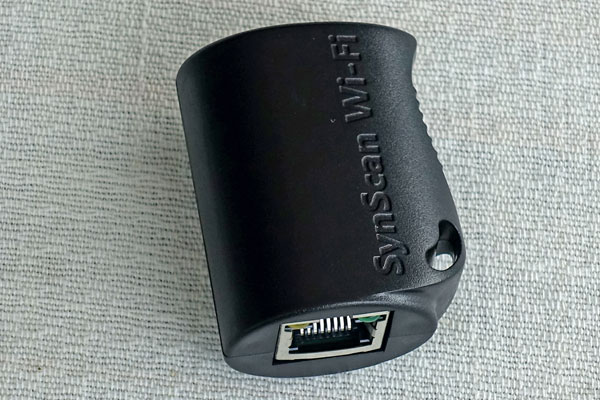
Ditto |
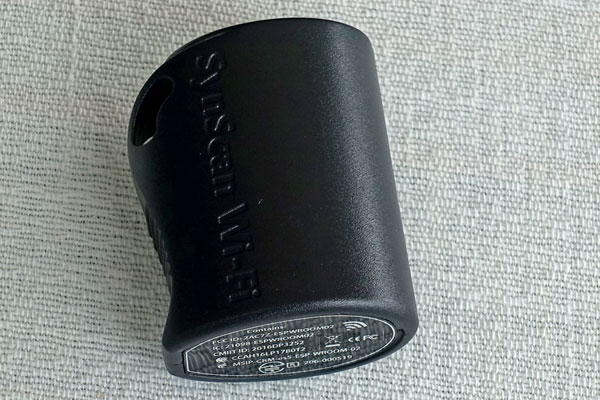
Ditto |
Ditto, with cable |
Ditto, connected to the mount |
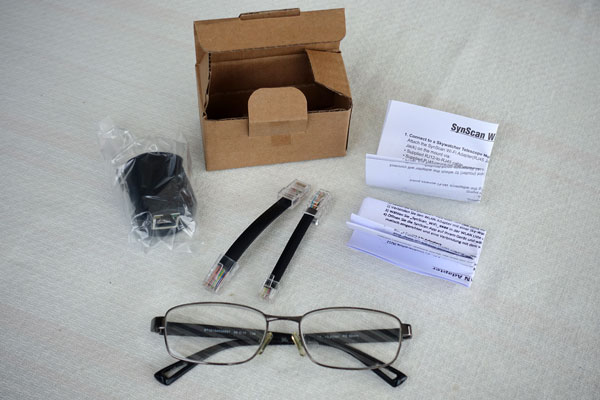
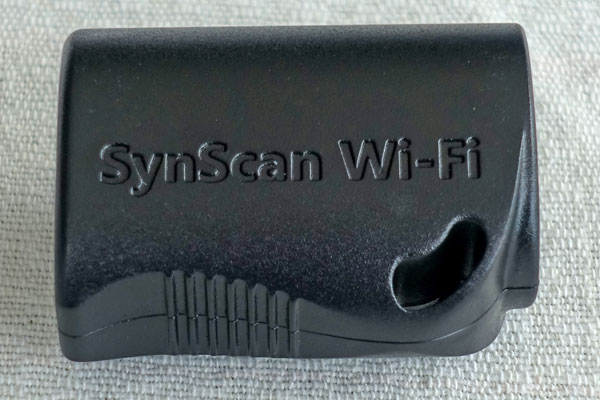
I came across the SynScan WLAN adapter through an e-mail contact in April 2019. This module is compatible with all Sky-Watcher GoTo mounts and allows wireless control via smartphone, tablet, or computer using the SynScan or SynScan Pro app. These apps support the SkySafari Plus/Pro planetarium software for Android and Apple iOS, but Apple iOS requires two devices at the same time (two iOS devices or one iOS device and one Macintosh).
The WLAN adapter is connected to the connection for handboxes on the mount and draws its power from it. It creates its own WLAN network to which the mobile devices or computers are connected. I can report here only about iOS/OS X and the Windows App, where the whole thing did not work as smoothly as I had imagined initially. I describe my experiences on an extra page.
Note: At the end of November 2024, I sold my Sky-Watcher Star Discovery mount together with handbox and SynScan WLAN adapter. I am therefore regrettably unable to report any further experiences with the SynScan WLAN adapter on this site.
Links
Sky-Watcher Synscan USB Dongle for GoTo Mounts without USB
Sky-Watcher Synscan USB dongle and printer cable |
AZ-GTi connected to Stellarmate via dongle and printer cable |
Star Discovery connected to Stellarmate via dongle and printer cable |


The Sky-Watcher USB dongle allows to control all Sky-Watcher SynScan GoTo mounts via a PC or Android device. It is connected by cable to the handbox input of the mount. The dongle is connected to the computer via a USB printer cable. With the dongle connected, the mounts can be controlled via the PC using the SynScan Pro app for Windows. In addition, the firmware of the mounts can be updated using the MCFirmware Loader.
I purchased the dongle in order to be able to control my AZ-GTi and Star Discovery mounts with the StellarMate astronomy computer via cable, because the wireless connection has proven to be very unreliable - and not only for me. And, according to first tests, this seems to work only for the AZ-GTi connection to the StellarMate.
Note: In June 2024, I gave away the Sky-Watcher Synscan USB Dongle to gether with the Ikarus StellarMate astronomy computer. I am therefore regrettably unable to report any further experiences with the Sky-Watcher SynScan USB Dongle on this site.
Links
- Sky-Watcher Synscan USB Dongle für GoTo-Montierungen ohne USB: www.teleskop-express.de/shop/product_info.php/language/en/info/p12157_Skywatcher-Synscan-USB-Dongle-for-GoTo-Mounts-without-USB.html
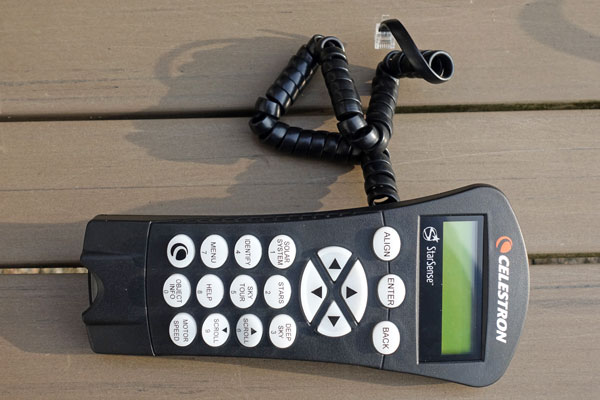
Celestron StarSense AutoAlign for Sky-Watcher
Working with the Star Discovery GoTo control did not save me from crawling "under the mount" to find the calibration stars for alignment. In addition, I generally had problems with the alignment and the accuracy of the tracking. After participating in the Kiclstarter campaign for the eVscope in November 2017, I learned that the alignment can also be performed fully automatically. Celestron had been doing this for quite some time in the form of the StarSense module, but I had not noticed that, and it was initially limited to Celestron telescopes. In the meantime, Celestron had also introduced a solution for Sky-Watcher GoTo controllers, probably because both companies now belong to the same group, Synta. This encouraged me to buy the StarSense module in February 2018 in the hope that everything would now become much easier. The opposite was the case, however, and I still have not been able to persuade the module to work reliably (after some successes in between...). In the meantime, a way has even opened up to let the module cooperate with SkySafari...
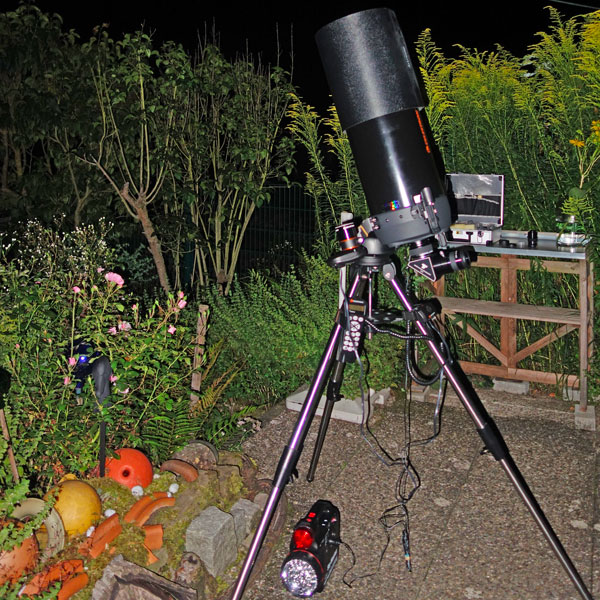
After major changes in my telescope equipment, I tried in August 2021 the StarSense module on the Celestron C8, and that seemed to work!
Note: In November 2022, I sold the Celestron StarSense AutoAlign for Sky-Watcher. I am therefore regrettably unable to report any further experiences with it on this site.
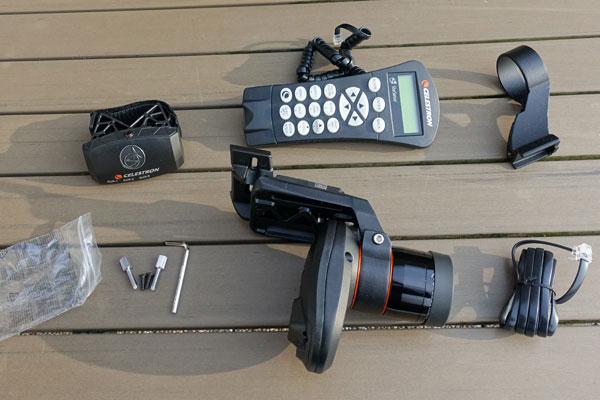
StarSense scope of delivery... |
Starsense with small base after exchange of the base |
Handbox |
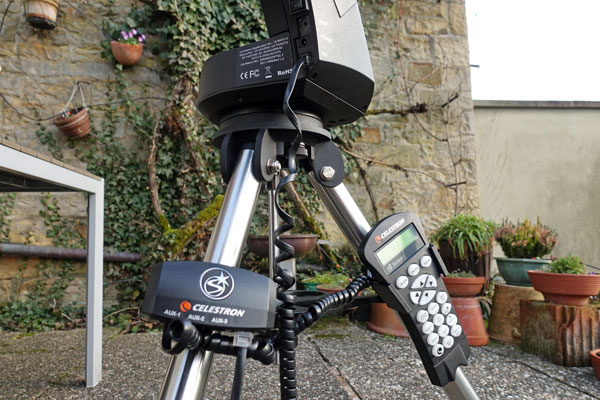
StarSense relay box and handbox at the mount |
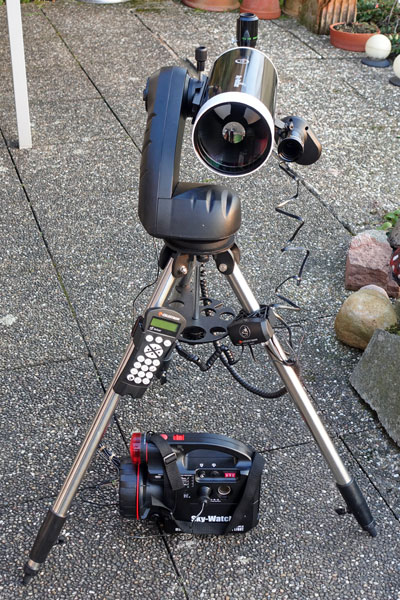
Skymax-127 tube with StarSense module on the mount |
C8 tube with StarSense module on the mount |
Links
- For details and first experiences see pages Celestron StarSense AutoAlign for Sky-Watcher Information - Celestron StarSense AutoAlign for Sky-Watcher - First Experiences - Celestron StarSense AutoAlign for Sky-Watcher - Further Experiences - Celestron StarSense AutoAlign for Sky-Watcher - Connecting to a Mac (USB).
- Celestron Website, USA: www.celestron.com
- Product page: www.celestron.com/products/starsense-autoalign (for Celestron only) - https://www.celestron.com/products/starsense-autoalign-for-sky-watcher-mounts (for Sky-Watcher)
- Pages from German distributors for the Celestron StarSense for Sky-Watcher:
- Teleskop-Spezialisten (here the module was bought): www.teleskop-spezialisten.de/shop/Montierung-Zubehoer/Nachfuehrung-und-GoTo/Celestron-StarSense-fuer-GoTo-Montierungen-automatische-Eichung-Alignement::1914.html (for Celestron only, in German) - www.teleskop-spezialisten.de/shop/Mounts-Accessories//::1914.html?language=en (for Celestron only, in English) // www.teleskop-spezialisten.de/shop/Montierung-Zubehoer/Nachfuehrung-und-GoTo/Celestron-StarSense-AutoAlign-fuer-Skywatcher-Montierungen::2096.html?language=de (for Sky-Watcher, in German) - www.teleskop-spezialisten.de/shop/Mounts-Accessories//::2096.html (for Sky-Watcher, in English)
- Teleskop-Service/Express: www.teleskop-express.de/shop/product_info.php/language/en/info/p6040_Celestron-StarSense-fuer-GoTo-Montierungen---vollautomatische-Eichung.html (for Celestron ony, in English) - www.teleskop-express.de/shop/product_info.php/info/p9016_Celestron-StarSense-AutoAlign-for-Skywatcher-mounts.html (for Sky-Watcher, in English)
- Astroshop: www.astroshop.eu/controls-with-goto/celestron-starsense-module-including-hand-controller/p,32954 (for Celestron only, in English) - www.astroshop.eu/controls-with-goto/celestron-starsense-autoalign-for-skywatcher-synscan-mounts/p,51606 (for Sky-Watcher, in English)
Crosshair Eyepieces
Crosshair Eyepiece, 12.5 mm Focal Length, Illuminated
|
|
|
Package content, batteries already installed in the illumination device |
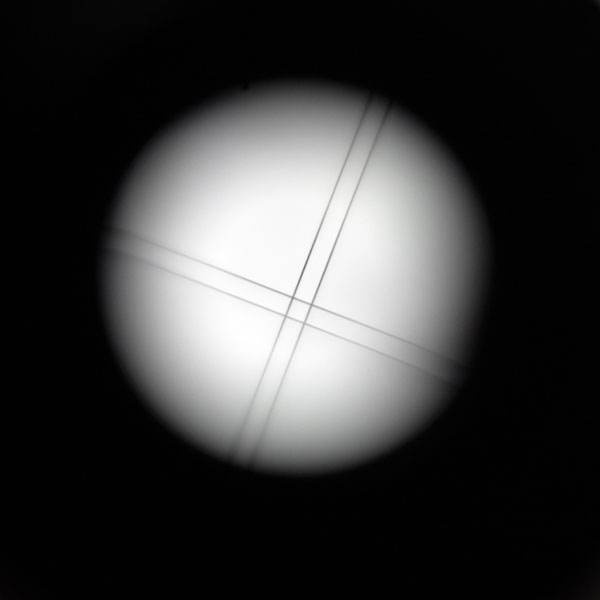
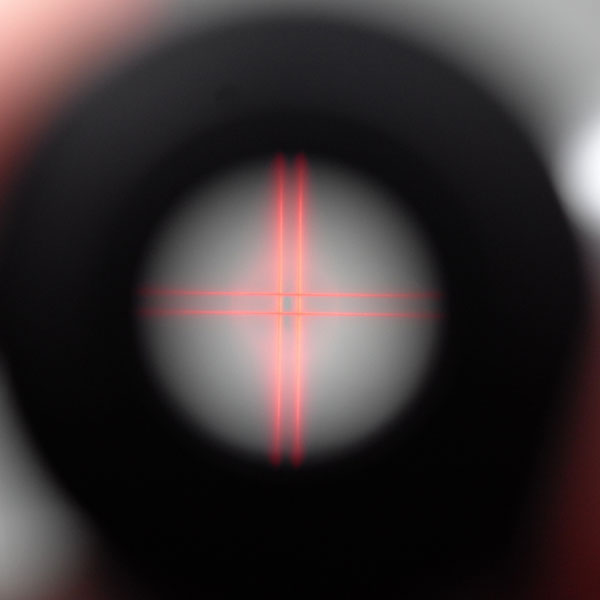
Above: Illumination device with batteries and brightness control / on/off switch screwed in Middle right: double cross hairs, not illuminated Bottom right: double cross hairs, illuminated |
|
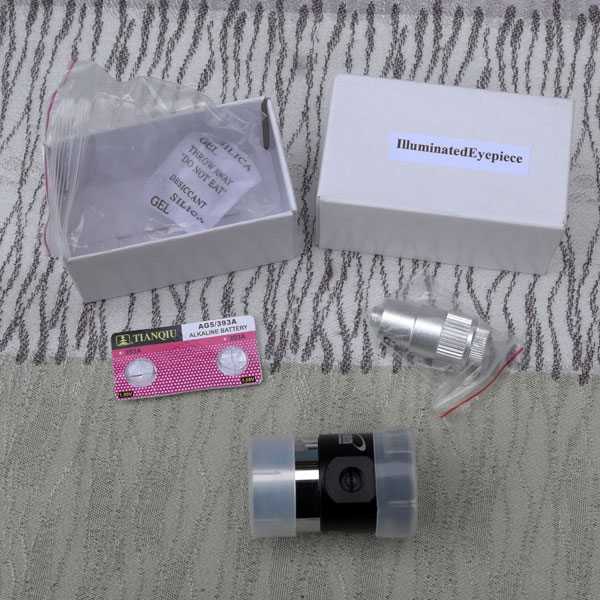
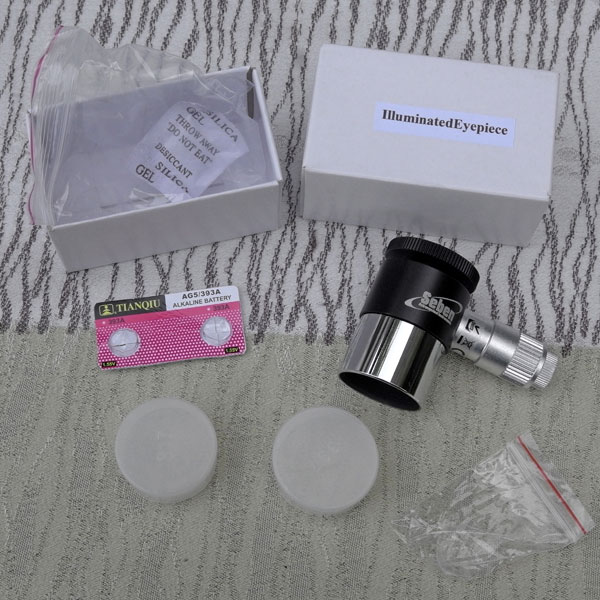
I bought the crosshair eyepiece (12.5 mm focal length; by Seben) for two purposes:
- By day (not illuminated): To adjust the viewfinder / Red Dot Finder (this works very well) with the eyepiece
- At night (illuminated): To center the stars when adjusting the GoTo control of my Sky-Watcher Star Discovery mount
However, I have the impression that the focal length of the eyepiece is a bit short (or the magnification is too high...) for the second purpose. After experiencing some difficulties, I once again returned to the 32mm eyepiece for the alignment, and after some years I bought a 23 mm crosshair eyepiece (see below). I am also curious, how long the two small batteries will last (it still works)...
Note: At the end of November 2024, I sold the Seben crosshair eyepiece with 12.5 mm focal length. I am therefore regrettably unable to report any further experiences with it on this site.
Crosshair Eyepiece, 23 mm Focal Length, Can Be Illuminated
|
|
|
|
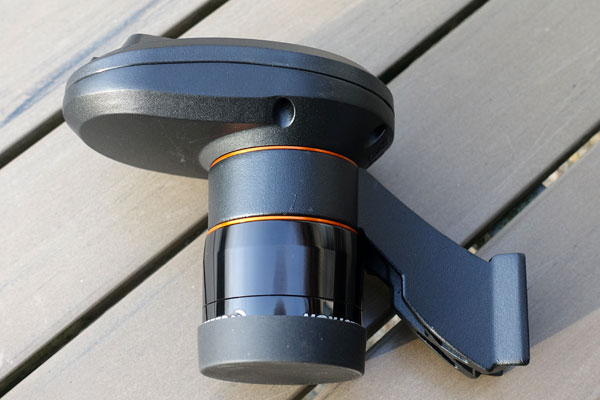
Top row: Crosshair eyepiece (left), caps removed (center), illumination device screwed in (right)
Bottom left: crosshair not illuminated Bottom right: crosshair illuminated |
|
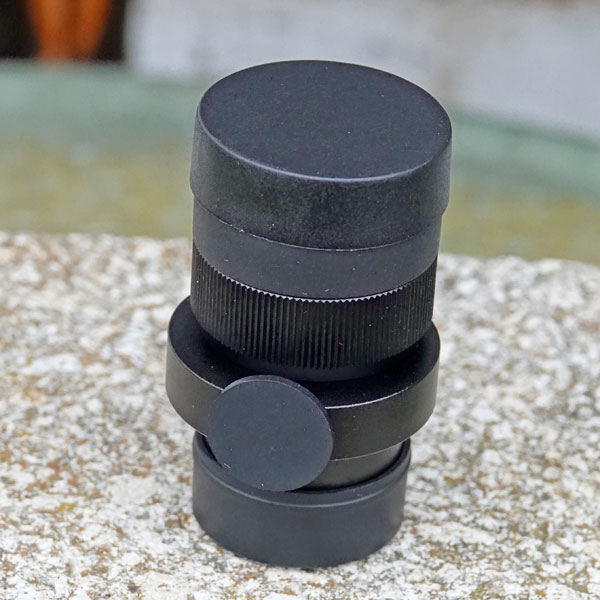
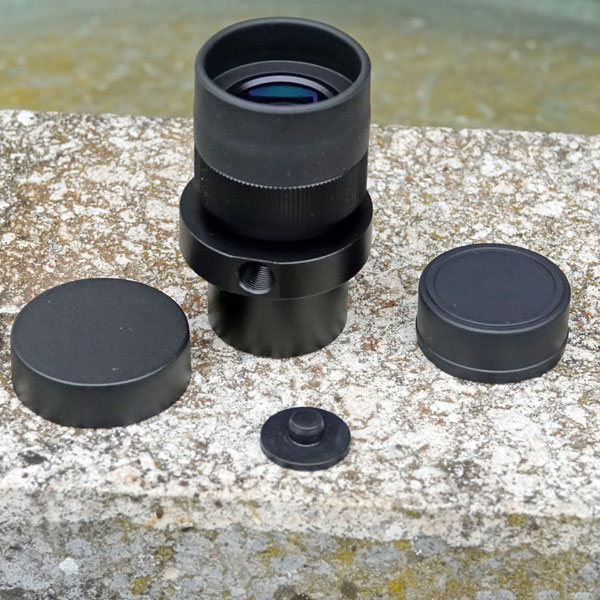
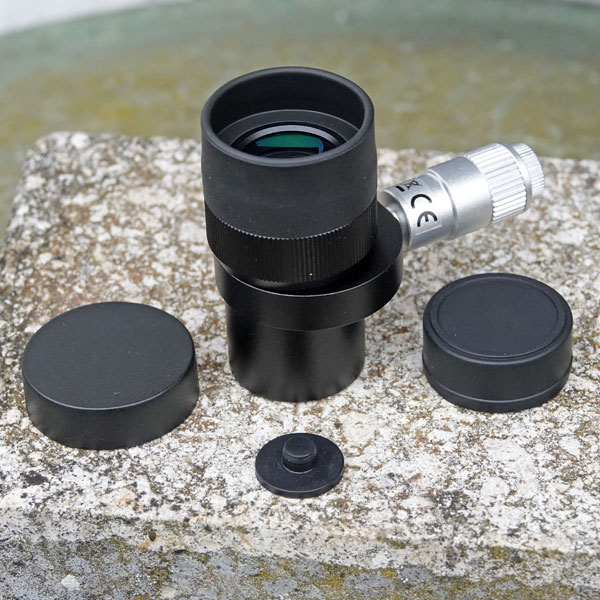
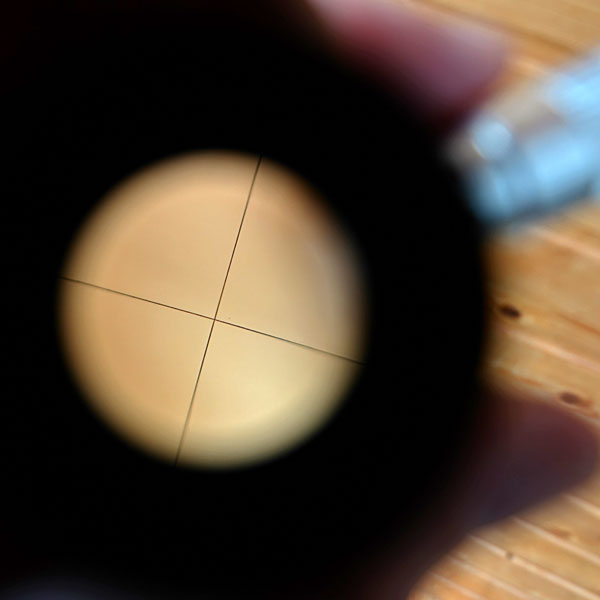
I bought the crosshair eyepiece with 23 mm focal length (TS-Optics), because the magnification in the Seben crosshair eyepiece was too strong for me, and I therefore had problems with the alignment on my GoTo mount. This eyepiece can be illuminated, and I can use the illumination device of the Seben crosshair eyepiece. However, the threads for the illumination device do not match exactly, so that I can screw it into the eyepiece only partially.
Note: At the end of October 2024, I sold the crosshair eyepiece with 23 mm focal length (TS-Optics). I am therefore regrettably unable to report any further experiences with it on this site.
Links
- Crosshair eyepiece, 12.5 mm focal length, illuminated : www.teleskop-express.de/shop/product_info.php/info/p375_Fadenkreuz-Okular---1-25----12mm-Brennweite---beleuchtet.html (Orion, in German) - www.teleskop-express.de/shop/product_info.php/language/en/info/p375_Fadenkreuz-Okular---1-25----12mm-Brennweite---beleuchtet.html (in English) (mine is from Seben, but seems to be the same model)
- Crosshair Eyepiece, 23 mm Focal Length, Can Be Illuminated: www.teleskop-express.de/shop/product_info.php/language/en/info/p4540_TS-Optics-23mm-Fadenkreuz-Okular-1-25--Steckhuelse-beleuchtbar.html
Laser Collimator: Baader Laser-Colli Mark III
To adjust misaligned telescopes correctly, a collimator is used. A collimator using a laser beam is also referred to as a laser collimator. In the case of a Newtonian reflecting telescope, the primary and the secondary mirror must be adjusted so that they are mutually centered as well as centered on their optical axes. Since I was not satisfied with the performance of my telescopes, I decided to buy a laser collimator to improve the adjustment of my telescopes.
The Laser-Colli Mark III with package and instructions |
Laser-Colli Mark III in "off" state |
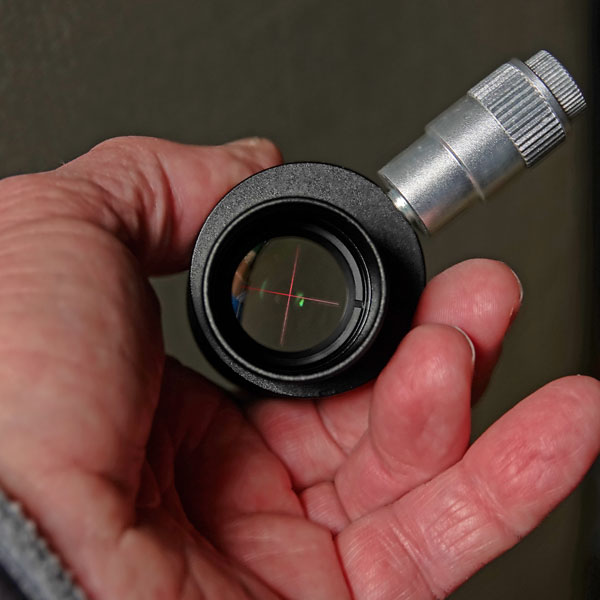
Laser-Colli Mark III in "on" state: Laser beam made visible |
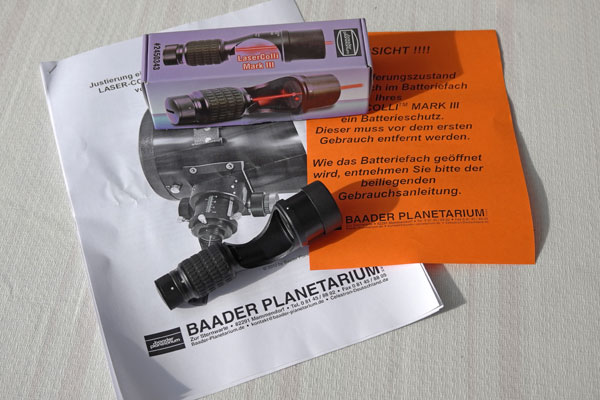
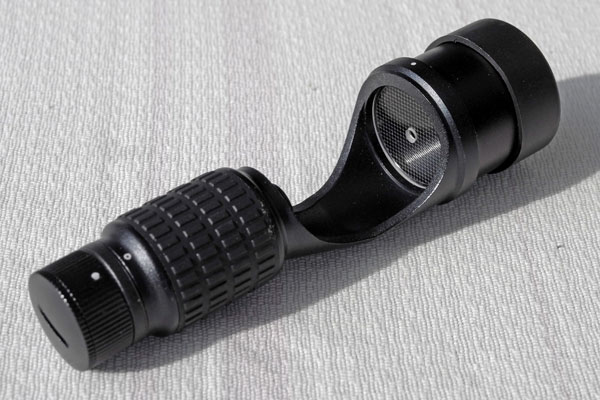
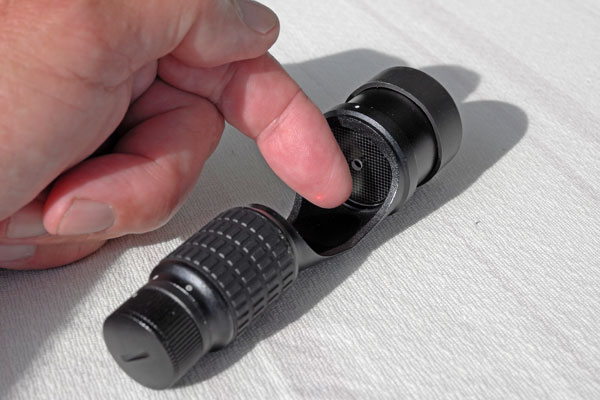
Baader Planetarium offers a laser collimator, called Laser-Colli Mark III, which differs from other collimators by having a vertically mounted transparent disc with a central hole and a grid of crosses to show the position of the the laser dot. Thus, one can observe the adjustment process when adjusting the primary mirror. Moreover, the device has a particularly large cut-out, which also reduces its weight.
Since this collimator was selected in a comparative test by the magazine Night at Sky in 2010 as the winner, I decided for it. It is a little more expensive (85 EUR) than other devices (but there are also much more expensive devices ...), but Baader is considered to be a renowned manufacturer of astronomical products, and therefore, I hope that the device was adjusted properly at the factory (you can re-adjust it). For details and first experiences see page My Collimation Experiences.
Note: In May 2021, I sold the Laser-Colli Mark III. I am therefore regrettably unable to report any further experiences with it on this site.
Links
- Laser-Colli Mark III (Baader Planetarium): www.baader-planetarium.de/sektion/s19/s19.htm (in
German)
- Test report in Night at Sky (2010): www.baader-planetarium.de/sektion/s30/download/att-may2014_baader-mpcc-mark3_testreview_no-ads-1.pdf
- Test report on the BAADER Laser Colli and the BAADER MPCC III Newton Corrector in Astronomy Technology Today (ATT) (Summer 2014): www.baader-planetarium.de/sektion/s30/download/att-may2014_baader-mpcc-mark3_testreview_no-ads-1.pdf
Digiklemme 1
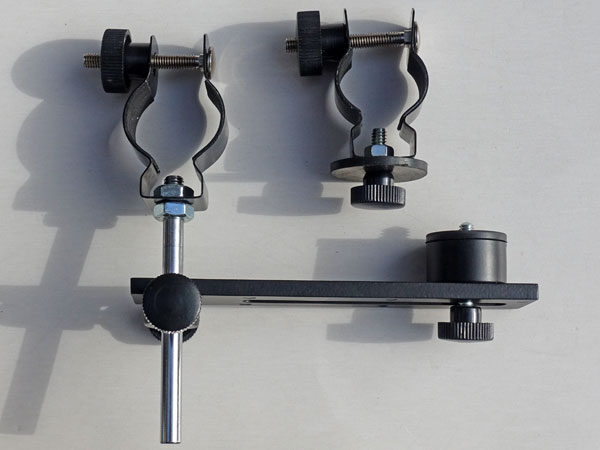
I often use the 1:50 method to take photos of the moon, but holding the camera (one with or without a filter thread ...) to the eyepiece is a wobbly affair, and I often have trouble with getting a view without vignetting. The Digiklemme 1 from Teleskop-Express announces itself as the solution to this problem: "The Digiklemme offers an easy to use adaptation that works with most compact digital cameras and most eyepieces for telescopes, spotting scopes, microscopes etc. Each compact digital camera has the 1/4" camera thread needed for this adaptation." But already on the Website, the Digiklemme 1 looks more like a "tinkering solution." Nevertheless, I ordered one for myself (the price had dropped a little...) to try it out. I soon found out that I cannot use my better wide angle eyepieces together with Digiklemme 1 because the maximum allowed eyepiece diameter is 40 mm... I describe my experiences on page Digiklemme 1.
 |
 |
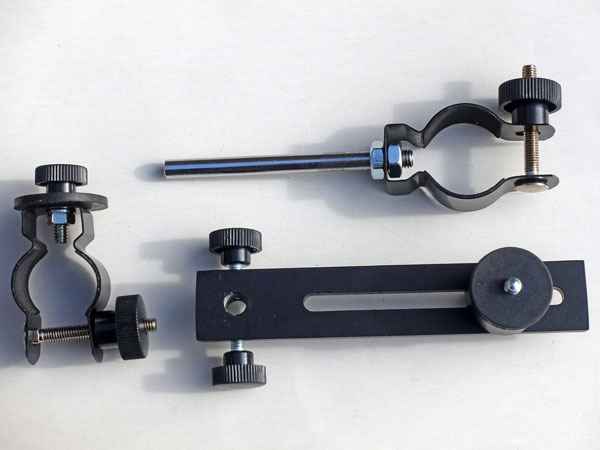 |
Digiklemme 1, all parts |
Ditto |
Ditto |
 |
 |
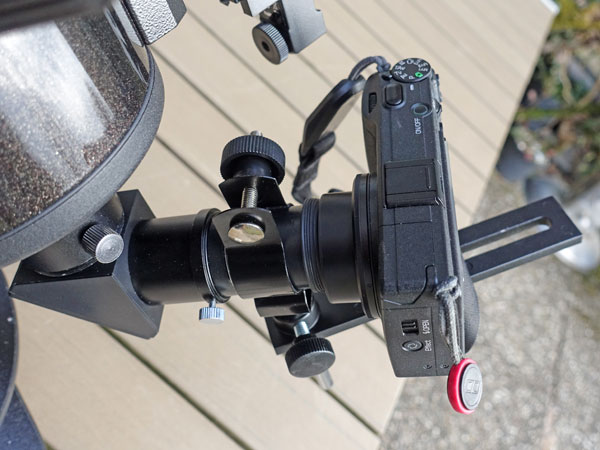 |
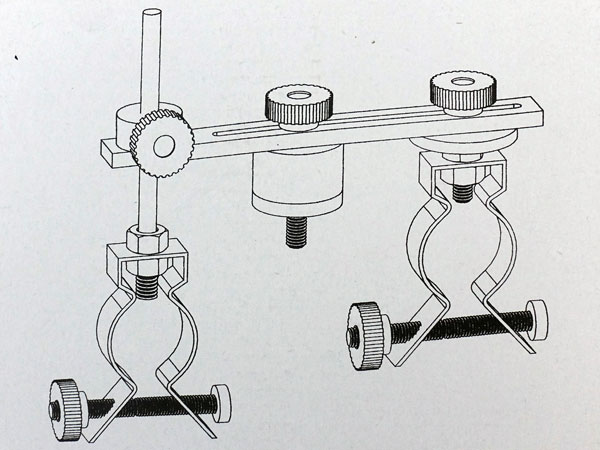
Figure of Digiklemme 1 on its box |
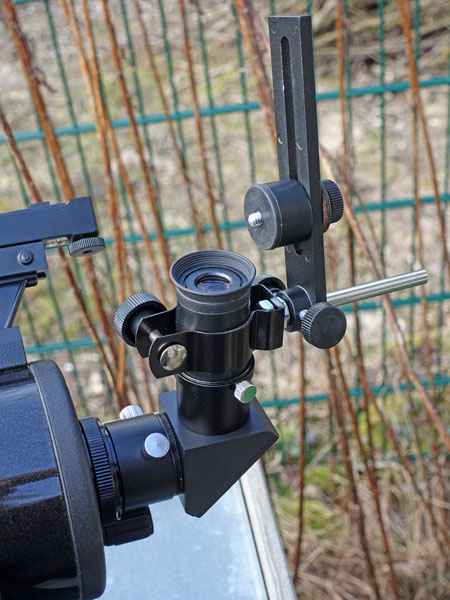
Digiklemme 1 at the telescope, no camera |
Digiklemme1 with Ricoh GR camera at the telescope |
Note: In May 2019, I gave away the Digiklemme 1. I am therefore regrettably unable to report any further experiences with the Digiklemme 1 on this site.
Links
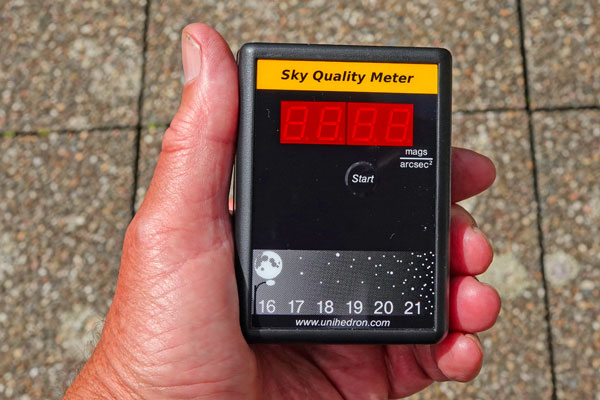
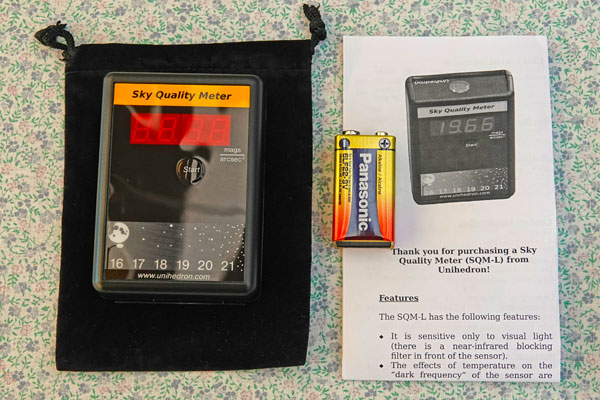
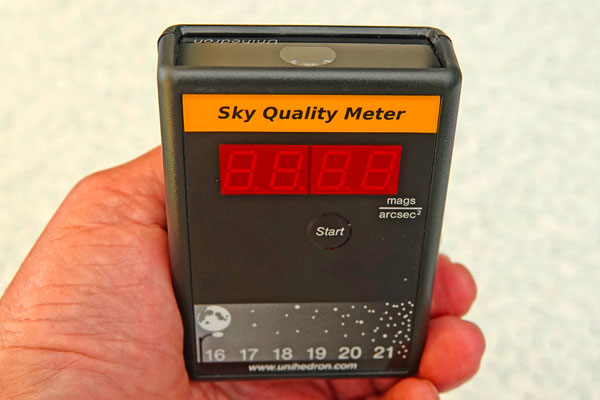
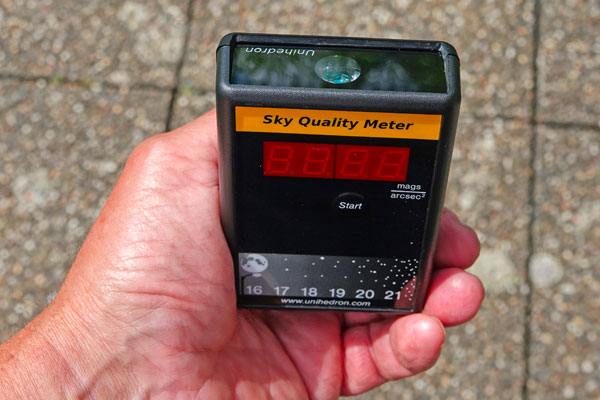
Sky Quality Meter
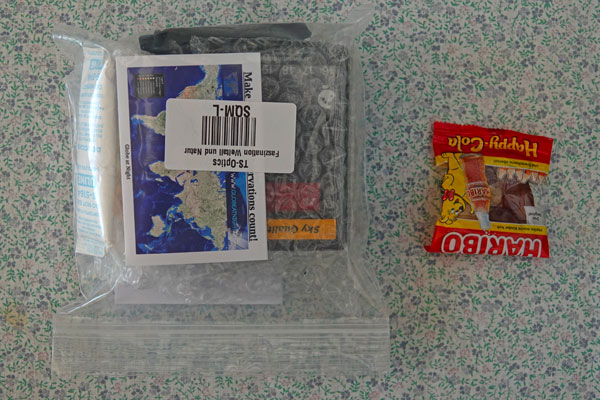
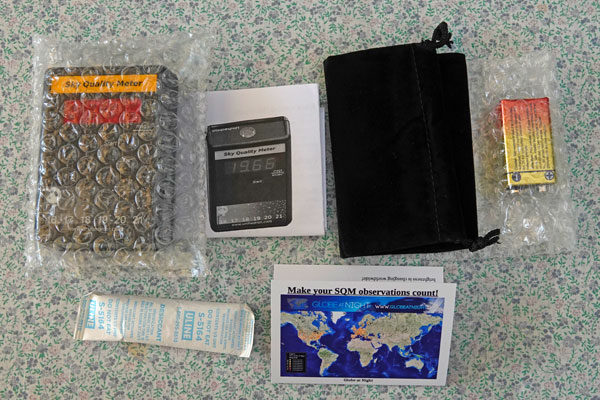
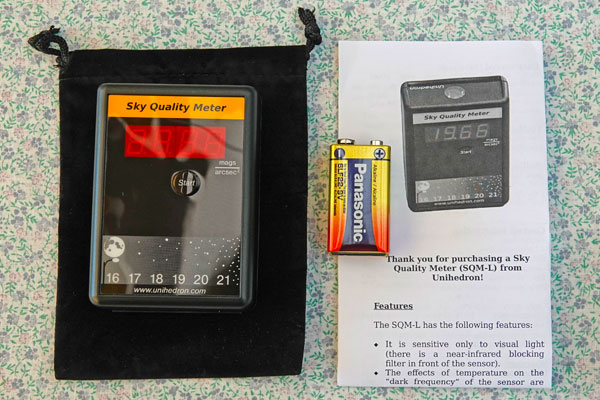
Inspired by an eVscope star friend, who owns such a device and does not want to miss it anymore, I bought a Sky Quality Meter in June 2021, namely the Unihedron Sky Quality Meter L, i.e. the version with converging lens, which my star friend also owns. Teleskop Express writes about this:
- A high sensitive sensor measures the integrated sky brightness around a solid angle of 20° (FWHM) around the central axis of the instrument. The value will be displayed in magnitudes per square arcseconds. Using a lens, a sky region of interest gets focused: While you get an integrated mean value when scanning the sky with the standard Sky Quality Meter SQM, here you use a lens to concentrate on a smaller region of interest to get a more precise value in a particular direction (20°).
By the way, the version without a lens (SQM) measures around an angle of 42°.
 |
 |
 |
|
|
|
 |
 |
Links
- SQM-L Sky Quality Meter - Measurement of the night sky brightness: www.teleskop-express.de/shop/product_info.php/language/en/info/p973_Sky-quality-meter-with-lens---for-distinctive-night-sky-measurem.html
- SQM Sky Quality Meter - Measurement of the night sky brightness: www.teleskop-express.de/shop/product_info.php/info/p2356_Sky-quality-meter-to-measure-night-sky-brightness.html
- Sky Quality Meter - L (Unihedron): unihedron.com/projects/sqm-l
- Sky Quality Meter (Unihedron): unihedron.com/projects/darksky
|
made by |
| 16.02.2026 |