Mercury Transit May 2016
On this page, I report on the Mercury transit on May 9, 2016, which we observed and partly photographed. The photos were taken using a Leica X Vario (other shots also with a Sony RX100 M1) that was either fixed to the eyepiece (32 mm eyepiece; projection method) or was held to the eyepiece (16 mm and 6 mm eyepieces; called 1:50 method). Of course, a solar filter was mounted in front of the telescope, my Heritage 100P. Moreover, I present photos of the equipment, the observation, and "special guests."
Note: All photos of the Mercury transit are reversed and upside down, because the telescope image is oriented that way in the Heritage 100P.
Mercury transits across the sun are not as rare as Venus transits of the sun. The previous one observable in Europe took place in November 2006, the next one will occur in November 2019 and can (hopefully) also be observed in Europe.
Preface
On May 9, 2016 (approximately from 13:12 to 20:40, about 7,5 hours) a Mercury transit of the sun took place - and we took part in it and observed it, even though using a more modest equipment than originally planned.
Switching to a More Modest Equipment...
Actually, I wanted to use my newly acquired 8 "Dobsonian telescope for the observation and had bought a solar film (euro EMC 600-109) for it. But a surgery in a hospital did not allow this, because I was no longer able to bear the heavy telescope - I had to avoid any physical strain at the beginning. At least, I was able to leave the hospital in time and to quickly order a sun film (euro EMC 600-105) for my smallest telescope, a Heritage 100P. It was delivered on a Saturday, and on the next Monday the transit took place. So I had enough preparation time, adjusted the sun film to the telescope (see here) and practiced a little using a sunspot. Actually, there was not much happening on the sun's surface at that time...
Collecting Information - What Can be Expected?
Moreover, I searched the Internet to find out what I could expect to see in the telescope. Some sources (and a book) recommended a minimum magnification of 30 x 50 or x for being able to see the small Mercury "dot" in front of the the sun disc. At the large telescope that would definitely have worked if I had been able to use my 32 mm eyepiece (1200 mm focal length => 37.5 x), to which I can attach a camera using a T-mount adapter. However, using the Heritage 100P (400 mm focal length), only a magnification of 12.5 x can be achieved. Thus, a tiny "pinhead" was to be expected! I wanted to use two more eyepieces (16 mm, 6 mm) but, although they deliver magnifications of 25 x and even 67 x, I had to hold the camera to the eyepieces, a method that has, according to the success rate, been named 1: 50's method. So I did not expect too much from using these eyepieces, either...
Where Will Mercury Be???
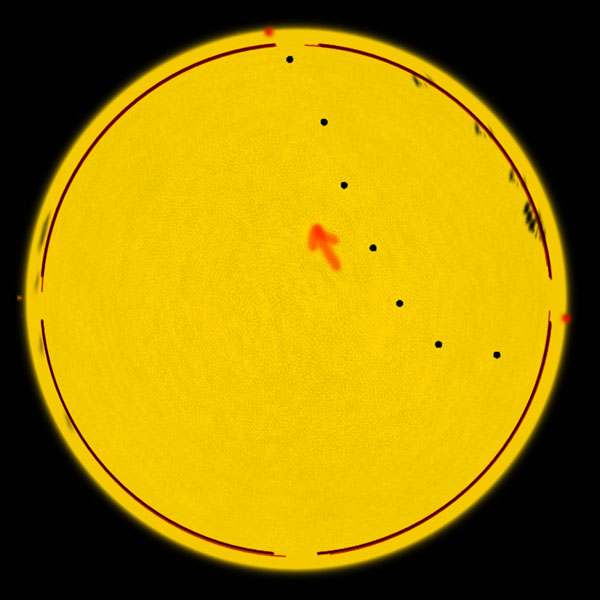
In addition to videos that simulate the 2016 Mercury transit of the sun, I found a (German) diagram that illustrated the transit (it should be understandable; there are also diagrams in English in the references listed below):
![]()
Figure: Diagram of the Mercury transit on May 9, 2016 (from: VdS www.sternfreunde.de, original from download section of the site)
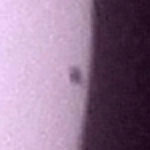
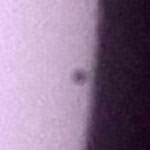
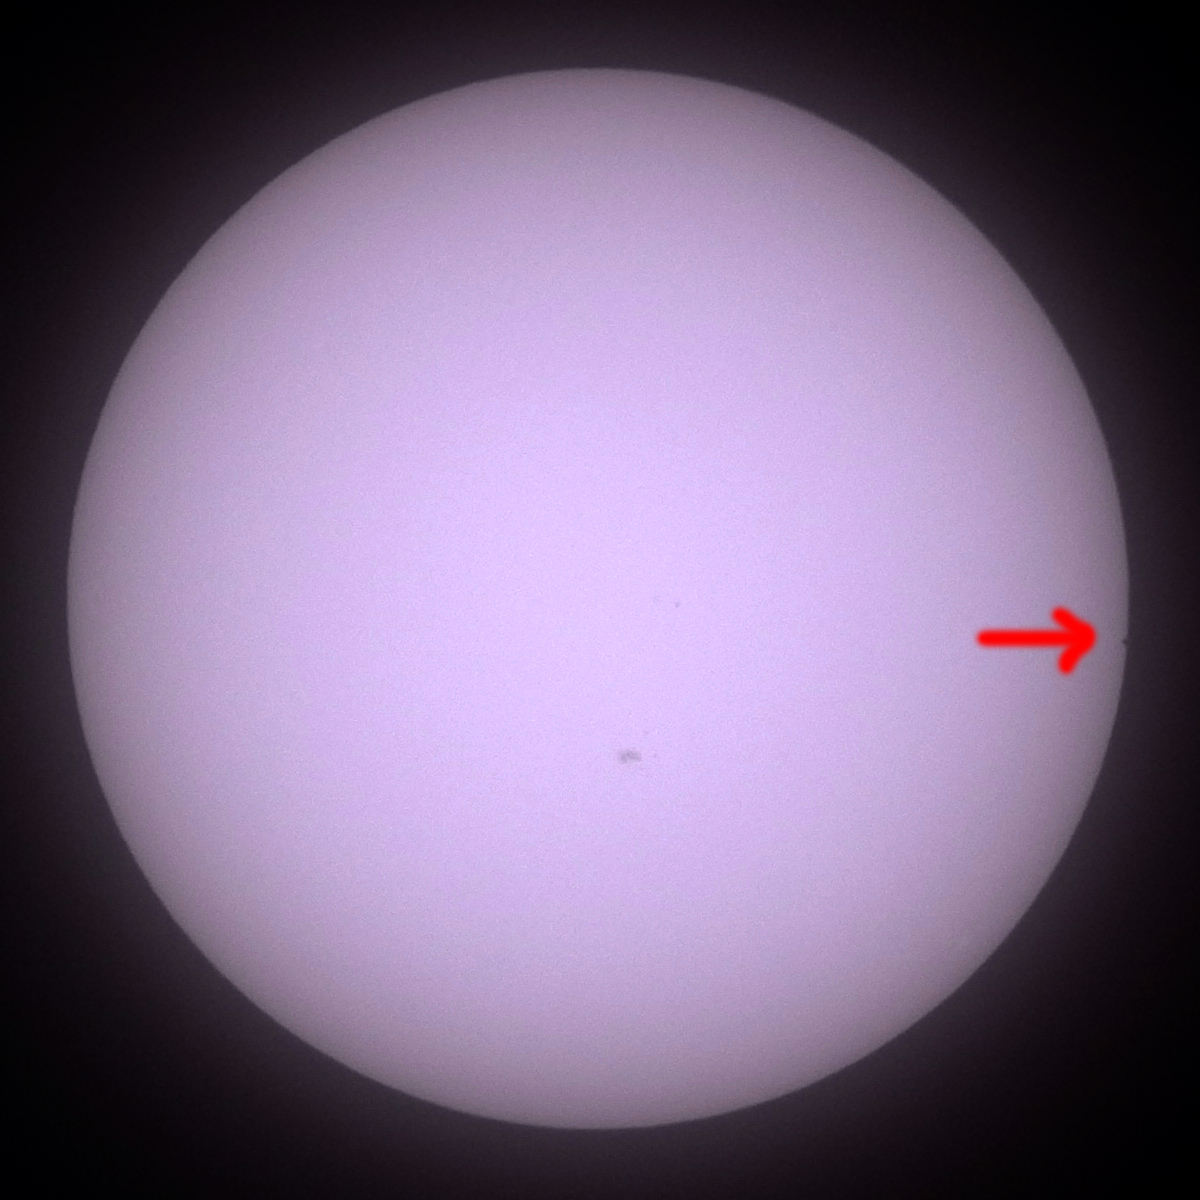
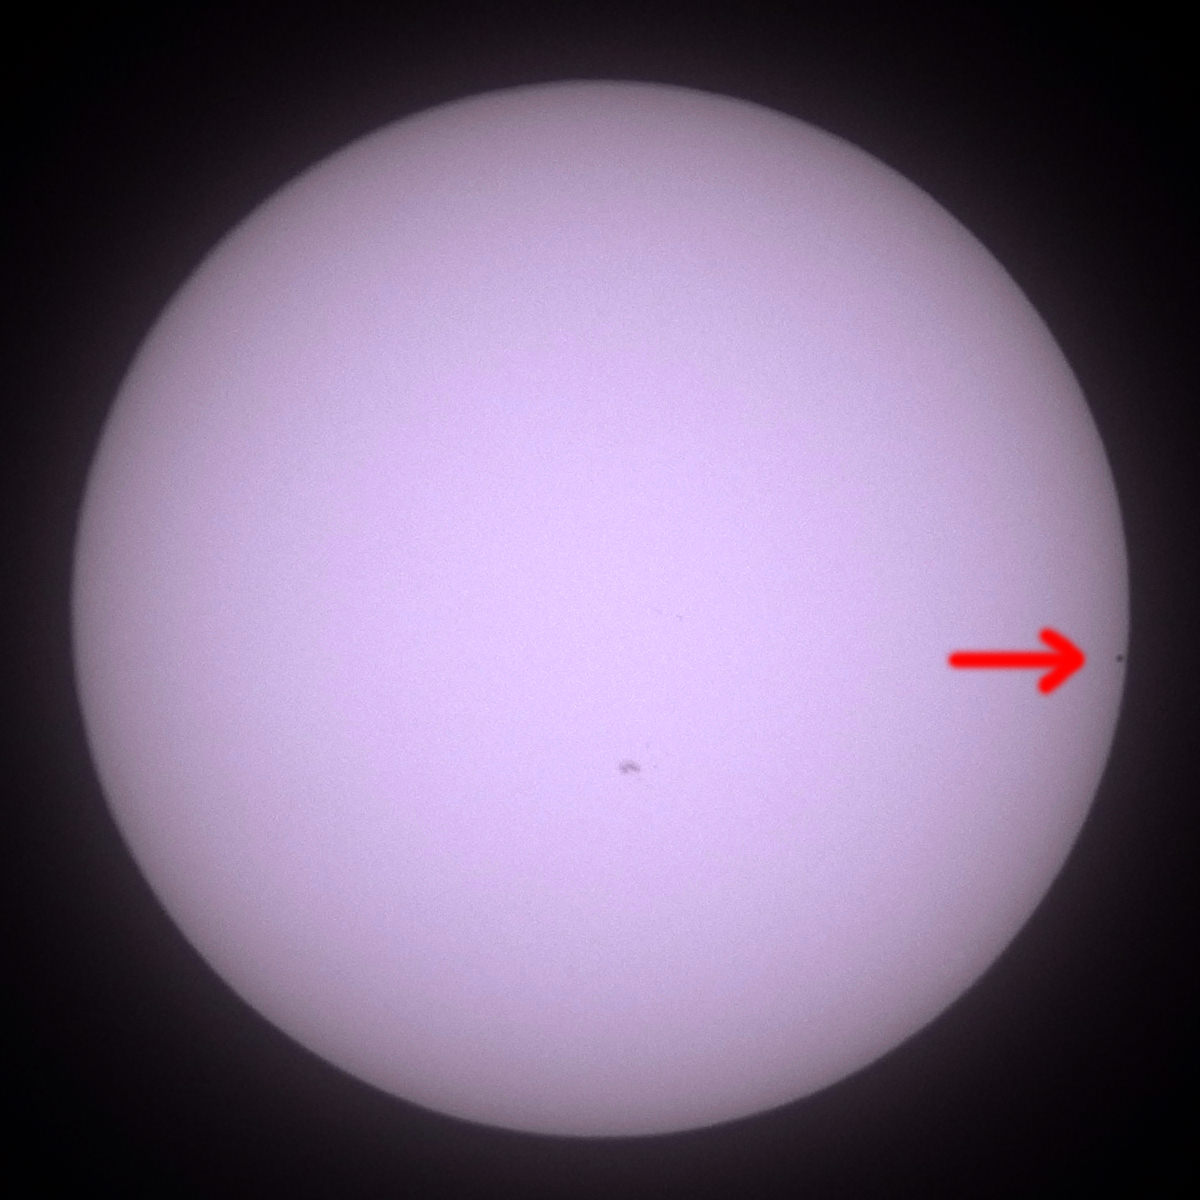
On May 9, 2016, we prepared everything for the observation, had lunch a little bit earlier, and shortly before 13 o'clock, we were ready for the observation - just like a few clouds that tried to cover the sun again and again (in the course of the afternoon, they returned from time to time, and, unfortunately, covered the exit phase). I started observing a little bit before the "official" time of Mercury's entry into the sun and, from time to time, took a few sample photos (by the way, focusing was extremely difficult with the telescope, also because I was not able to use the camera's viewfinder magnification feature; more on this below). At 13:15, I still was not able to detect Mercury and started to get nervous. But suddenly I saw a speck at the RIGHT edge of the sun. There it was, but on the wrong side! I had not been aware of the fact that the telescope does not deliver a "normal" view! Luckily, I had already tentatively "fired" the camera now and then while observing. So I was able to later trace back the images and realized that I had indeed taken photos of Mercury's entry into the sun, even if it but was very, very tiny on these photos. Later, I also tried to use the other two eyepieces offering higher magnifications, not only for visual observation, but also for taking pictures (using the 1: 50 method). You can see the results further below.
Further down at the center of the sun, there was still the sunspot that I had observed two days before, and we wondered whether a "collision" of Mercury and the sunspot might happen. At the beginning, this seemed very probable to us, but when we has a shopping break in the afternoon and thereafter looked through the telescope again, it looked as if Mercury moved away from sunspot now, and that is might exit the sun on the same side on which it had entered it, however, much further up.
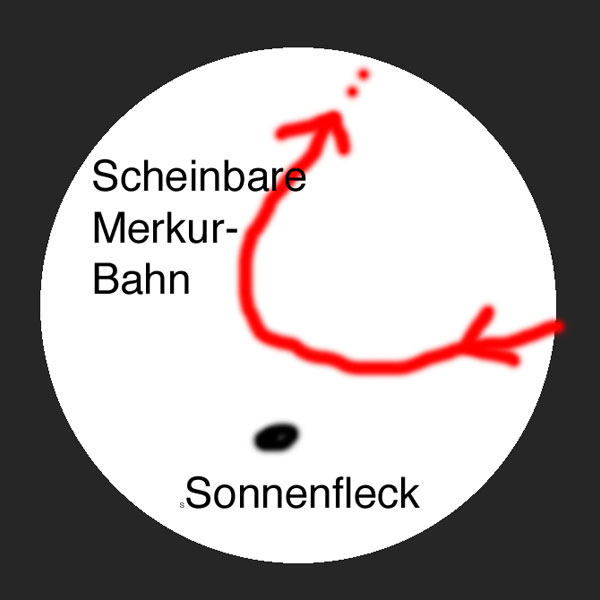
Thus, we observed a very different path of Mercury across the sun from what the VdS graphics shows (and other graphics show), namely about this one (from memory, not quite accurate, and reconstructed based on about 30 photos that I took):
 |
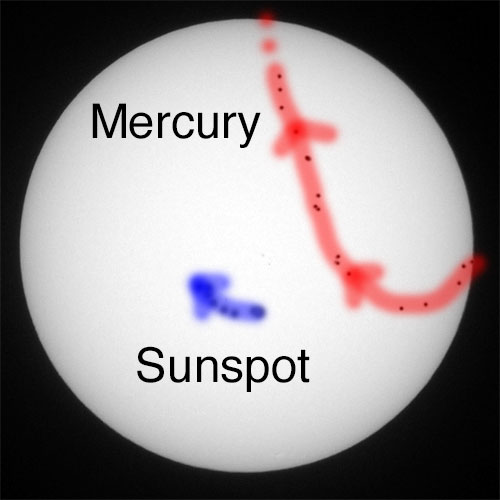 |
Figures: Rough sketch of Mercury's path during the transit on May 9, 2016, as we observed it in the telescope from memory (left), and a reconstruction of the path, including the sunspot path, based on about 30 photos in Photoshop Elements (with the help of Affinity Photos) (right)
How can the difference between our observations and the VdS graphics be explained? At first, I mistakenly assumed that the telescope provides a mirrored image, but then I read that the image is upside down (180 degrees rotation) and checked this with test shots:
 |
 |
 |
||
The original scene |
View through the telescope from behind (180 degrees, upside down) |
View through the telescope from the side (90 degrees) |
"Upside down" only applies if you stand directly behind the telescope, which we did at first, as some pictures below show. I thought that later I looked from the side into the telescope, which roughly corresponds to a rotation of 90 degrees (I had naively expected 270 degrees...). The photos that I used to reconstruct the path, however, do not really support this assumption. Thus, all photos that I took should be more or less upside down.
The different entry point can be explained by the fact that the image is upside down in the telescope. But that is not sufficient to explain the observed path, because an "upside down" path would look something like the left picture below. Indeed, Mercury initially apparently moved for us to the lower left and then upwards at the center (exactly: slightly right of the center). My assumption that this path change was accompanied by a change in our observation practice, namely that we observed and photographed more from the side (about 90 degrees rotation), is not really supported by the photos that I used for the reconstruction of the path. And the respective image below on the right shows a completely different path for a view from the side.
Figures: Left: Transit seen upside down (Newton telescope, view from behind); right: Transit with Newton telescope observed from the side
Thus, the picture on the right does not at all correspond to what we observed. Finally, I tried to simulate the transit in astronomy software applications. I had already seen such simulations using Stellarium, and they all showed a straight path like the VdS diagram (I was able to verify this with Stellarium). However, when I used Starry Night (V7) and its smaller companion Sky Safari (V5), I got more or less my own observation results (shown for Starry Night):
 |
 |
|
Figures: Overlay of hourly Mercury positions during the transit of the sun May 9, 2016 simulated in Starry Night (left); upside down version of the image (center); my reconstruction of the path using about 30 photos
The displacement of the sunspot might indicate a slight change in my observation style. If so, Mercury would leave the sun more to the left at the upper edge - just as in the simulation (if you turn the spot further to the right).
In the end, I still do not have an explanation for the shape of the path, but I know that what I observed is real (it might be a matter of the coordinate system or observation location used...).
Some More Issues...
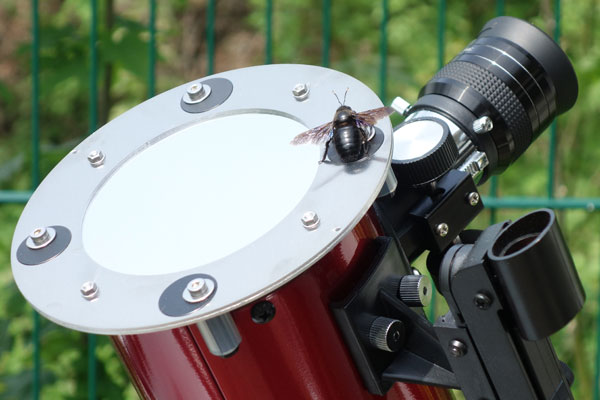
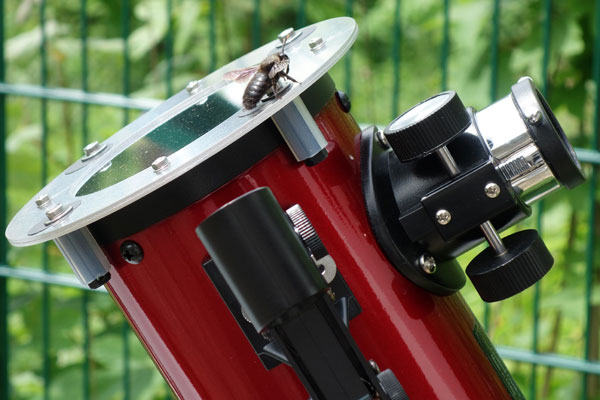
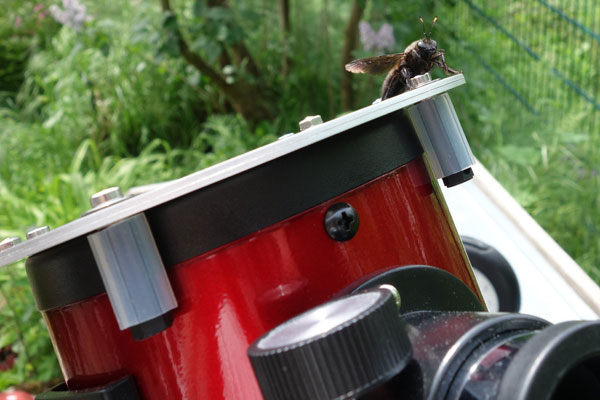
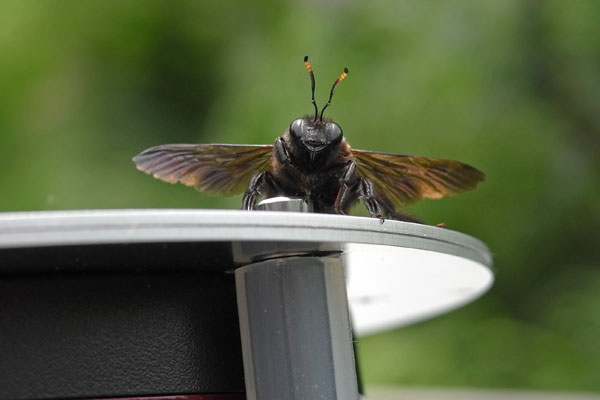
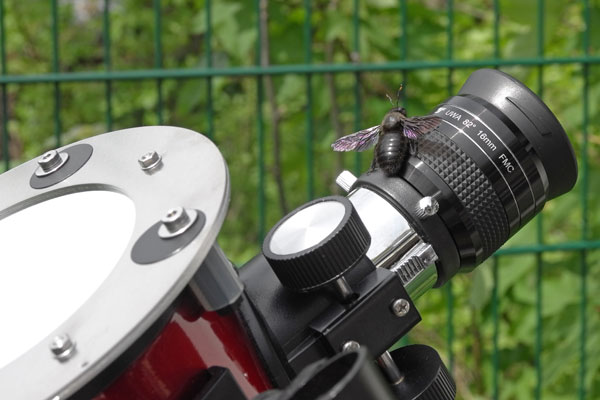
In addition to technical barriers, clouds, and the misunderstandings described above, there was another obstacle to our observations: One to three carpenter bees struggled with us for the observation place. We do not know, whether all of them wanted to sit where the telescope stood or only one of them, we could not "mark" them. But if it was just one of them, it was very stubborn and again and again landed on the telescope, even on the eyepiece (my wife said, it also approach her hair). There it remained until another carpenter bee came along, and then it chased it - but only to return soon.
In between, we were fighting with the clouds from time to time, and, unfortunately, at the end of the transit, I was no longer able to observe the exit of Mercury from the sun.
BTW: One should not believe how difficult it is to align the telescope to the sun (I read this also beforehand...). You can not use the red dot finder, because one would ruin one's eyes... Fortunately, "thanks" to the low magnification, the sun moved only slowly across the viewing area and did not move out of sight too fast.
Below, I show some photos of the carpenter bees. Below, I also present a few photos of the "equipment" and of those involved in observing.
Photos
The time data was corrected according to the photo for the X Vario below.
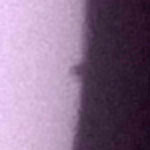
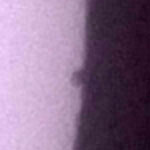
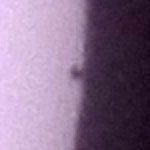
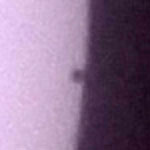
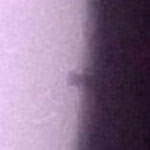
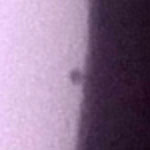
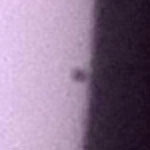
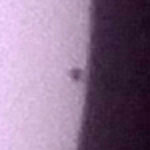
Mercury Entering the Sun - Enlarged Sections
Taken with 32 mm eyepiece and camera mounted fix to the eyepiece (Leica X Vario). Sections enlarged to 200%. It was fairly hazy.
Do not take the times, including correction c=2:13, too seriously.
 |
 |
 |
 |
 |
 |
|||||
13:11:38+c=13:13:51 |
13:11:38+c=13:13:51 |
13:11:52+c=13:14:05 |
13:12:14+c=13:14:27 |
13:12:30+c=13:14:43 |
13:12:58+c=13:15:11 |
|||||
 |
 |
 |
 |
 |
 |
|||||
13:13:10+c=13:15:23 |
13:13:10+c=13:15:23 |
13:13:40+c=13:15:53 |
13:13:40+c=13:15:53 |
13:13:46+c=13:15:59 |
13:14:10+c:13:16:23 |
|||||
 |
 |
 |
 |
 |
Italic: is included in the photo series below (1st and 3rd photo) |
|||||
13:14:18+c=13:16:31 |
13:14:34+c=13:16:47 |
13:14:34+c=13:16:47 |
13:15:06+c=13:17:19 |
13:15:24+c=13:17:32 |
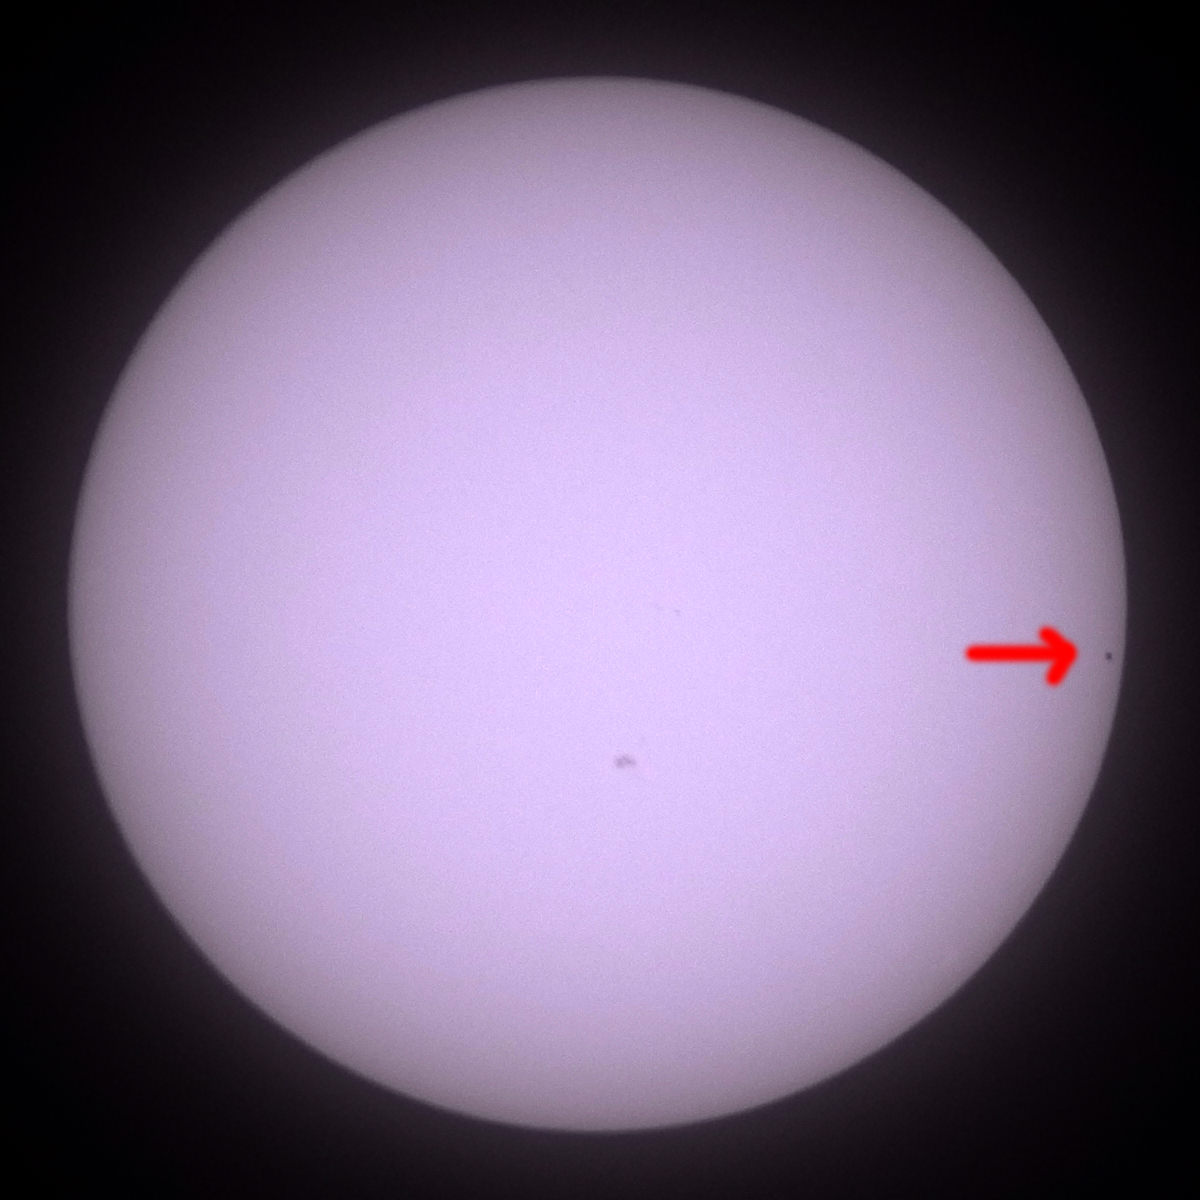
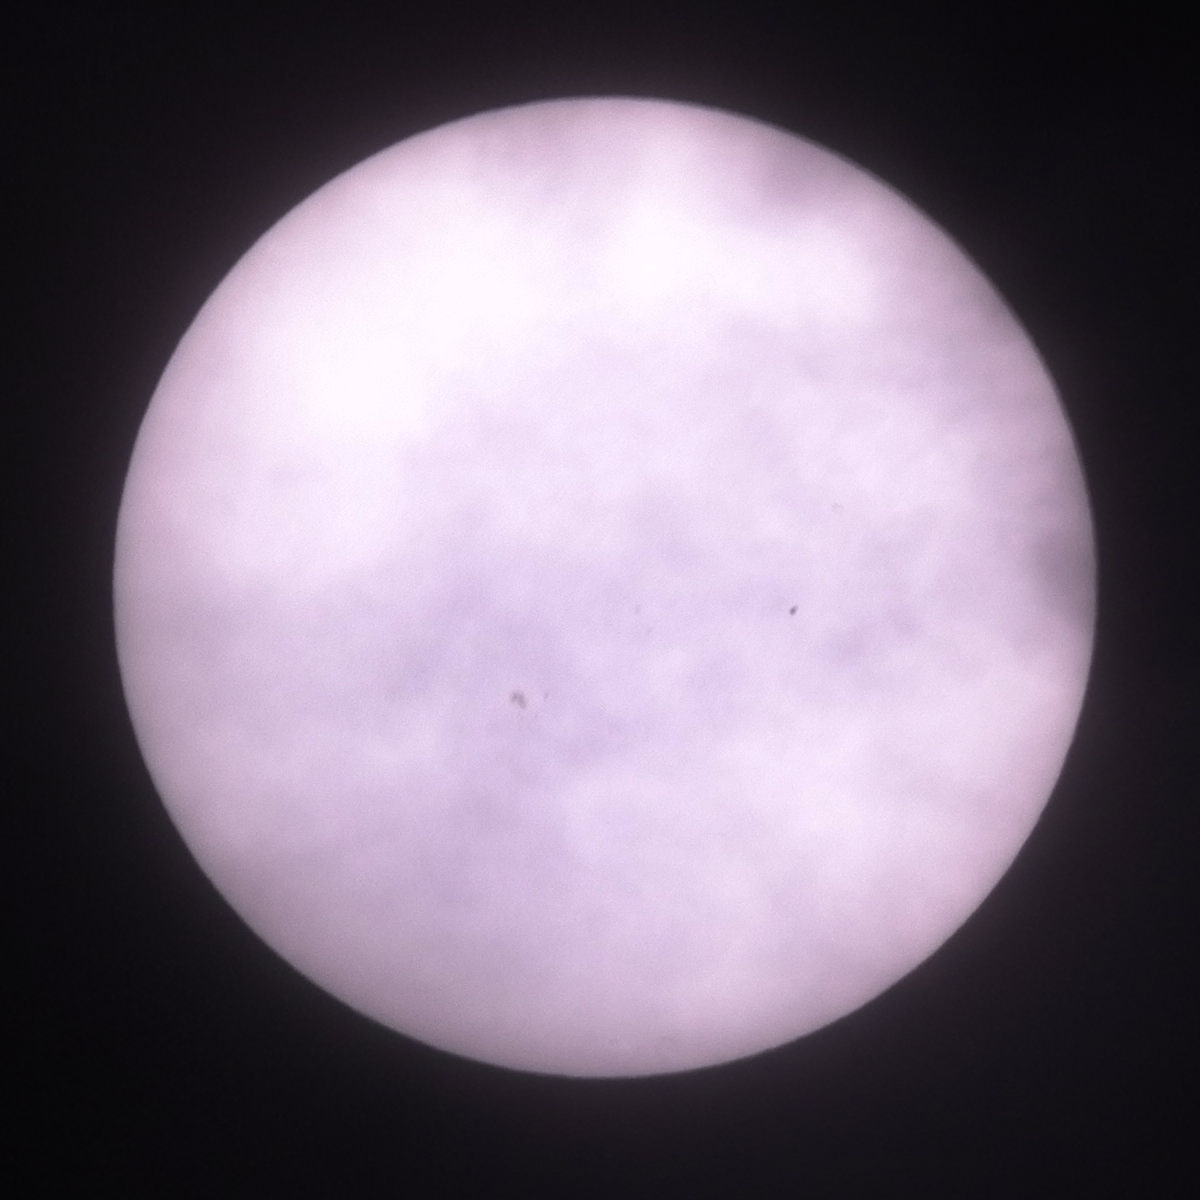
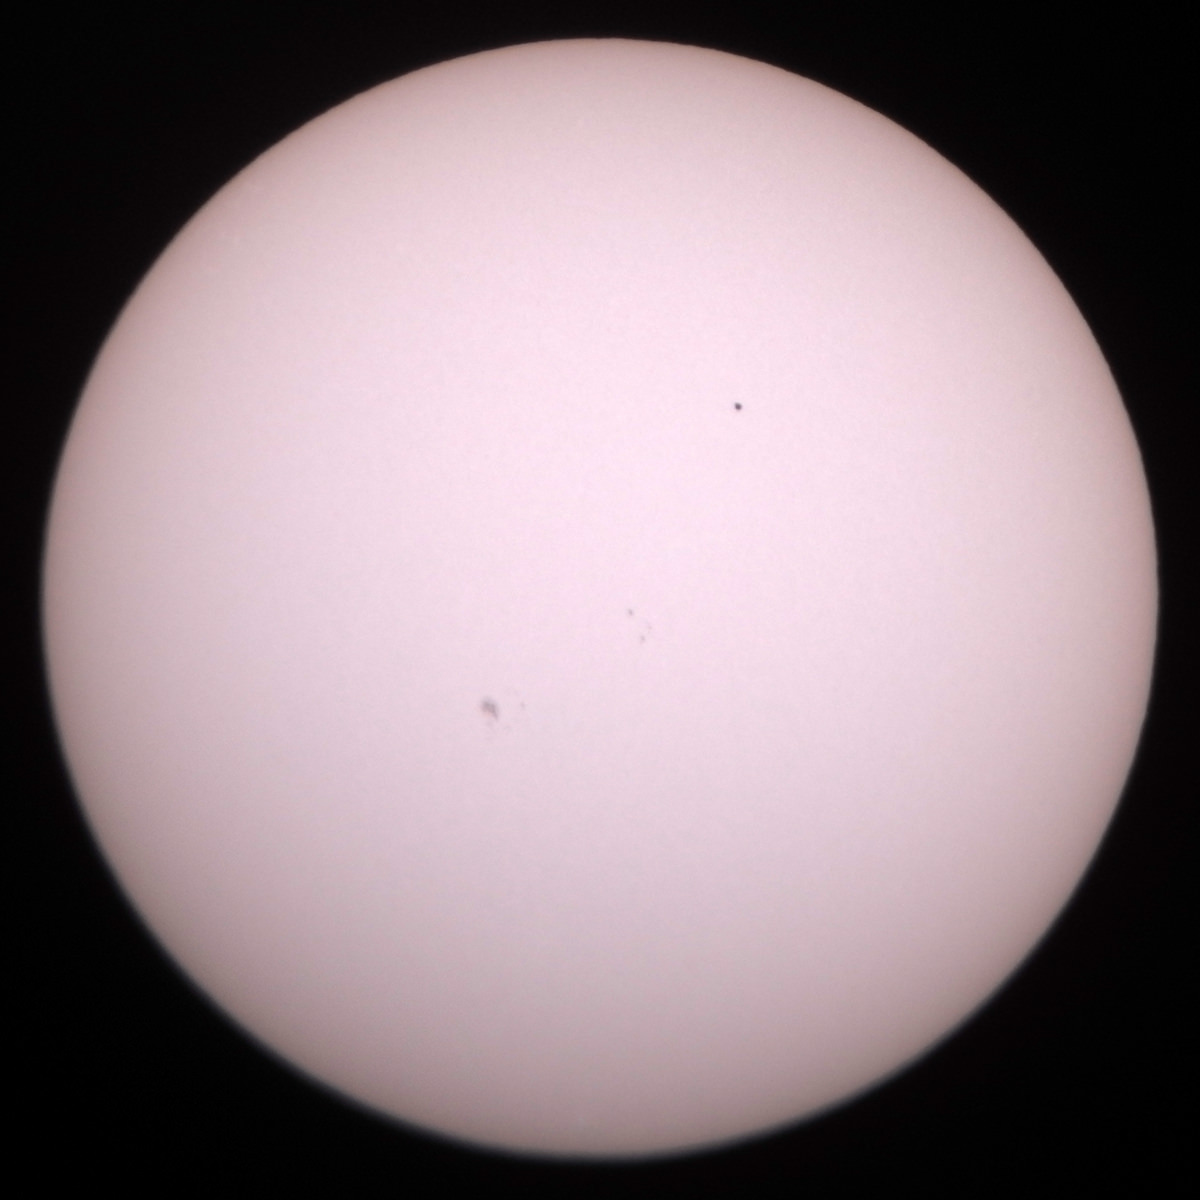
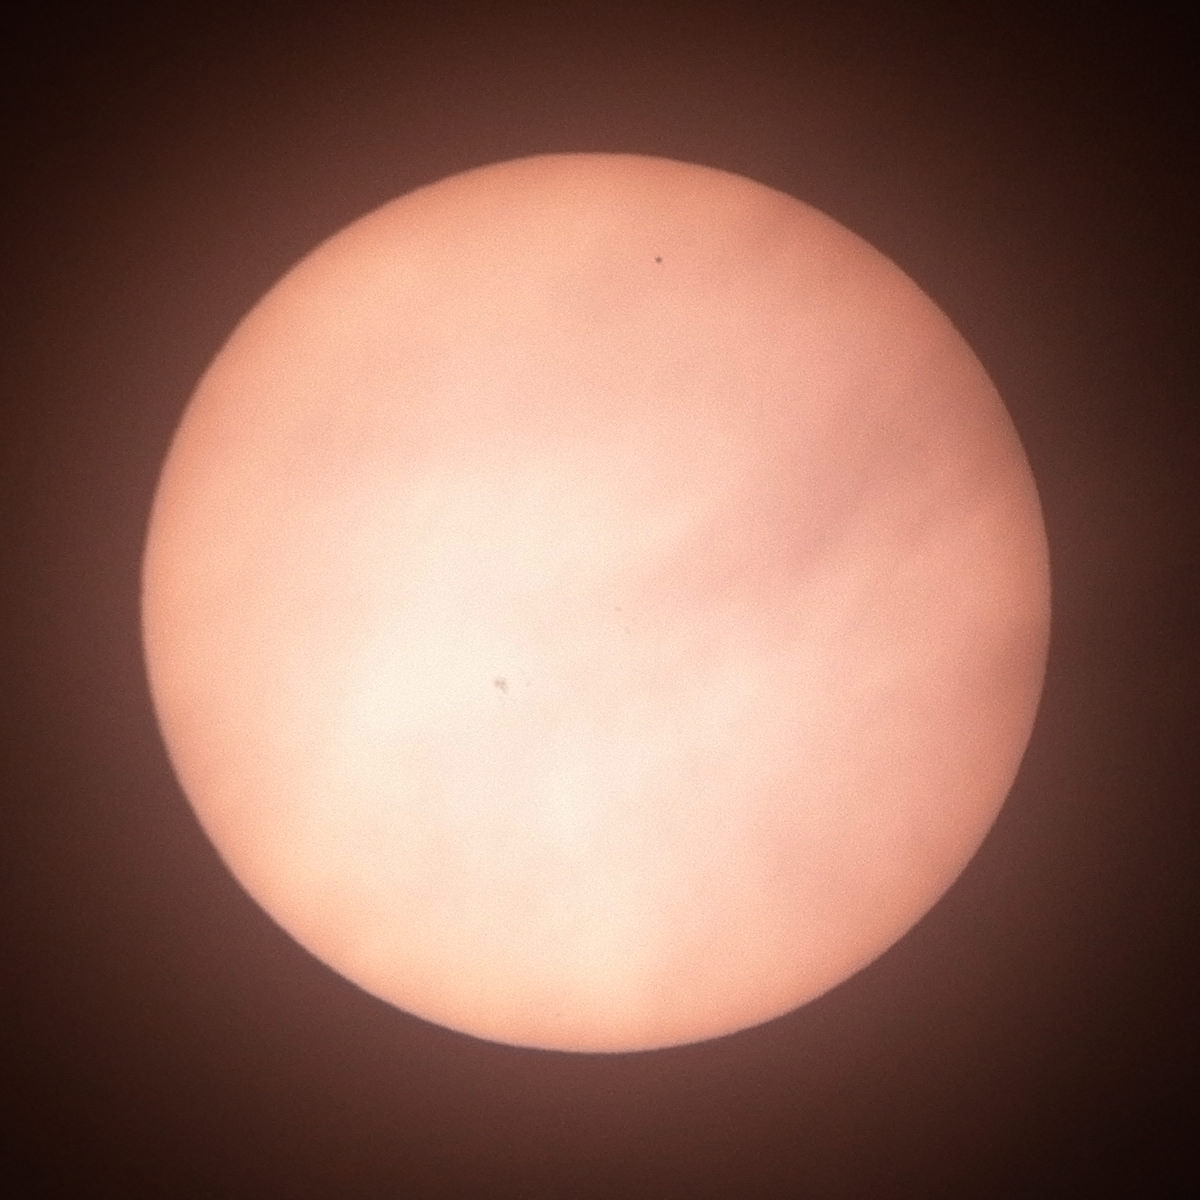
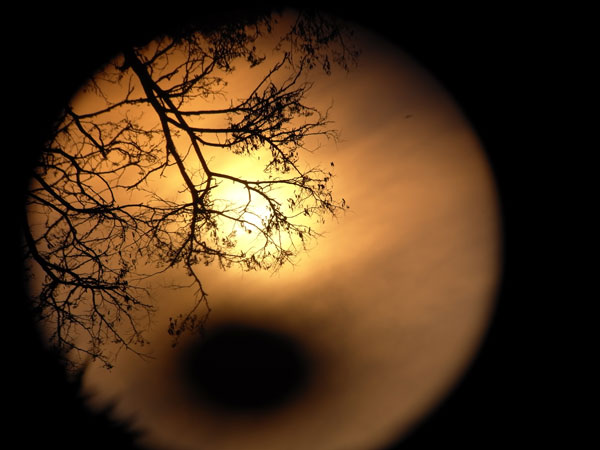
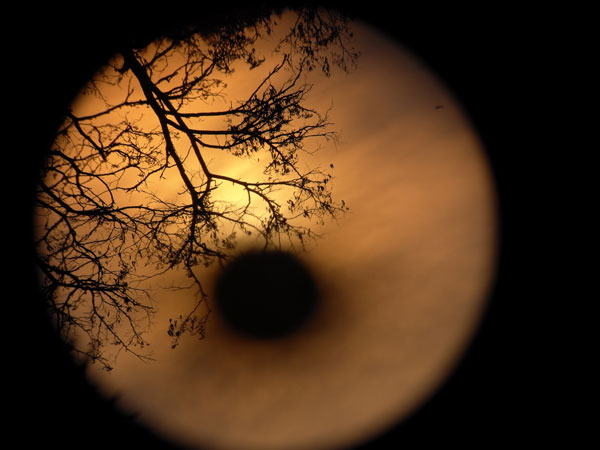
Mercury Entering the Sun
Taken with 32 mm eyepiece and camera mounted fix to the eyepiece (Leica X Vario). It was fairly hazy.
 |
 |
 |
||
13:15 approx. |
13:17 approx. | 13:21 approx. |
||
|
|
|
||
Section from photo above |
Ditto |
Ditto |
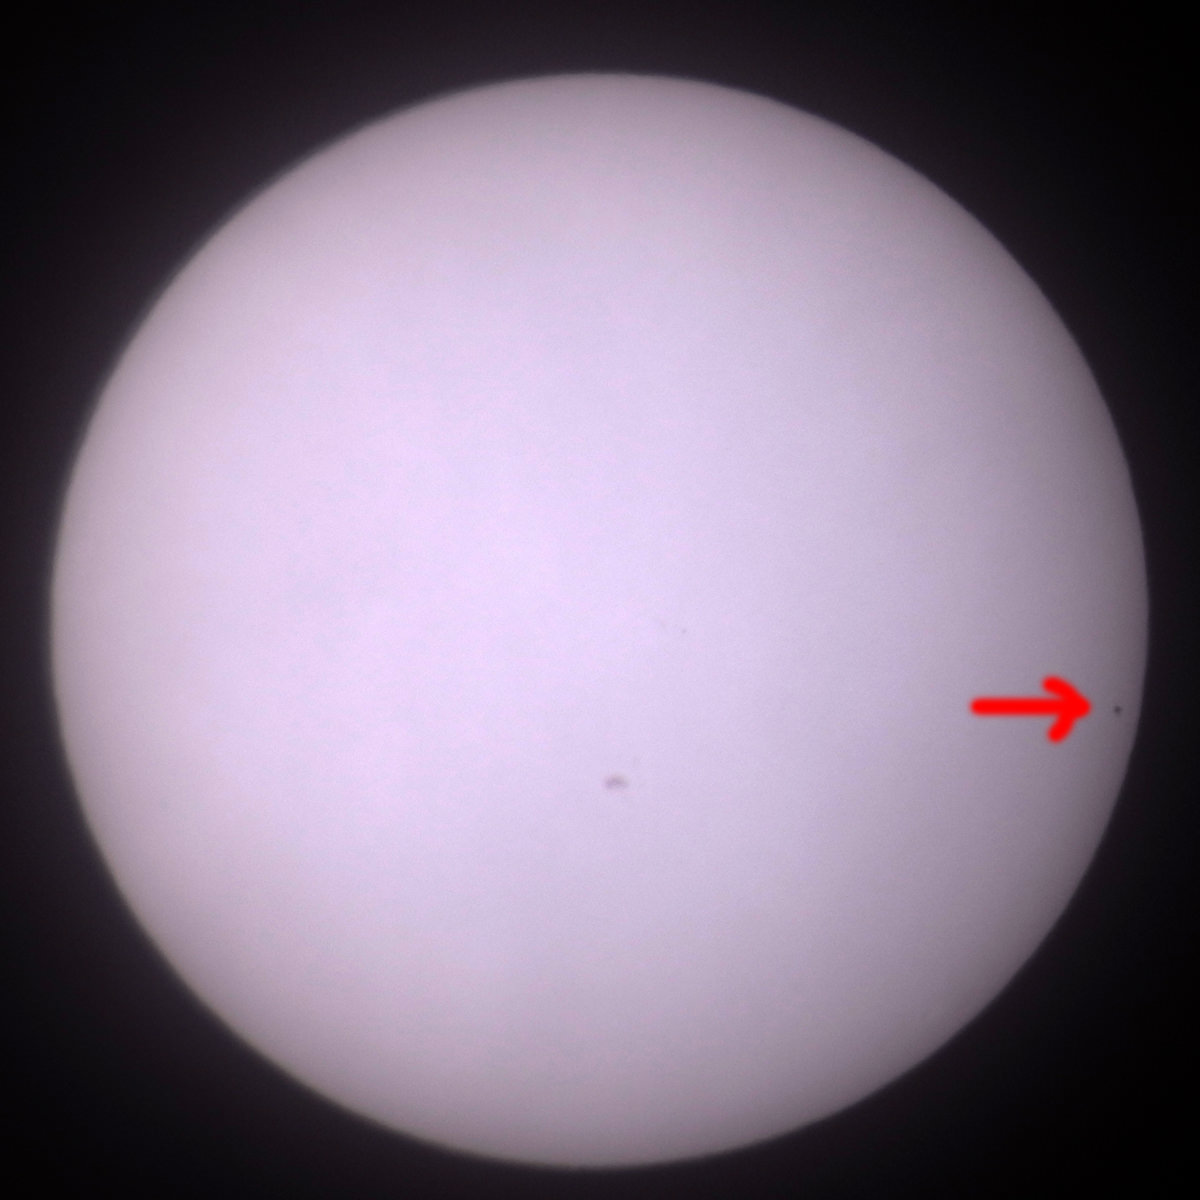
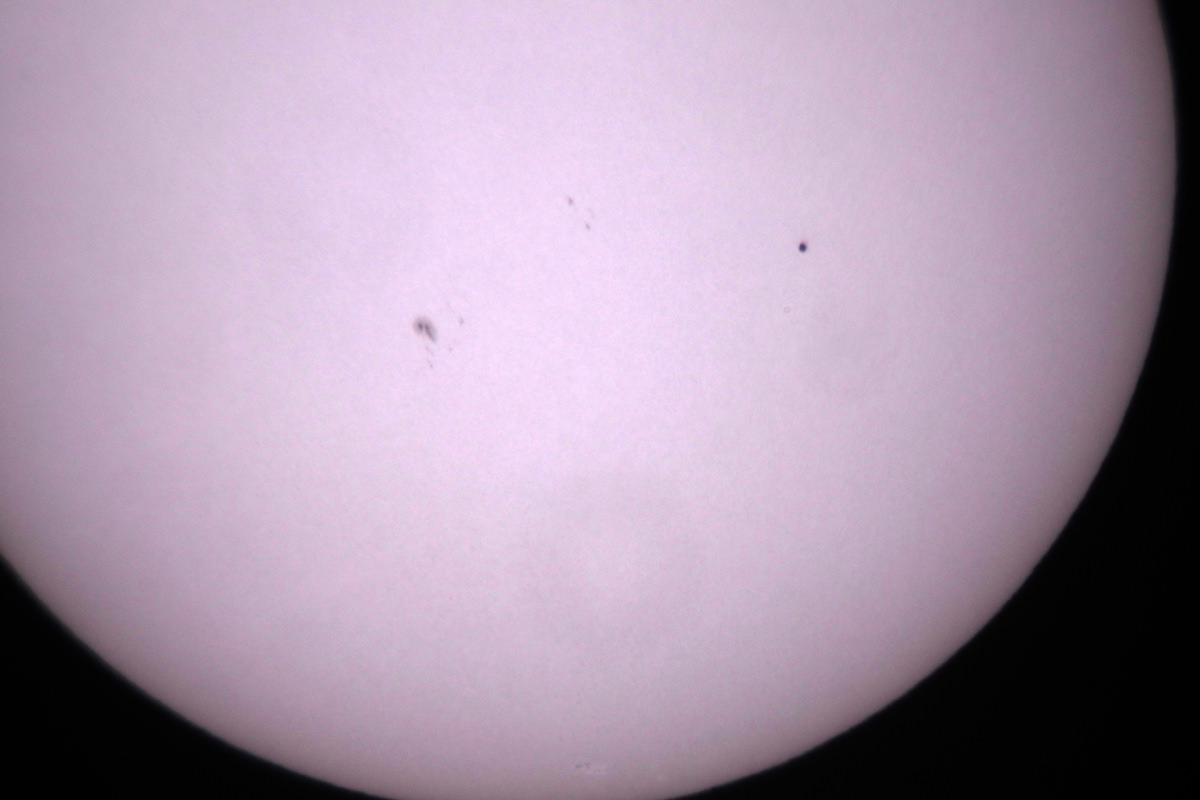
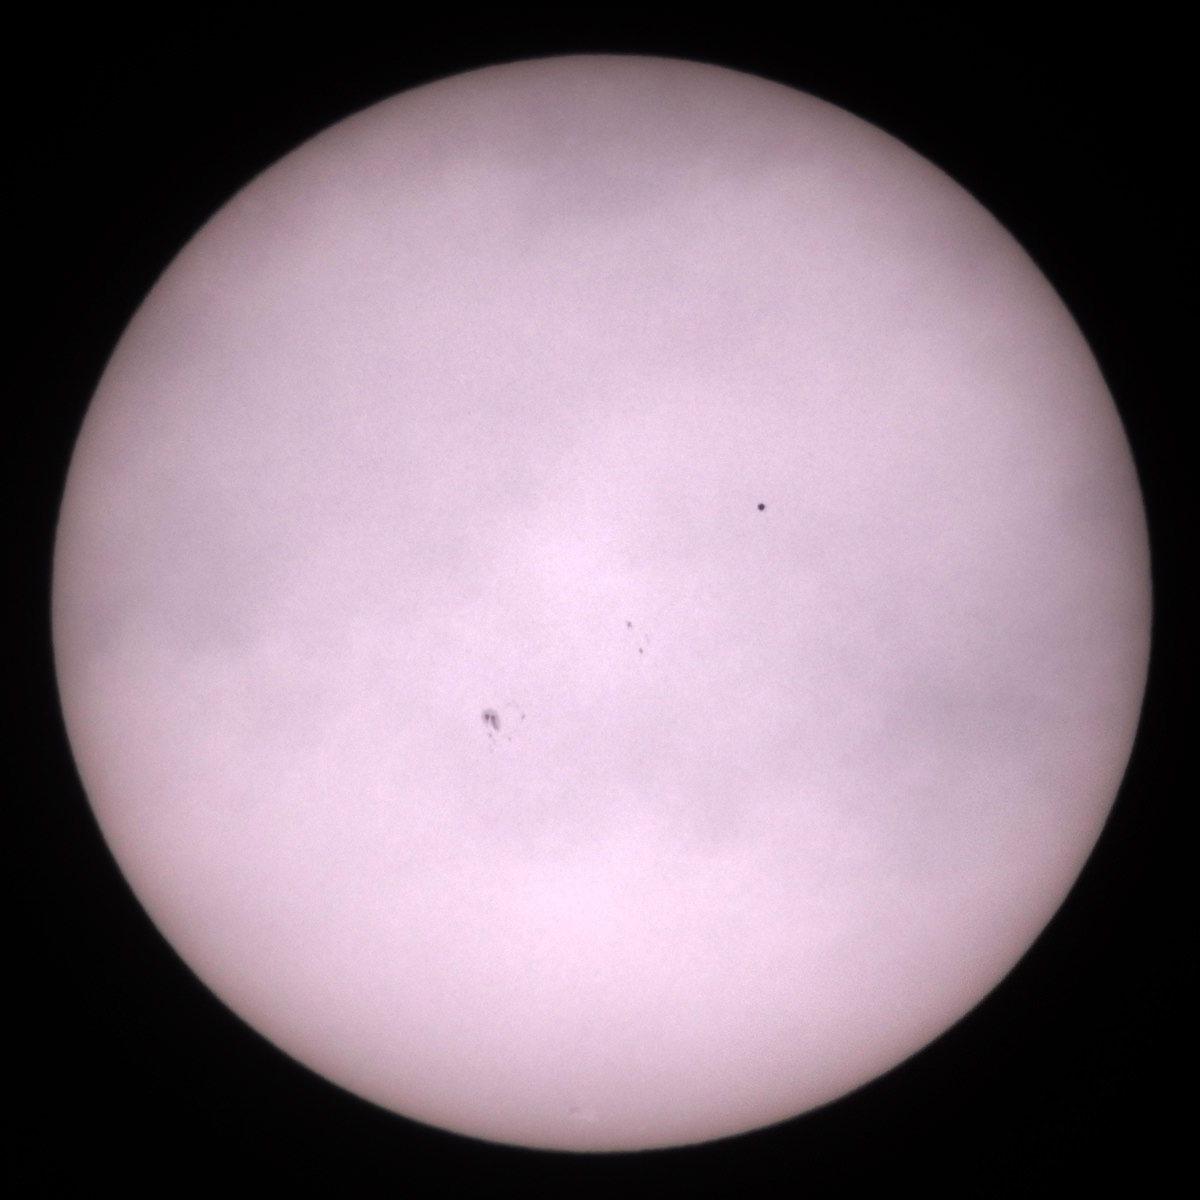
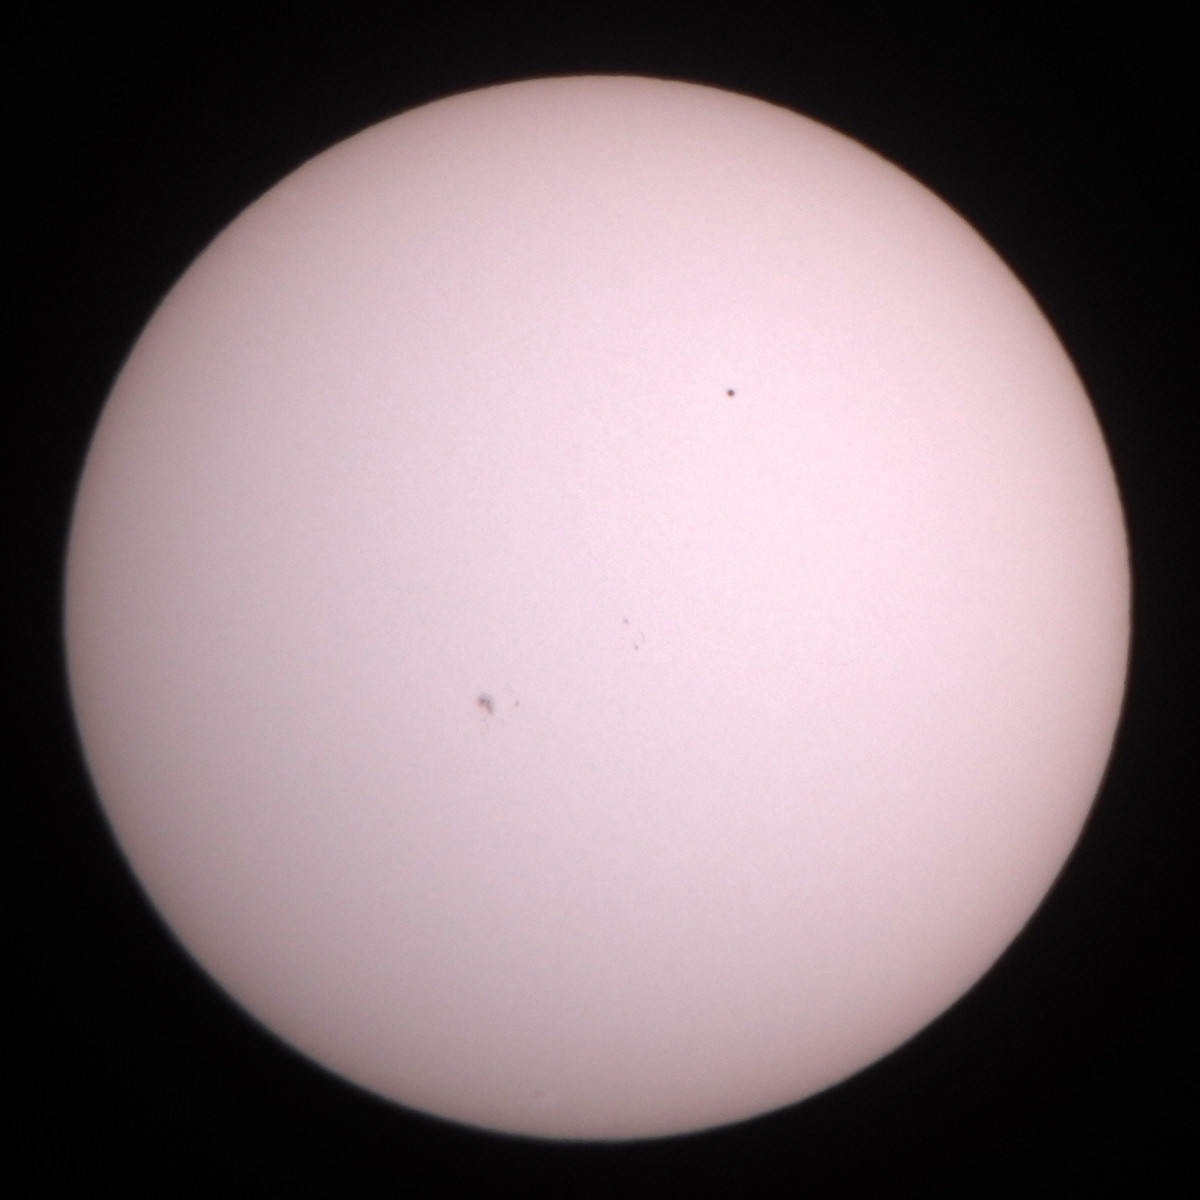
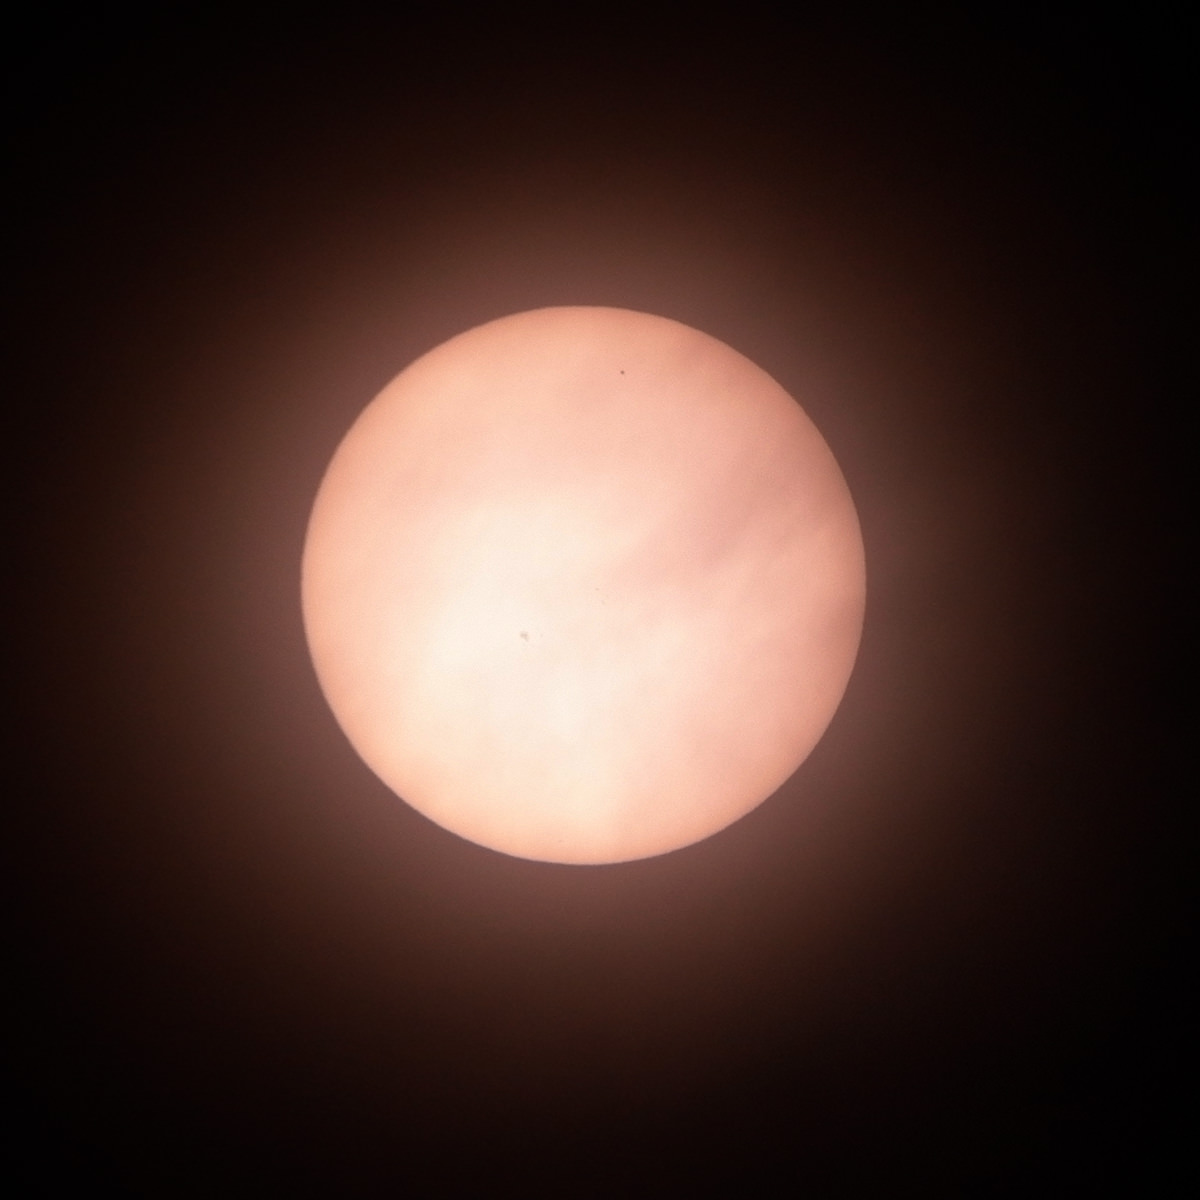
Mercury Moving Towards a Sun Spot?
We wrongly assumed this... Taken with 16 mm eyepiece and using the 1:50 method (Leica X Vario). It was still hazy and sometimes even cloudy.
 |
 |
 |
||
13:25 approx. |
13:59 approx. | 14:21 approx. |
||
|
|
|
||
Section from photo above |
Ditto |
Ditto, the sun spot has moved... |
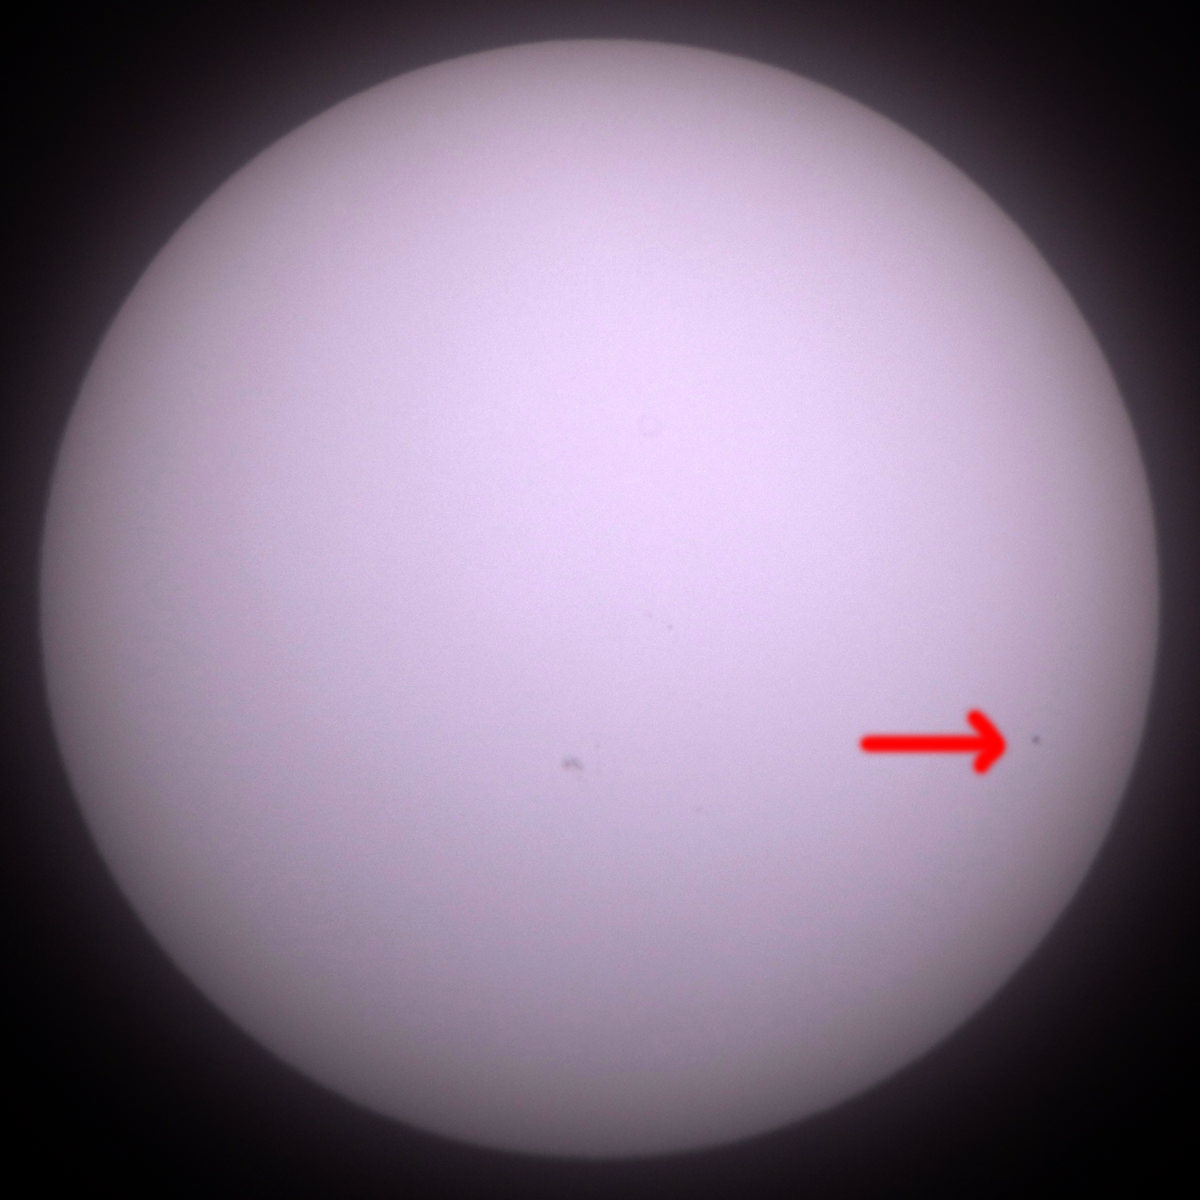
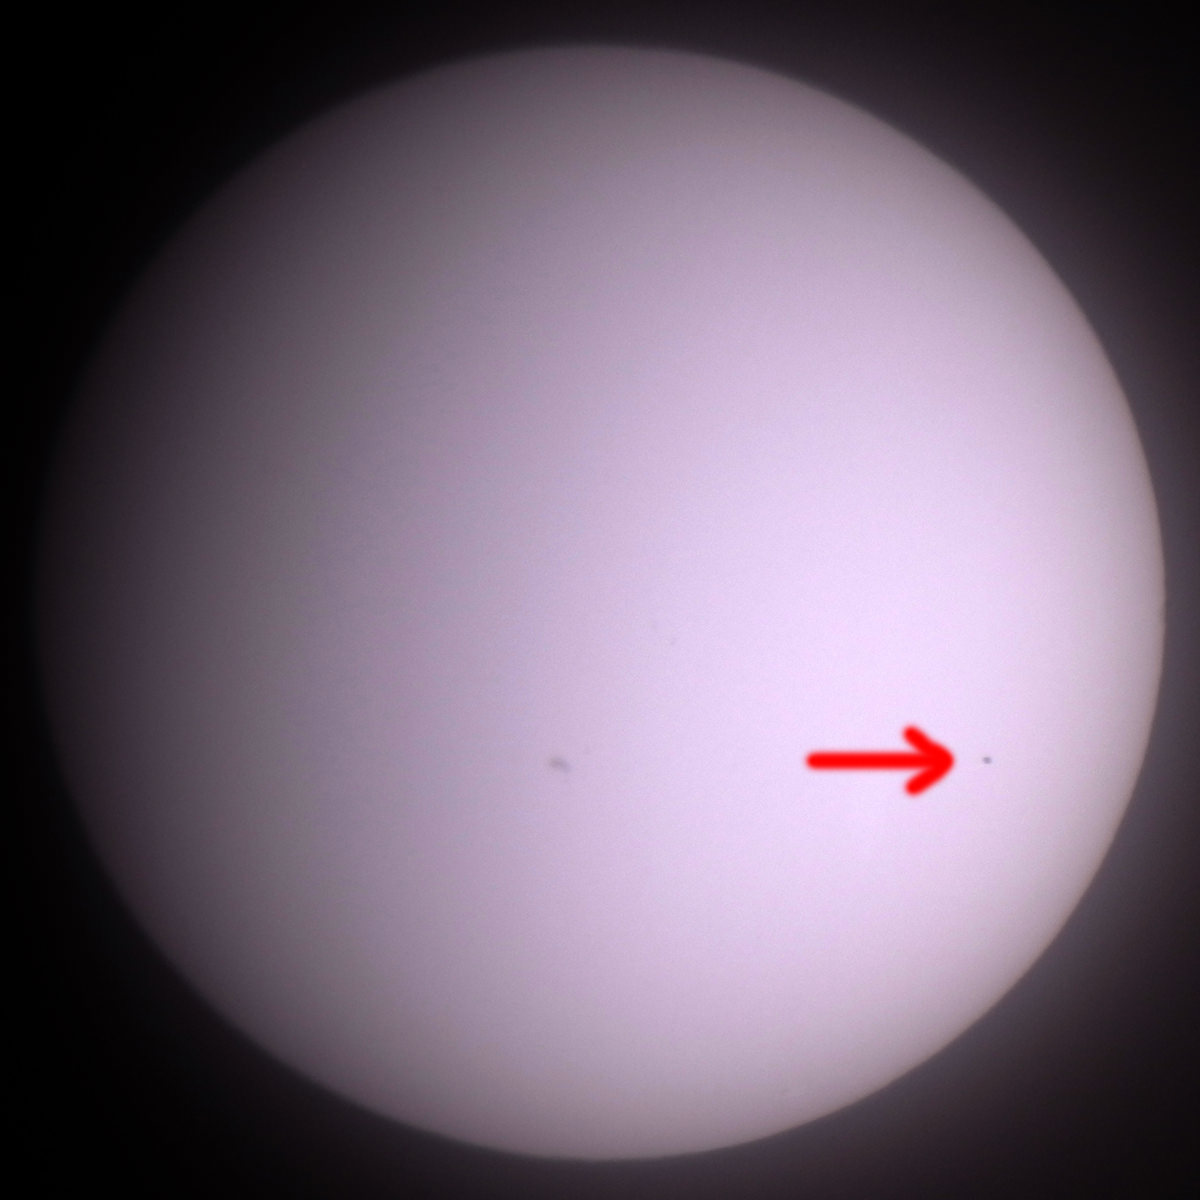
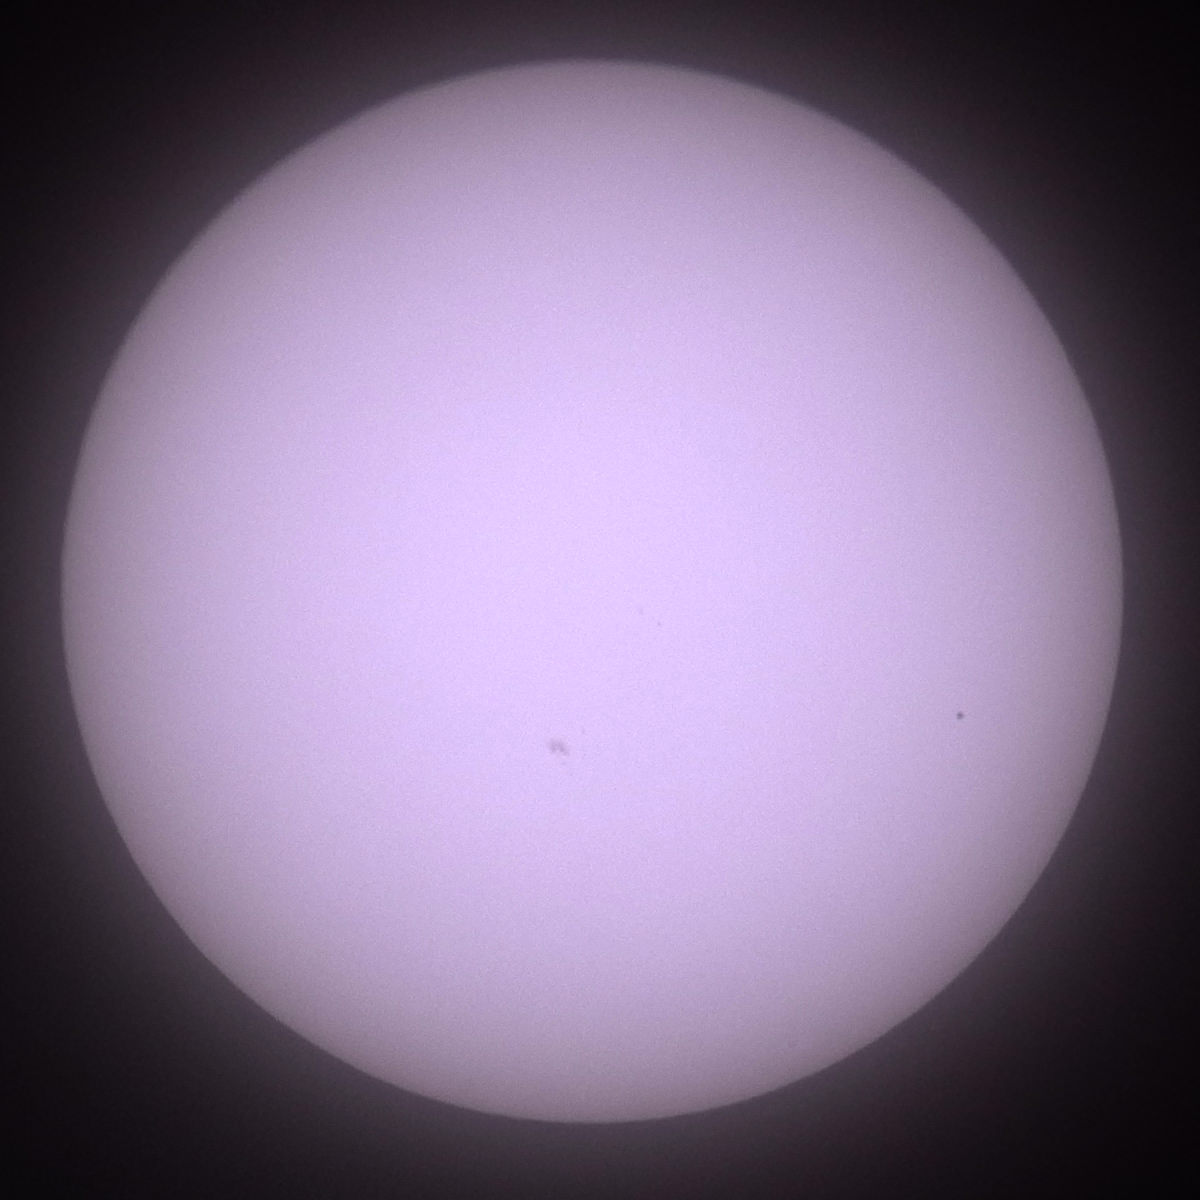
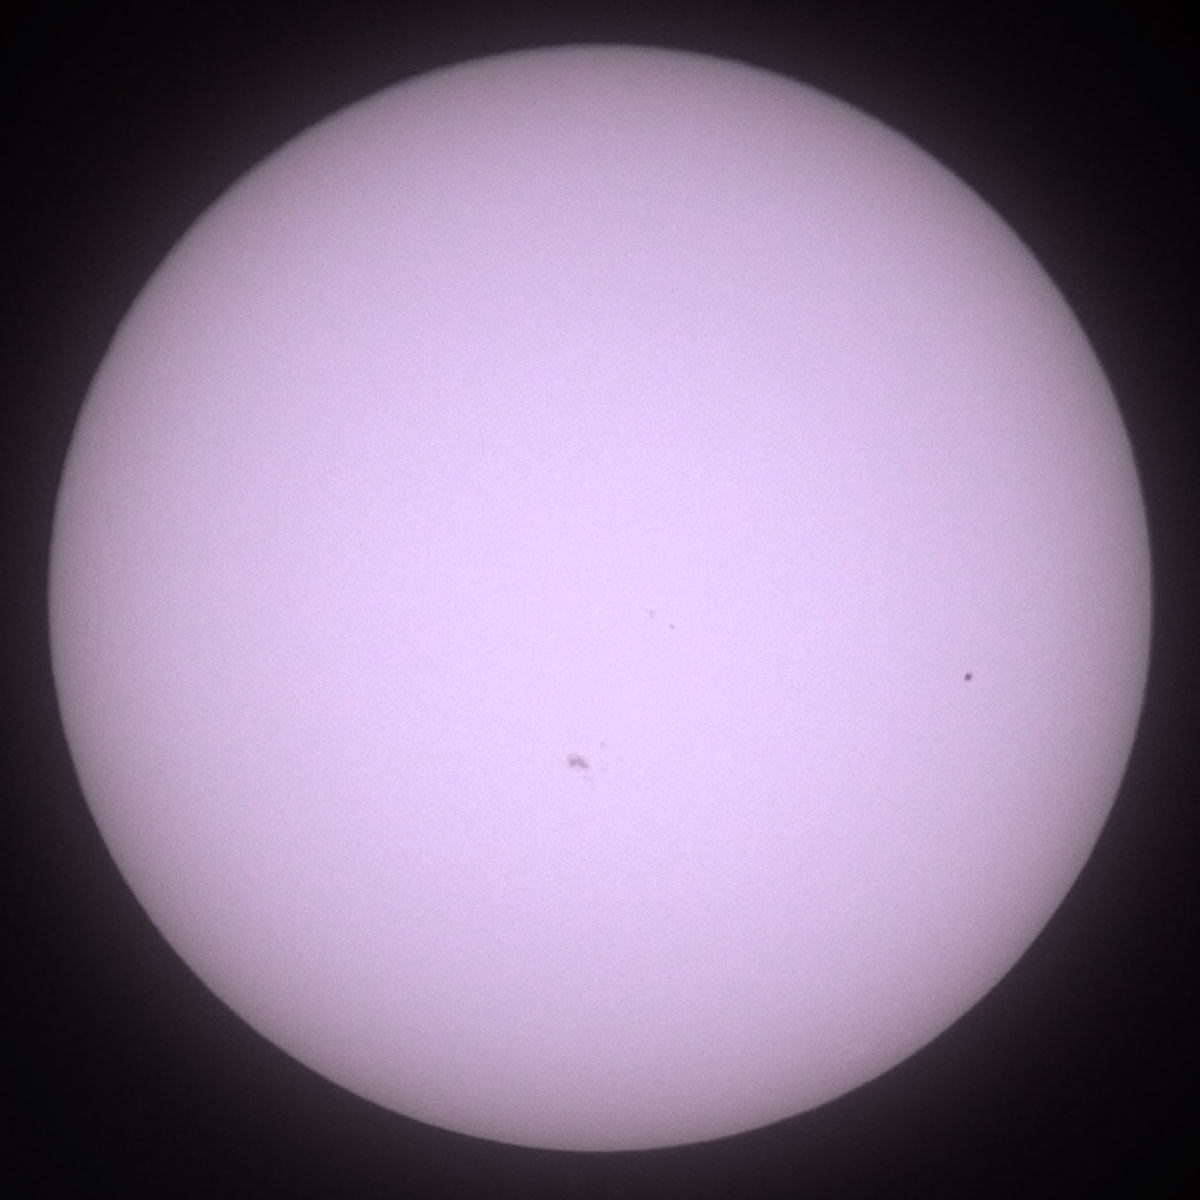
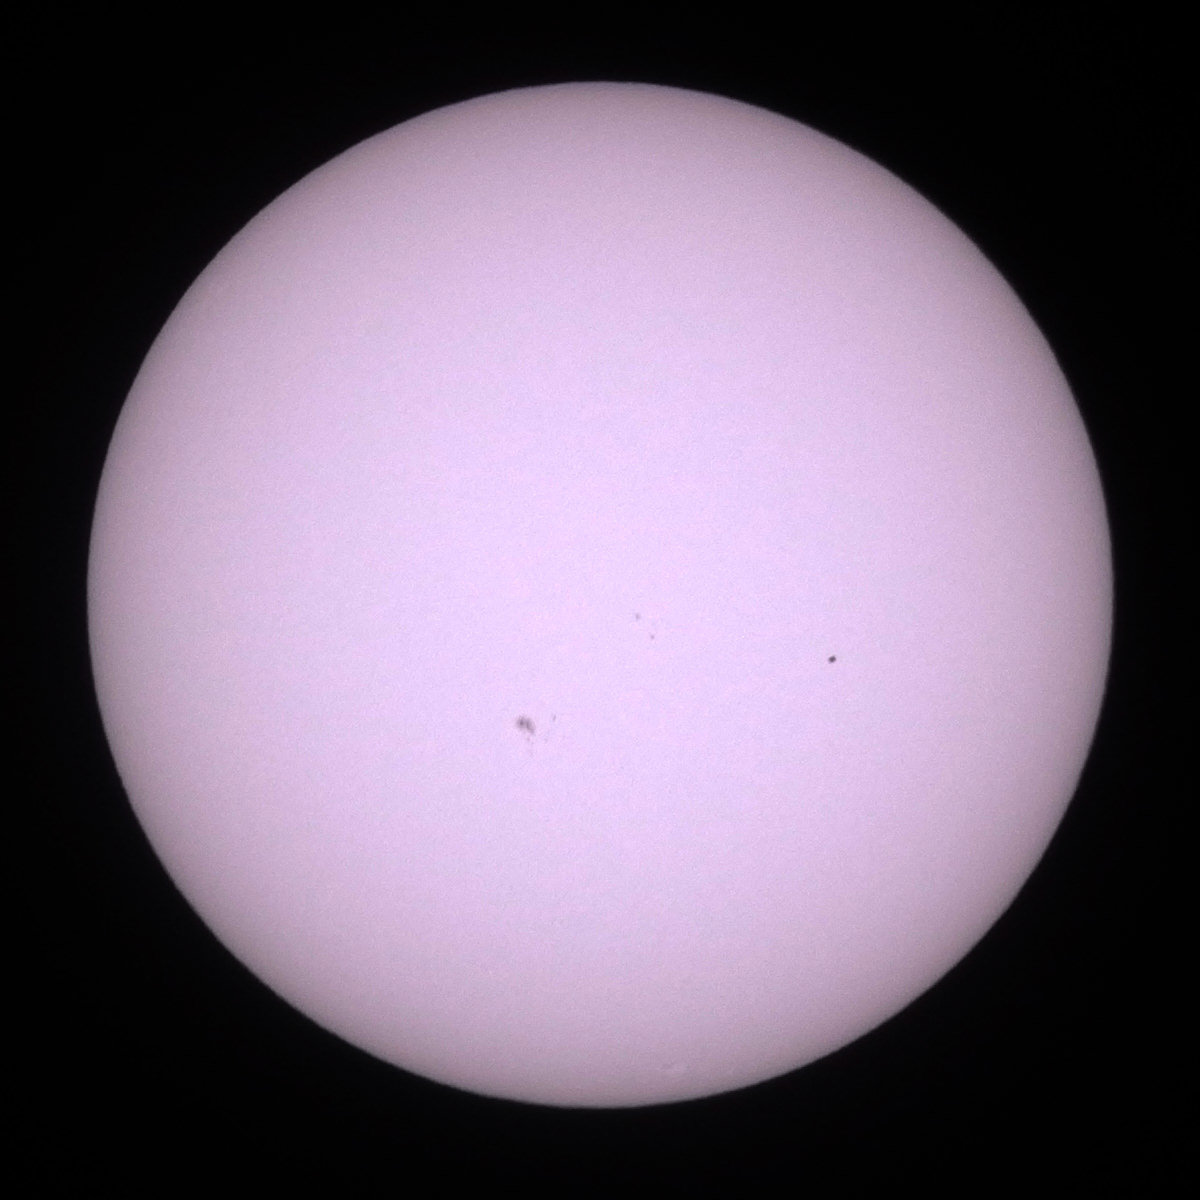
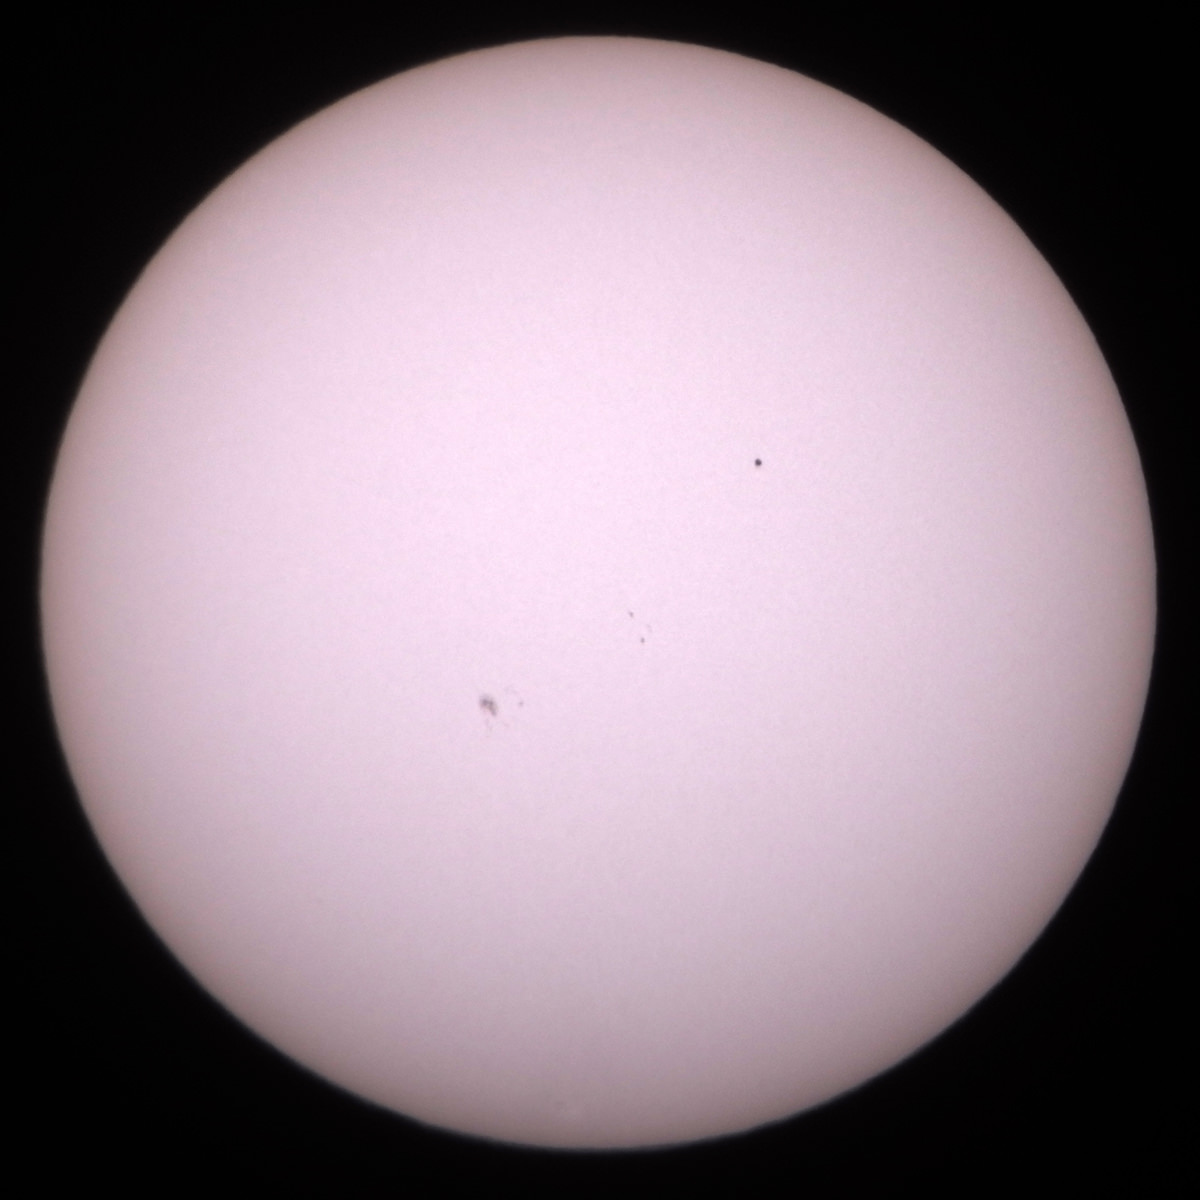
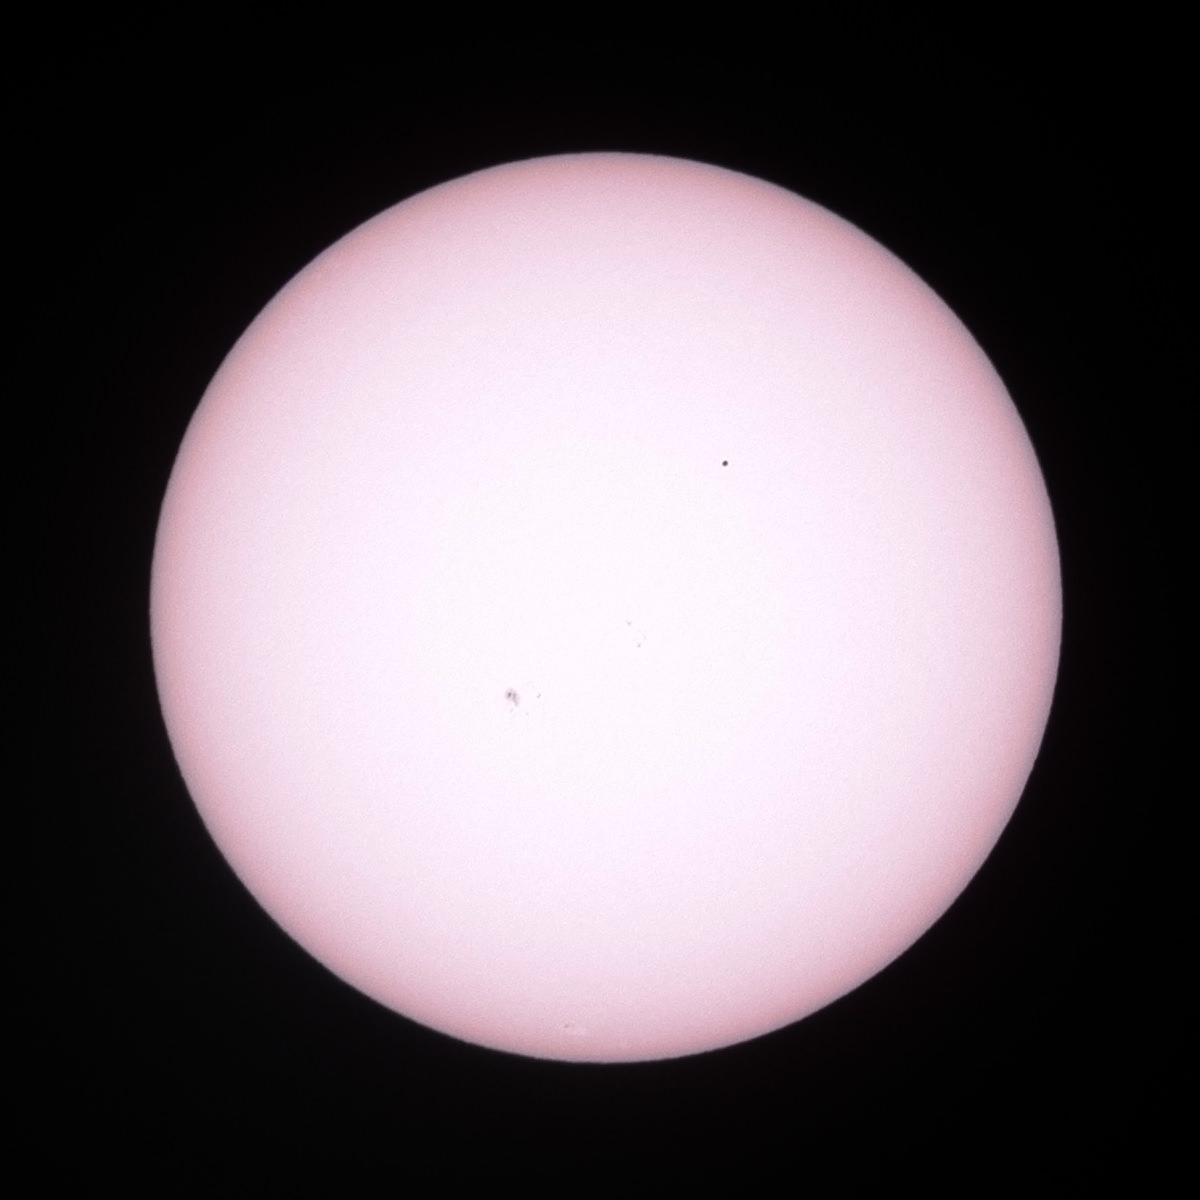
Later Photos
Taken with various eyepieces (32 mm = no mention, 16 mm, 6 mm, sometimes not "reconstructible, then also not mentioned...)
 |
 |
|
Approx. 14:23, hazy |
Approx. 14:36 |
|
 |
 |
|
Approx. 15:39 (16 mm eyepiece) |
Approx. 15:48, eyepiece with higher magnification (6 mm) |
|
 |
 |
|
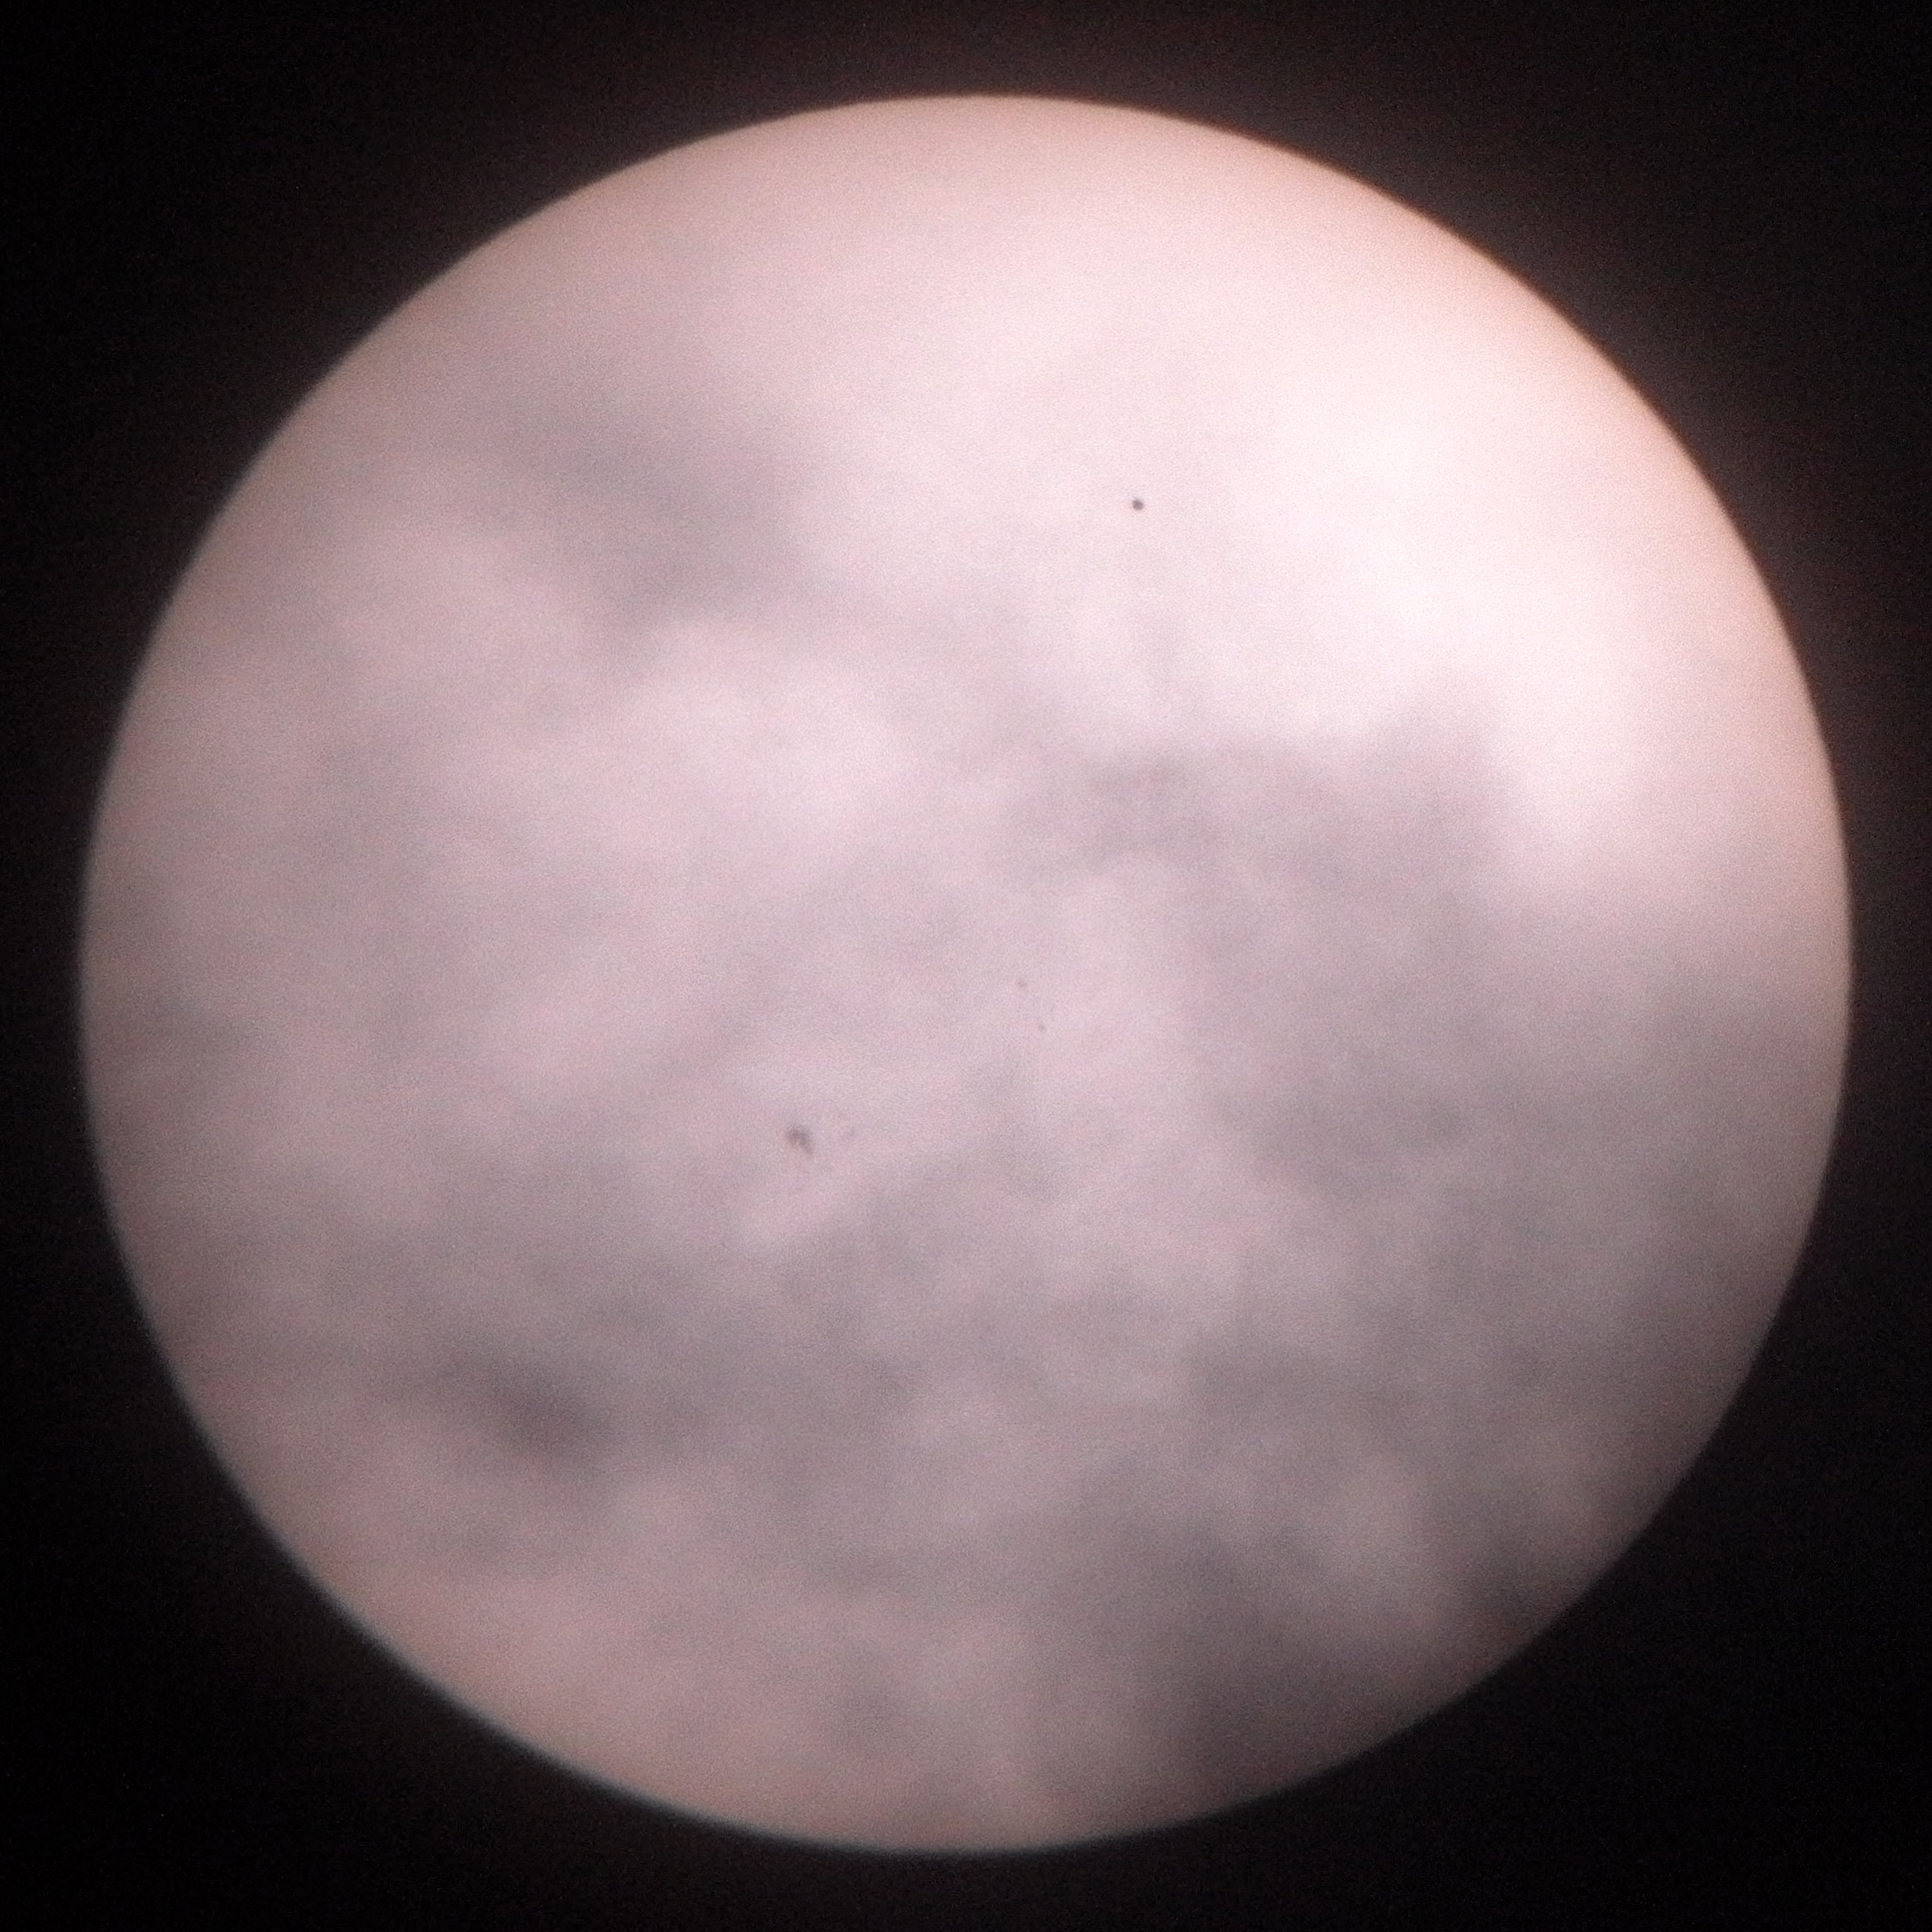
Approx. 16:13, cloudy |
Approx. 17:14, cloudy (16 mm eyepiece) |
|
 |
 |
|
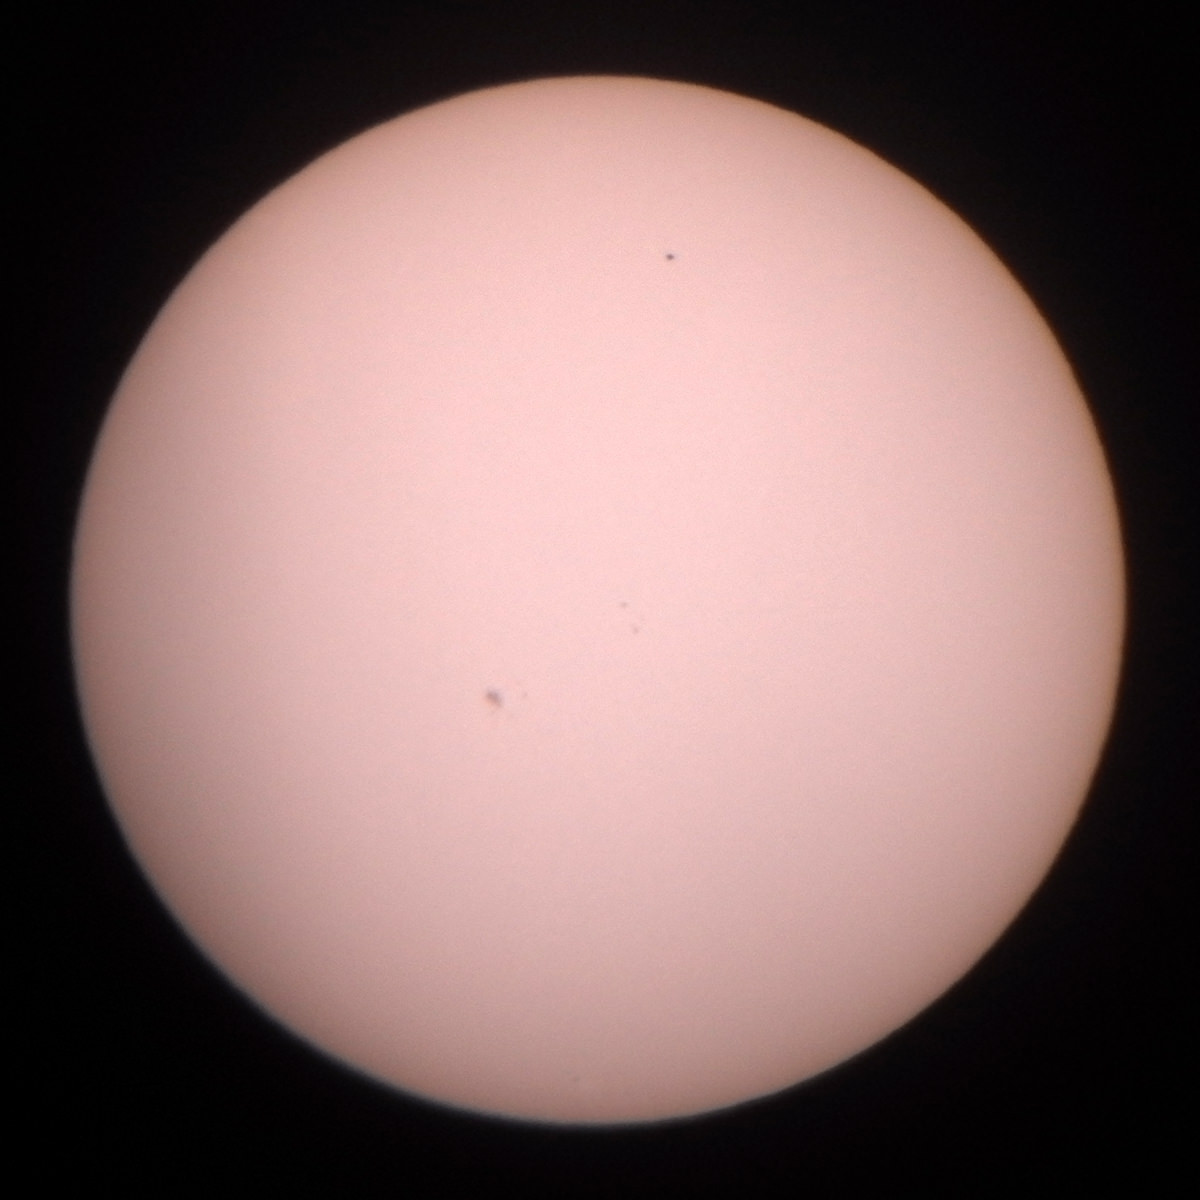
Approx. 17:31 (16 mm eyepiece) |
Approx. 17:52 |
|
 |
 |
|
Approx. 17:56 (16 mm eyepiece) |
Approx. 18:14 (16 mm eyepiece) |
|
 |
 |
|
Approx. 18:42, cloudier |
Approx. 19:12 - fewer clouds this time... |
|
 |
 |
|
Approx. 19:41 - one hour before the end of the transit.
One of the last usable photos that I took before the clouds finally covered
the sun (right: more surround) |
||
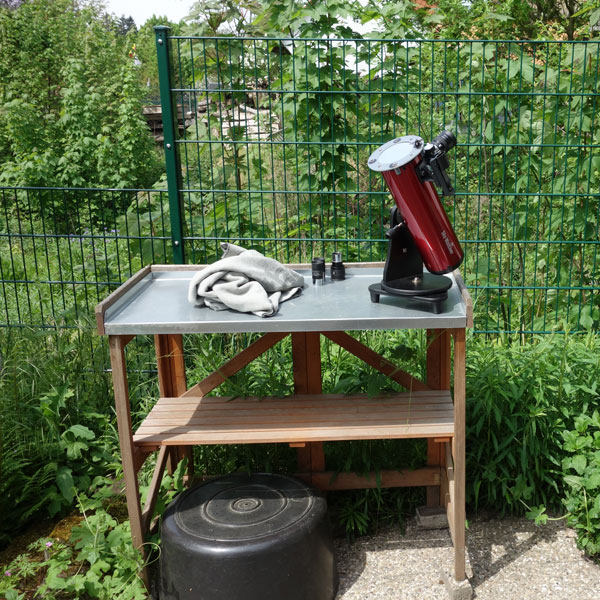
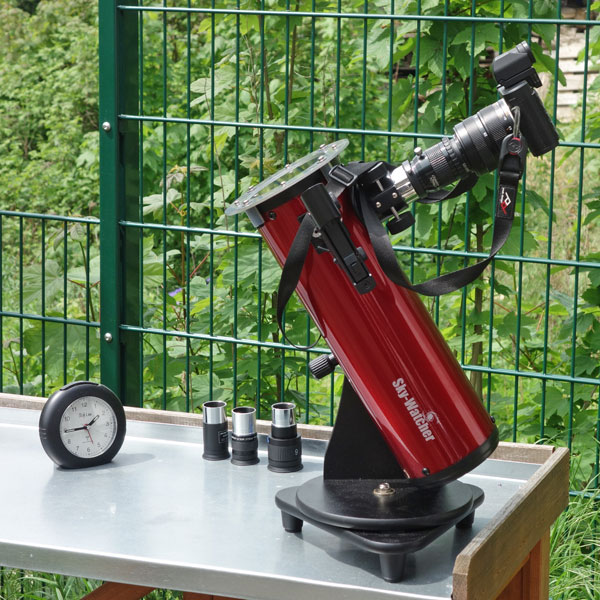
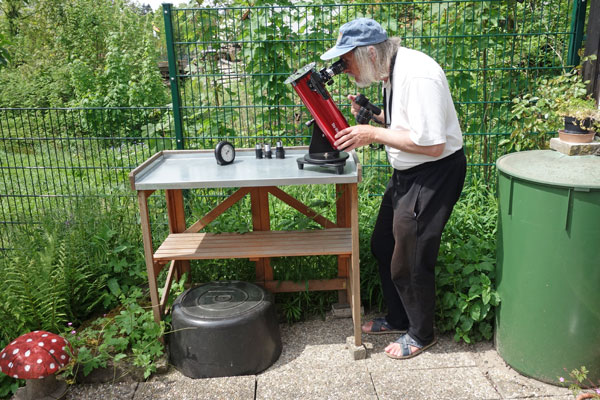
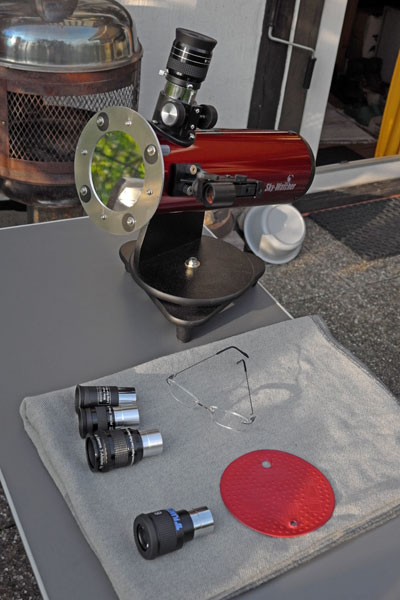
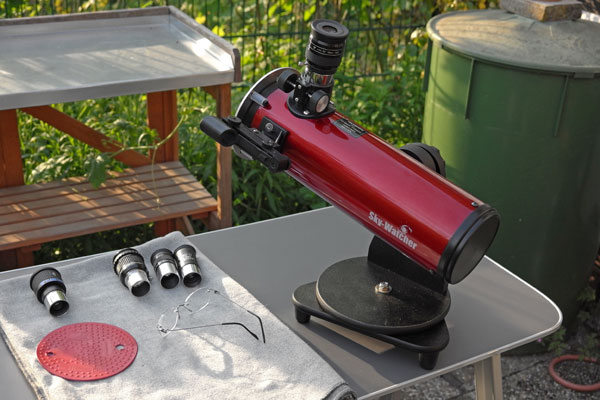
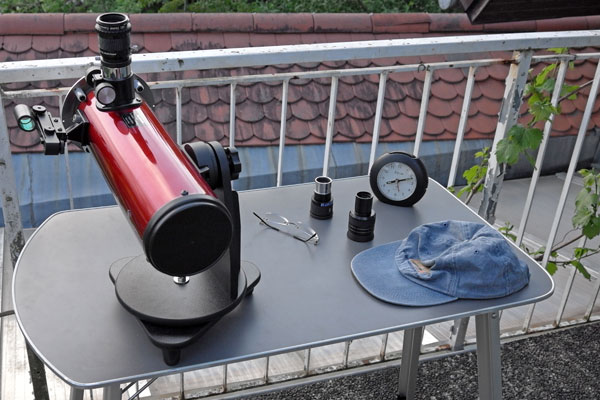
Equipment and Observers
 |
 |
 |
||
Heritage 100P Dobsonian telescope with euro EMC sun filter 600-105 and three eyepieces (32 mm, 16 mm, 6 mm) |
We used a blanket to prevent the telescope from overheating during observation breaks |
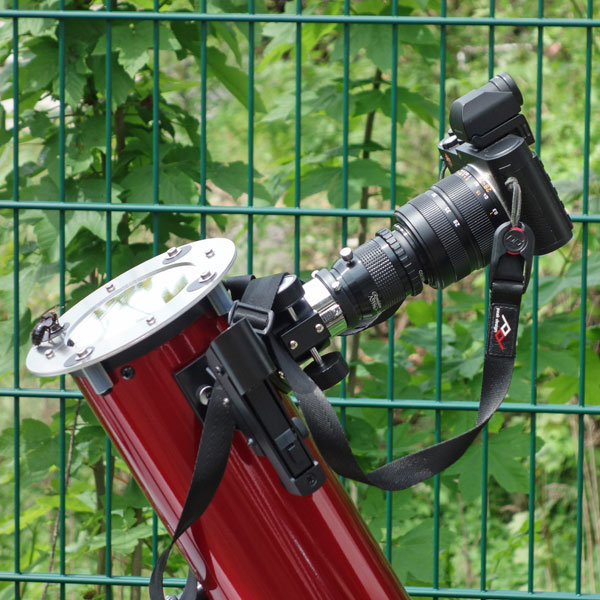
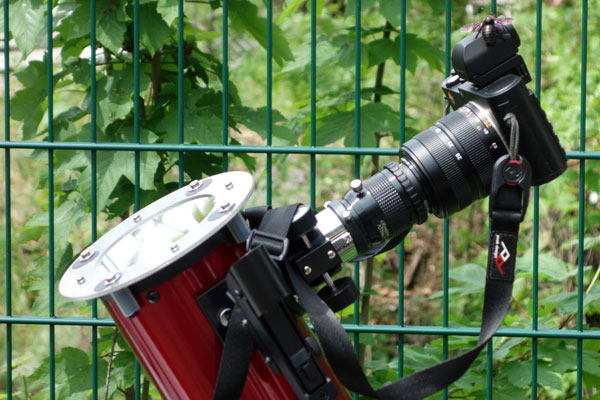
Telescope with camera attached to the eyepiece (T2 adapter) |
||
 |
 |
 |
||
Ditto from closer |
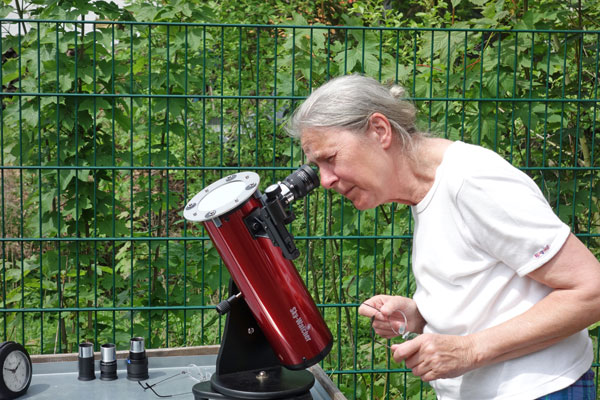
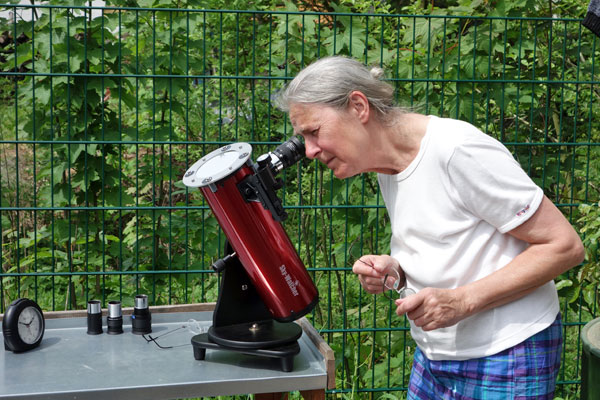
My wife Astrid observing the sun - she searches for the Mercury "pin point"... |
|||
 |
 |
 |
||
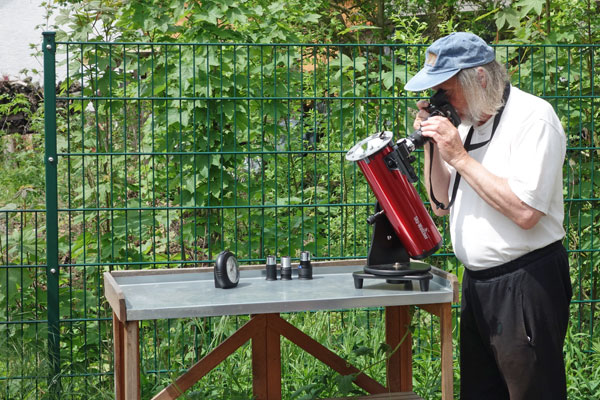
Taking photos of the transit (usually several photos at a time) ... |
... and observing visually |
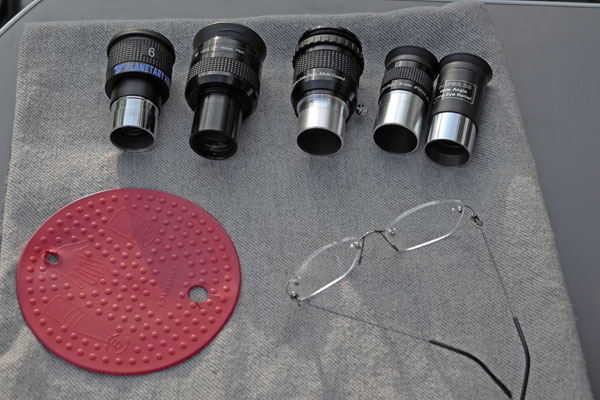
The eyepieces and the rubber plate to separate the adapter rings and loosen them from the filter thread |
||
 |
 |
 |
||
Moved to another observation location... |
Ditto |
... and finally to the balcony |
||
 |
 |
|||
In the end, everything was covered with clouds... |
The dark spot is the secondary mirror... |
Ditto |
||
Some Technical Remarks
In the following, I would like to make some technical remarks and point to some technical issues that I encountered.
"Time Adjustment"
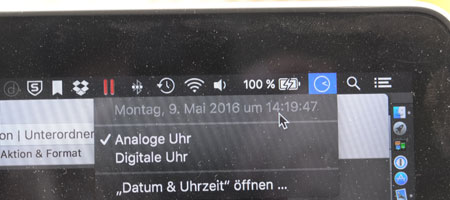
In order to classify the photos, it is quite important to know the minute-exact time of shooting. Most cameras are not set the the exact time and can often only be set to the minute. We used two cameras, the Leica X Vario for telescope and other photos, and the Sony RX100 M1 for other photos only. Therefore, I was looking for a quick-and-dirty method to calibrate both cameras. I had the idea to calibrate the cameras using the clock in my laptop computer. So I took photos of the computer clock and compared this time with the recording time in the Exif data that the cameras saved together with the photos. From this I determined "rounded" correction factors for both cameras.
Here are sample photos showing the computer clock, together with the recording time in the Exif data:
 |
 |
|
Leica X Vario: Exif time: 14:17:34 = camera time about 2 minutes late |
Sony RX 100 M1: Exif time: 16:38:24 = camera time about 7 minutes ahead |
Sun Filter
For the observation of the Mercury transit, I bought two euro EMC branded solar filters that use the Baader Planetarium solar film (ND 5), which is suitable for both visual observing as well as for projection photography. The filters are designed for a particular tube diameter range and must therefore be adapted to the respective telescope. They are cheaper than the corresponding filters by Baader Planetarium and much cheaper than glass sun filters (although not as robust). More information can be found on page Solar Filter for Heritage 100P and 114P and Skymax-102 OTA.
Sun Alignment
Because you cannot use the red dot finder for the sun, it is difficult to align the telescope to the sun. A special sun finder would have helped, but unfortunately I did not have one available. I then found out that a bare screw at the bottom of the telescope lit up when the telescope pointed roughly into the right direction. Finding the correct height thereafter went relatively easy...
Eyepieces
Only one of my eyepieces allows me to attach the camera firmly to the eyepiece (using a T adapter), the 32 mm Revelation DigiScope eyepiece. The other two eyepieces required using the 1:50 method, which worked differently well for both eyepieces, but is always problematic, anyway. Since the eyepieces are from various series and from different manufacturers, they are, of course, not homofocal. For each eyepiece, sharpness had to be readjusted at the telescope. These changes can sometimes also cause that the sun gets "out of sight" and you have to realign the telescope once again.
Leica X Vario at the Telescope
The Leica X Vario sports a 43mm filter thread. Using two adapters (T-mount), I can firmly attach it to the 32 mm Revelation DigiScope eyepiece (see page Leica X Vario Attached to Telescope). This would also be possible with the Leica M and the Voigtländer f2.5/75 mm lens, and perhaps even work better, but this combination is much heavier than the X Vario and therefore not suitable for the small Heritage 100P telescope. Other cameras without a filter thread did not prove well suited to the application of the 1:50-method in previous tests, and so I decided for the X Vario. Unfortunately, the Leica X Vario, the Heritage 100P, and my eyepieces were not really "optimal" for my photo experiments. Therefore, here are a few observations!
Focusing
I set the distance on the camera to "infinity" and controlled sharpness at the telescope. The focuser of the Heritage 100P is not one of the most sensitive ones and, of course, also does not have a fine drive. As reported elsewhere, you are again and again turning back and forth the telescopes manual focus dial to find the best point of sharpness. In addition, the sharpness setting sometimes slips under the weight of the camera (or because you touched it...).
I checked the sharpness in the camera's EVF, which is a good thing in itself. Unfortunately, I was more or less unable to use the viewfinder magnification feature of the camera. This switches on either when you turn the focus ring - but actually it should remain on infinity - or when you press the DELETE/FOCUS button on the camera back. When I pressed the button, the viewfinder image was enlarged for about 5 seconds - and then the effect vanished again. This was also about the time that I needed to get my hand back to the telescope's focus dial to start focusing. I finally gave up in despair and tried to adjust the focus using normal magnification - as good as this was possible...
Of course, screen magnification did not work for me when I held the camera to the eyepieces (1:50 method) - I would have needed at least three hands for this...
Zoom Setting
From time to time, the zoom setting on the lens shifted, because the camera put by its weight on the zoom ring and it moved a little bit. Then I got a shorter focal length than the desired 70 mm - and did not always notice this... Only later, I came across the tip to use sticky tape to fix the zoom ring - I did not find this out myself...
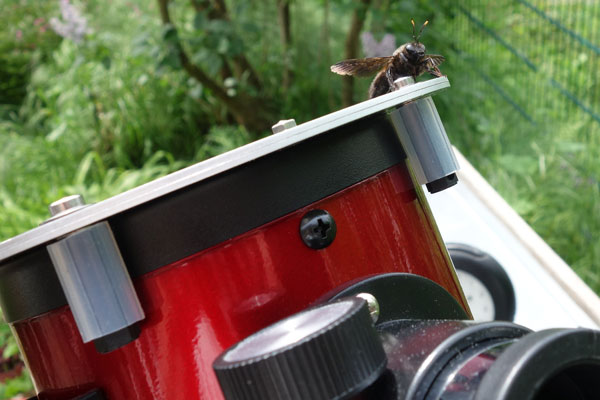
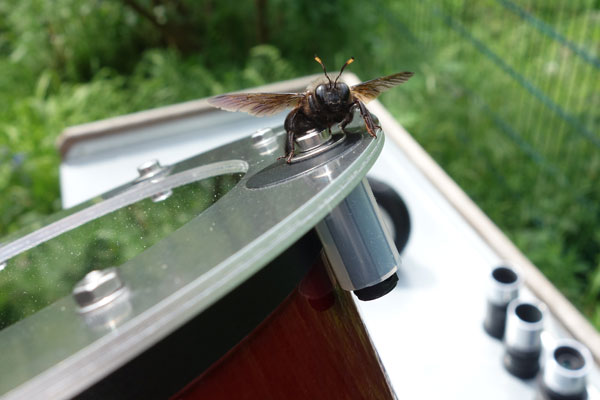
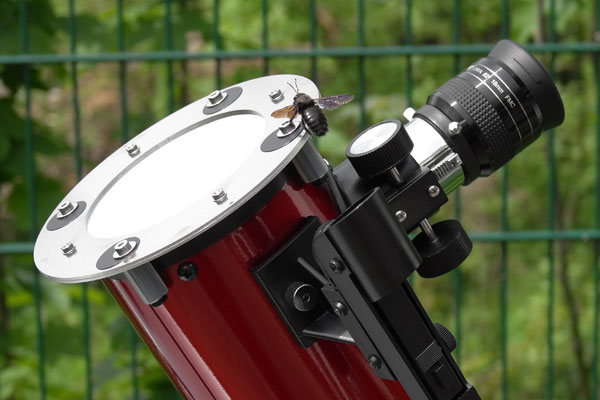
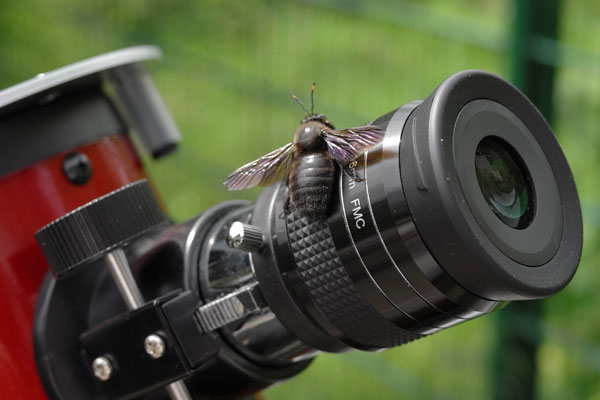
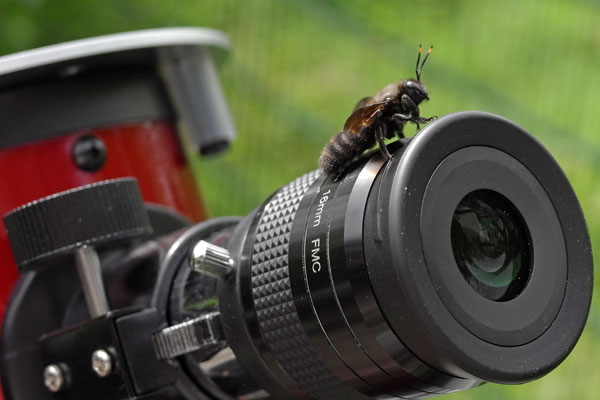
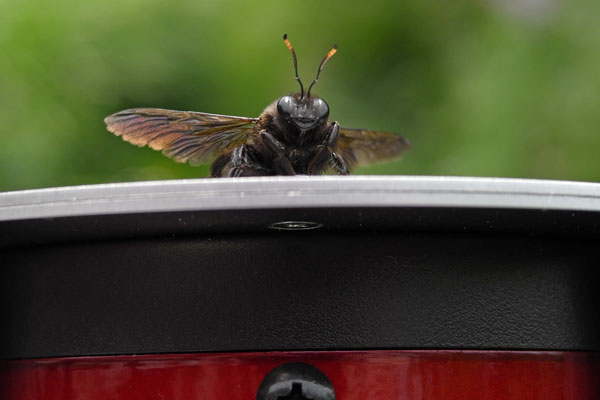
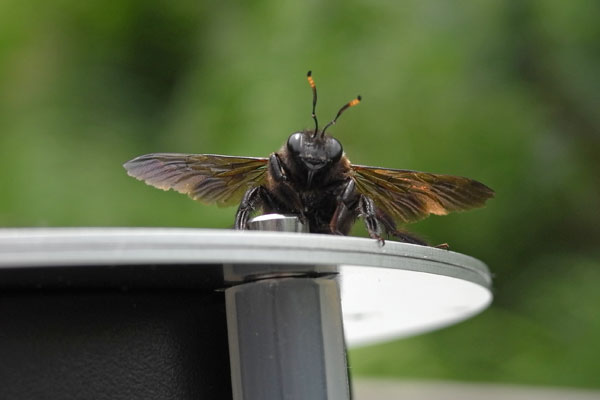
Carpenter Bees
As stated above, we competed with one to three carpenter bees for the observation place.
For more information about carpenter bees, see the link below.
 |
 |
 |
||
|
|
|||
 |
 |
 |
||
|
|
|||
 |
 |
 |
||
|
|
|||
 |
 |
 |
||
 |
 |
 |
Links
English-speaking Websites with information about the Mercury transit 2016:
- Transit of Mercury (Wikipedia, general): en.wikipedia.org/wiki/Transit_of_Mercury
- 2016 Transit of Mercury (eclipsewise.com, Fred Espenak, Canada): eclipsewise.com/oh/tm2016.html
- The Transit of Mercury, May 9th 2016 (Martin J Powell): www.nakedeyeplanets.com/mercury-transit-2016.htm
- Transit of Mercury on May 9, 2016 (EarthSky, Bruce McClure): earthsky.org/tonight/mercury-transit-may-9-2016-how-to-watch
- Carpenter bee (Wikipedia): en.wikipedia.org/wiki/Carpenter_bee
German-speaking Websites with information about the Mercury transit 2016:
- Merkurtransit (Wikipedia, allgemein): de.wikipedia.org/wiki/Merkurtransit
- Merkurtransit vom 9. Mai 2016 (Wikipedia): de.wikipedia.org/wiki/Merkurtransit_vom_9._Mai_2016
- Merkurtransit am 9. Mai 2016: Merkur vor der Sonne (VdS): www.vds-astro.de/nachrichten/datum/2016/04//merkurtransit-am-9-mai-2016-merkur-vor-der-sonne.html
Carpenter Bees (in German):
- Holzbienen - Xylocopa: www.wildbienen.de/eb-xyloc.htm
- Holzbienen (Wikipedia): de.wikipedia.org/wiki/Holzbienen
|
made by |
| 27.07.2023 |