Astronomy | GXR · GR · RX100 M1 · RX100 M4 · RX10 M3/4 · TZ202 · X Vario · M240 · General | Photos | Conf. Places | Calendars | Art
Panasonic TZ202: Diffraction Samples
Introduction: Diffraction as a Limit to Stopping Down Lenses | Sample Photos | Sample Photos - Close-up | Electronic Improvements | Conclusions | References
On this page, I present Panasonic TZ202 photos taken under similar conditions but with varying aperture to demonstrate how fuzziness caused by diffraction sets in at smaller apertures.
Note: See also page Calculating the Optimum Aperture for Different Sensor Sizes (Diffraction Limit) for a general discussion of diffraction.
Introduction: Diffraction as a Limit to Stopping Down Lenses
As you stop down, "diffraction" sets in and reduces image sharpness. The more you stop down, the larger diffraction effects get. Diffraction can be described as "the spreading out of a light beam when it's 'squeezed' though a small aperture." The smaller the aperture, the more the light spreads out.
This works differently for different sensor sizes, and you can read more about this on page Calculating the Optimum Aperture for Different Sensor Sizes (Diffraction Limit). All in all, the generalized results for the "optimum apertures" are:
- f/4: small sensor cameras (1/2.3", 1/1.7")
- f/8: 1" sensor cameras
- f/11: MFT and 4/3" cameras
- f/16: APS-C cameras
- f/22: full-format cameras
Please note that this are limits that diffraction sets to image quality; it sets in at much smaller f-numbers, but this is a "gradual" process (for details, see page Calculating the Optimum Aperture for Different Sensor Sizes (Diffraction Limit). Also note that these limits, may be a "matter of taste". Some authors maintain that diffraction sets in for 1" cameras already beyond f/5.6.
Sample Photos
In the following, I present sections from example photos that I took at different f-numbers (up to f/11, the smallest aperture on the camera) and with the Panasonic TZ202 to look for diffraction effects. Of course, this is just a "quick-and-dirty" investigation. Nonetheless, diffraction effects can be found on the computer screen at least at 100% magnification. What this means in your photographing practice, is up to you...
 |
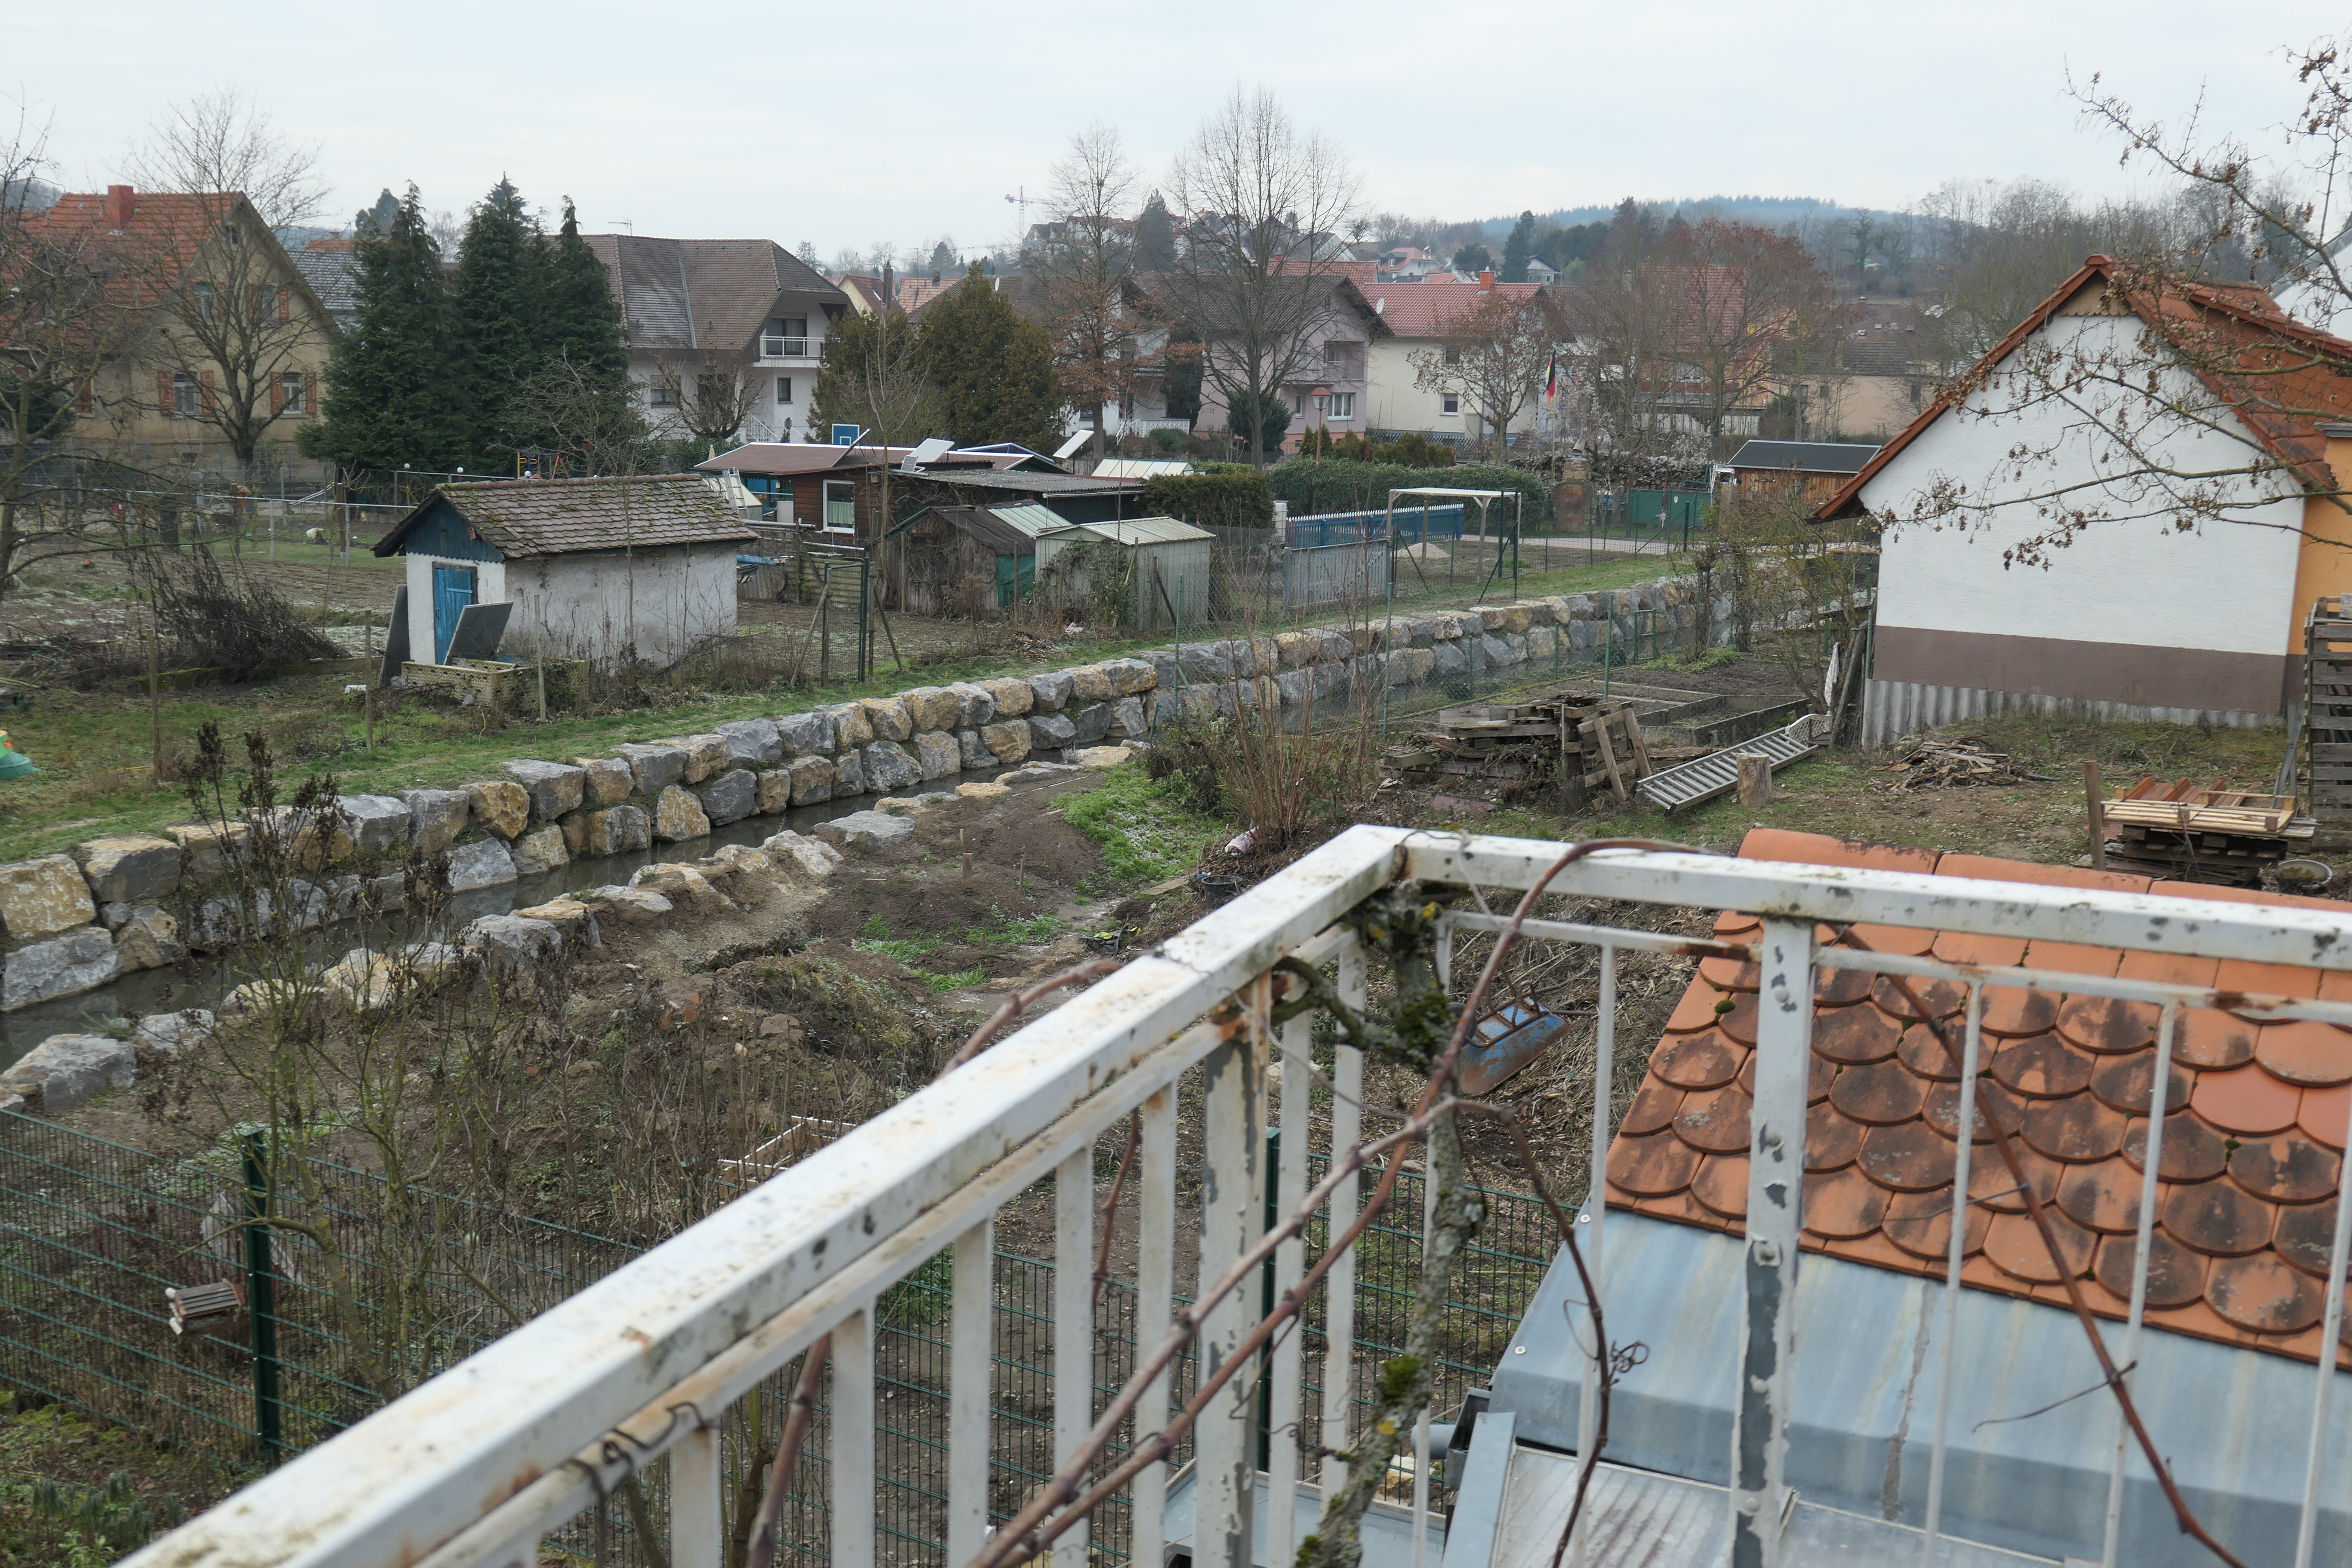
Using the following photos taken with the Panasonic TZ202, you can observe on a computer screen at 100% magnification how diffraction increases with f-number. About the photos: The photos were taken with a tripod at the f-numbers f/4, f/5.6, and f/8 in A mode. Distance was set using AF at a distant target. ISO was set to ISO 200, and a focal length of 35 mm (equiv.) was used. Photo Style was set to Standard (0, 0, 0). The images below are 100% sections. Click the images to download or view the photos in full size. |
|
Overview sample |
||
 |
 |
|
f/4 |
f/5.6 |
|
 |
|
|
f/8 (maximum aperture) |
f/4 (first photo, repeated for comparison) |
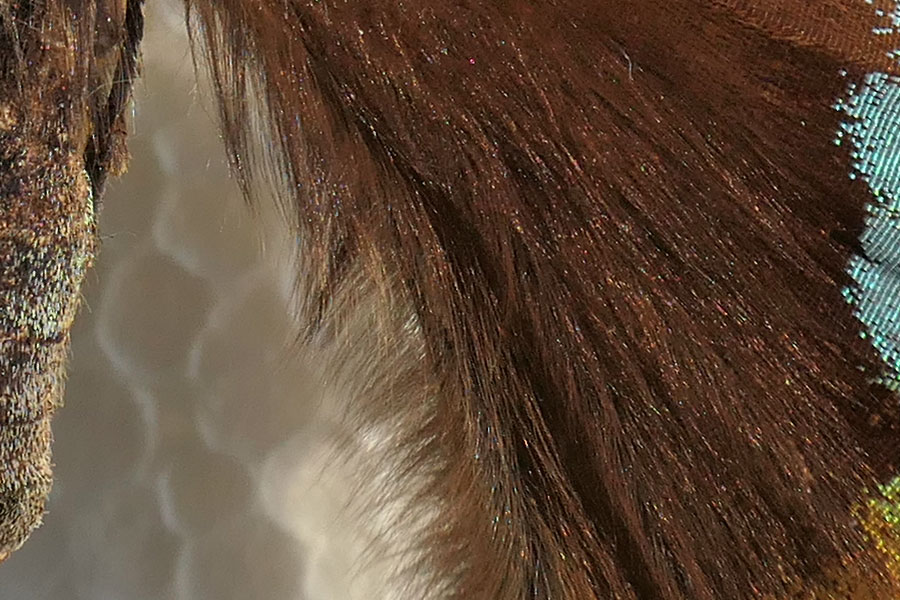
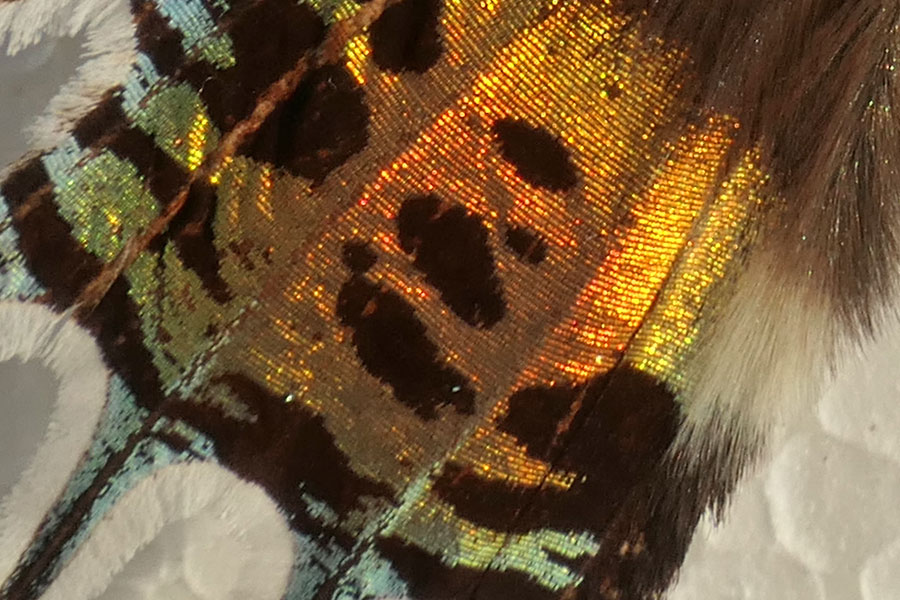
Sample Photos - Close-up
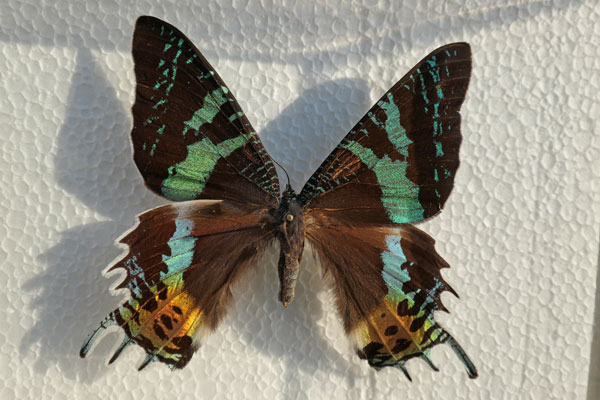
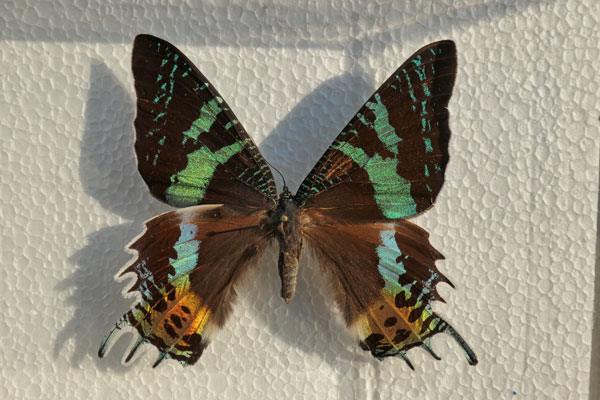
In the following, I present sections from example photos that I took at different f-numbers (up to f/8, the smallest aperure on the camera) and with the Panasonic TZ202 to look for diffraction effects.Of course, this is also just a "quick-and-dirty" investigation. Nonetheless, it shows that close-ups are not useful for such tests because the depth of field is limited and thus, interferes with what you want to investigate...
Overview Photos with Links for Downloading the Originals
Using the following photos taken with the Pansonic TZ202, you can observe on a computer screen at 100% magnification how diffraction increases with f-number.
 |
 |
 |
||
f/4 - original processed, original |
f/5.6 - original processed, original |
f/8 - original processed, original |
The photos were taken with a tripod at the f-numbers f/4, f/5.6, f/8, and f/11 in A mode. ISO was set to ISO 200. The images are 100% sections. Click the images to download or view the photos in full size. The photos were taken at the default Photo Style setting (0, 0, 0). They would be sharper, if noise reduction would have been reduced.
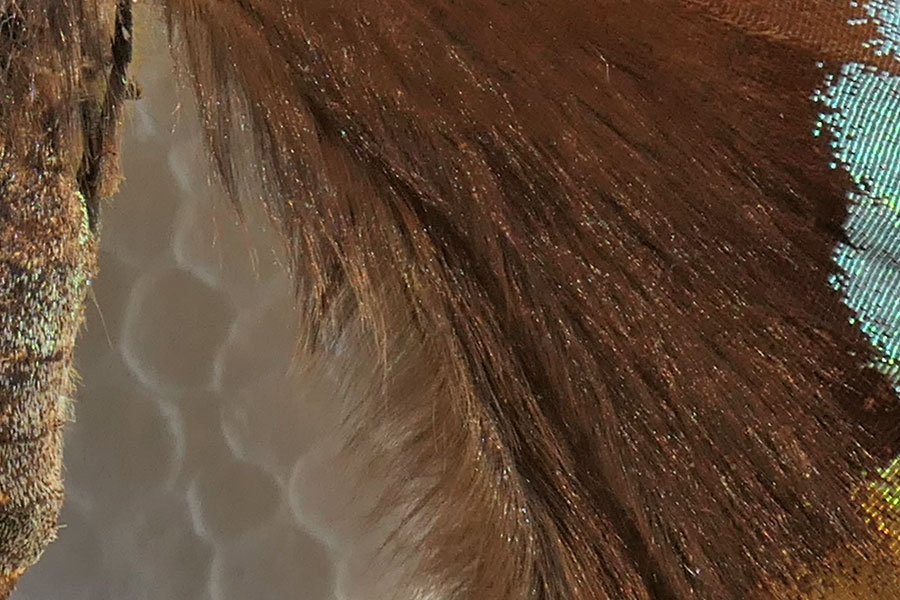
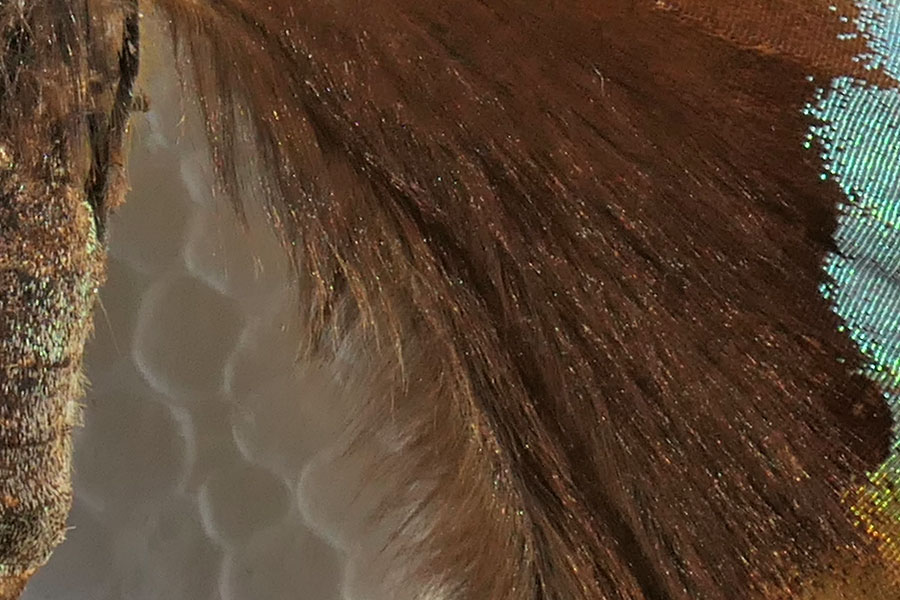
Selected Sections
Click the images to view the sections in double size (100%) in a new window or tab.
 |
 |
|
f/4 |
f/4 - section not optimal.... |
|
 |
|
|
f/5.6 |
f/5.6 |
|
 |
 |
|
f/8 (maximum f-number) |
f/8 (maximum f-number) |
Electronic Improvements
Panasonic offers two "electronic" methods for improving image quality (cited after the camera manual):
- i.Resolution: The camera's Intelligent Resolution technology, called i.Resolution " records still pictures with sharper outlines and clearer resolution."
- Diffraction Compensation: "The camera raises the resolution by correcting the blurriness caused by diffraction when the aperture is closed". (The manual warns, however: "Noise in the periphery of the picture may stand out with higher ISO sensitivity.")
Since nothing is for free, there is a certain probability that both approaches will increase artifacts in the images...
I took some test shots with Photo Style set to Standard, where I turned both functions on and off. Since there were some issues with my photos at larger apertures, I present only the f/8 versions - and an f/4 version without corrections for comparison.
|
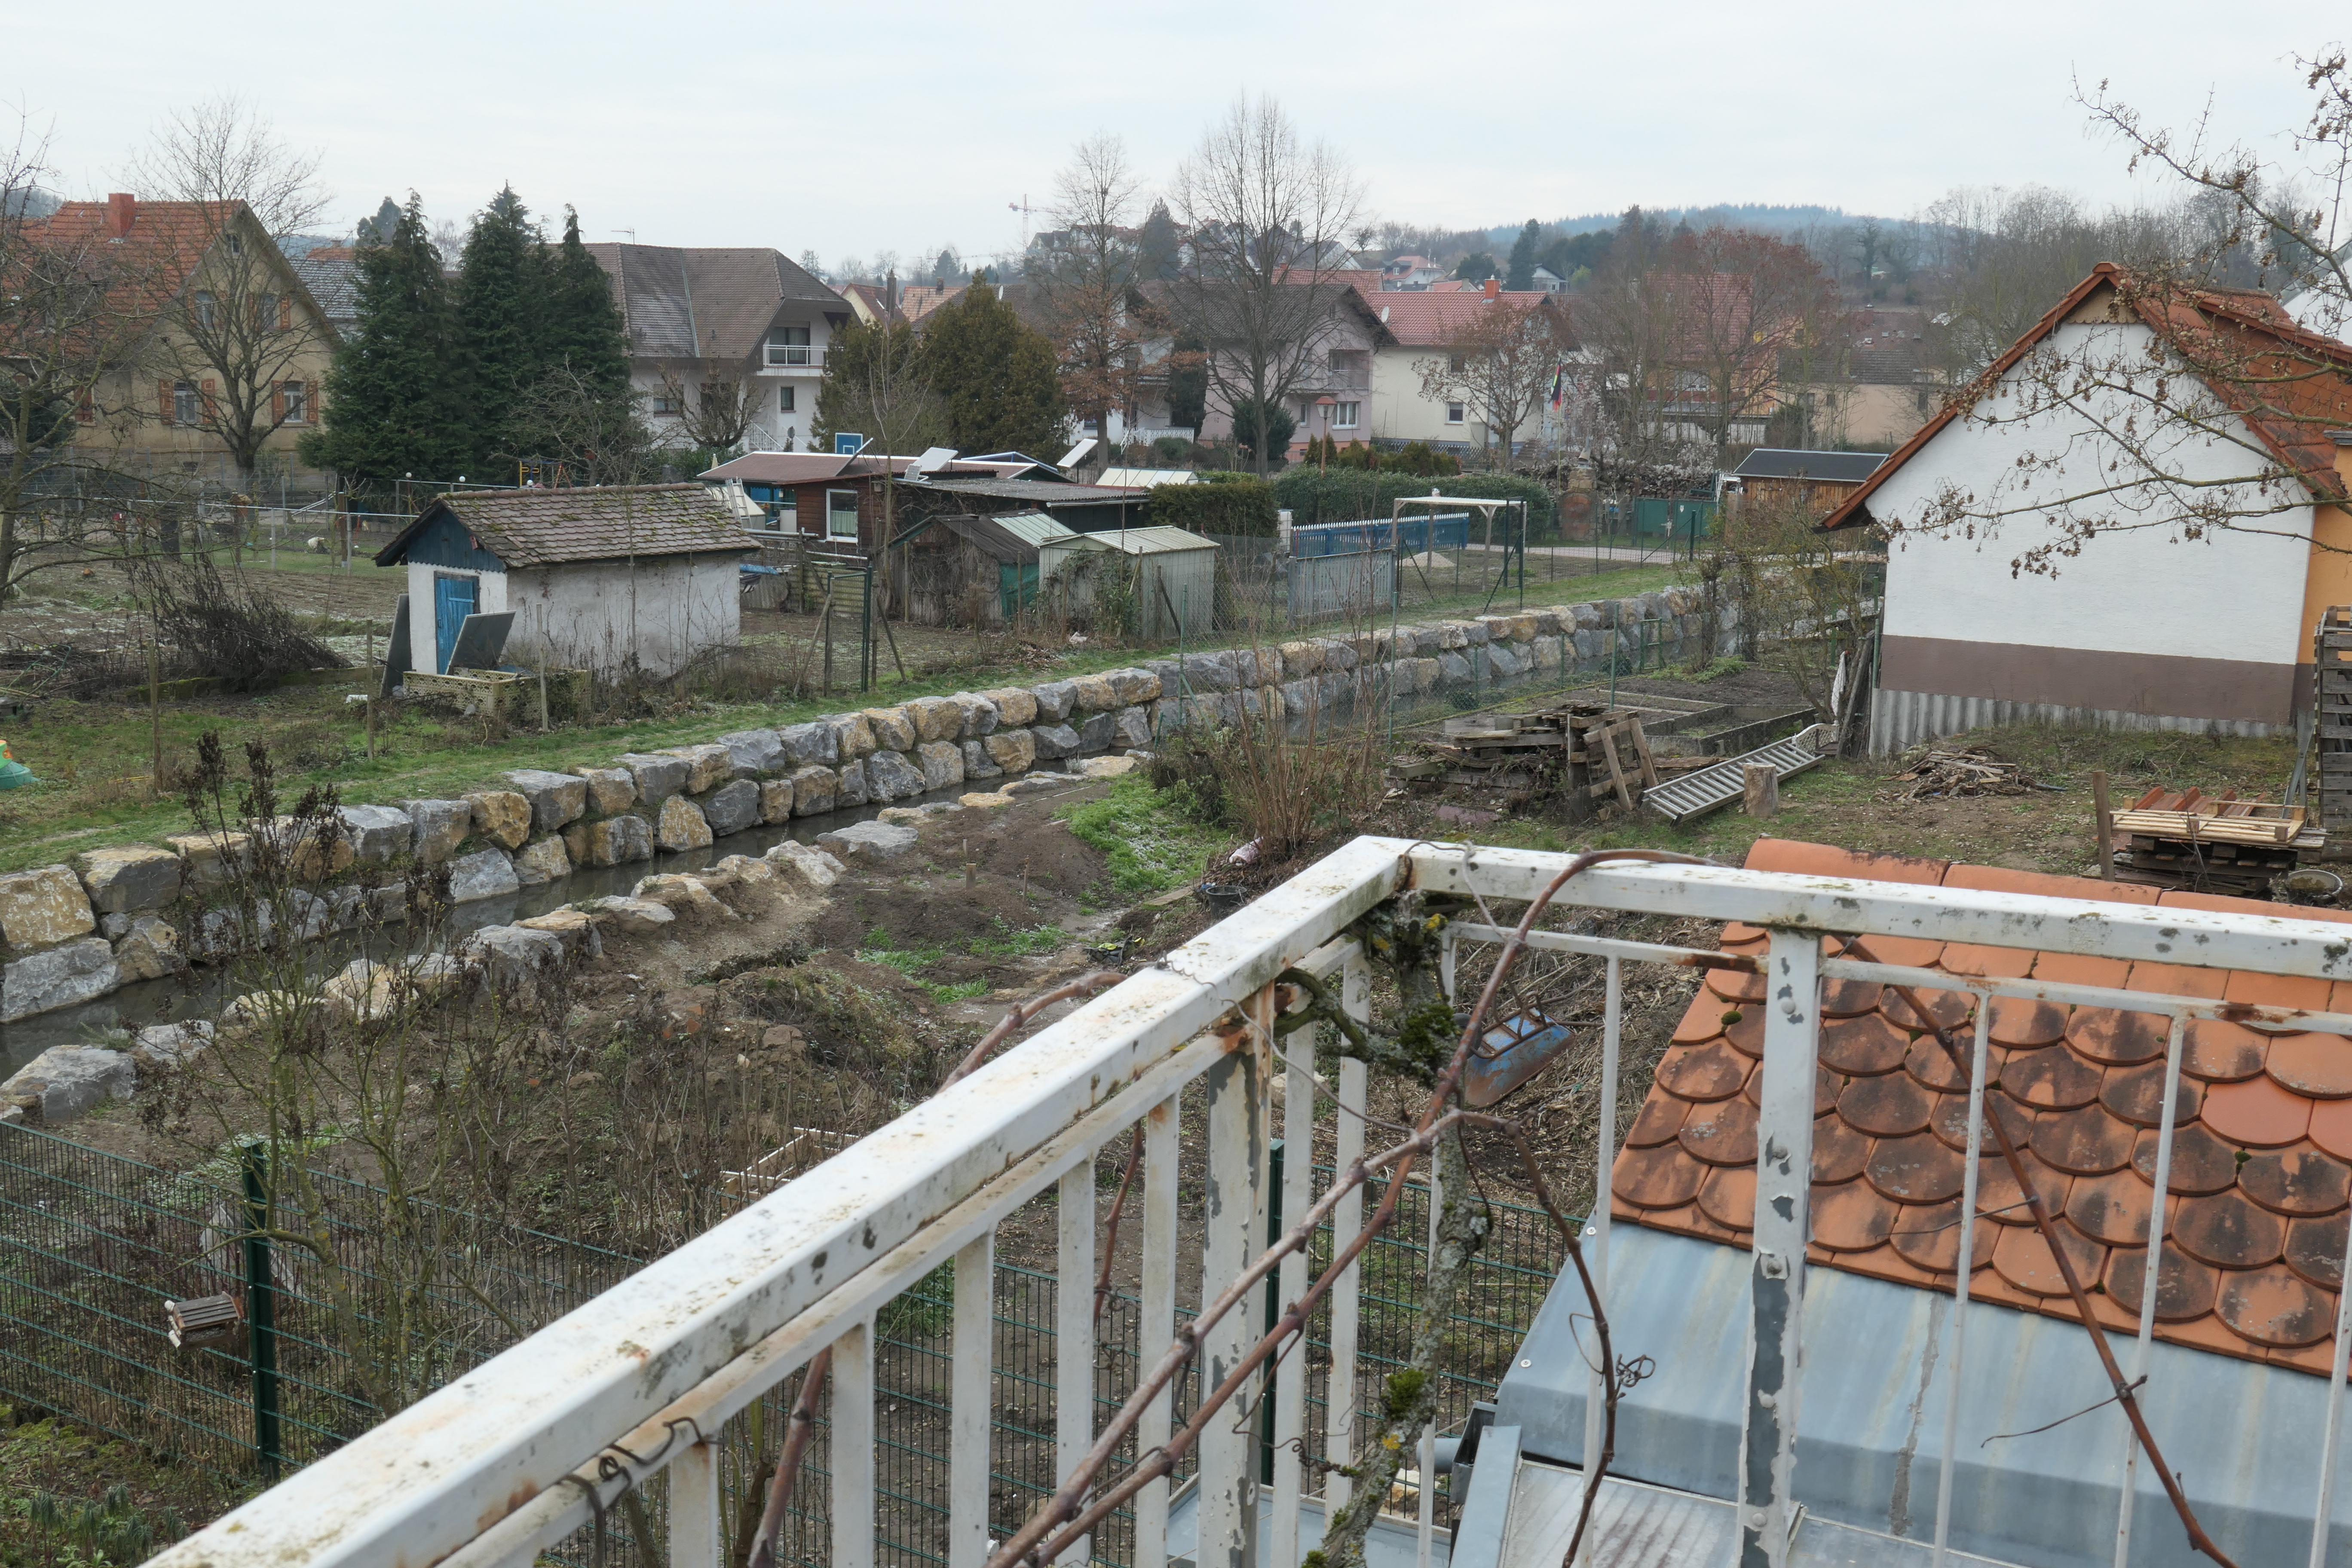
Using the following photos taken with the Panasonic TZ202, you can observe on a computer screen at 100% magnification how diffraction increases with f-number. About the photos: The photos were taken with a tripod at the f-numbers f/4, f/5.6, and f/8 in A mode, but I use only the f/8 versions. Distance was set using AF at a distanc target. ISO was set to ISO 200, and a focal length of 35 mm (equiv.) was used. Photo Style was set to "Standard" (0, 0, 0). The images below are 100% sections. Click the images to download or view the photos in full size. |
|
Overview sample |
||
|
|
|
f/4 - no corrections, for comparison |
f/8 - no corrections => i-Resolution = Off, Diffraction Correction = Off |
|
 |
 |
|
f/8 - i-Resolution = Standard, Diffraction Correction = Off |
f/8 - i-Resolution = off, Diffraction Correction = Auto |
|
 |
|
|
f/8 - i.Resolution = Standard, diffraction correction = Auto => both correction enabled |
f/4 - no corrections (repeated for comparison) |
It looks to me as if both methods bring the f/8 versions closer to an uncorrected f/4 version. Particularly, i.Resolution seems to be a good choice, but I did not check the images for artifacts. Using both methods in combination seems a bit "overdone..."
Conclusions
My basic conclusion from this test is that there is not much deterioration visible between and f/4 and f/8 when I view the test photos in full size on the computer screen. This may be due to the already fairly strong noise reduction in Photo Style "Standard" (0, 0, 0).
i.Resolution and Diffraction Compensation may help to fight the effects of lens softness and diffraction, but probably at the cost of increased artifacts - nothing is for free...
References
- See page page Calculating the Optimum Aperture for Different Sensor Sizes (Diffraction Limit) for references.
|
made by |
| 07.02.2019 |