Astronomy | GXR · GR · RX100 M1 · RX100 M4 · RX10 M3/4 · TZ202 · X Vario · M240 · General | Photos | Conf. Places | Calendars | Art
Ricoh GR: Making GR Photos more Vivid
Introduction | Image Settings | Effect | Sample Images
Archive
On this page, I answer the question of how you can get vibrant colors when you shoot in JPEG mode. This question was asked in an email that a probably Chinese photographer sent me. Actually, he wanted to have as vibrant colors as the Nikon Coolpix A offers.
Note: This is a "long" version of an answer to the question above. The "short" version can be found in the FAQ for the Ricoh GR (similar to my email reply).
Introduction
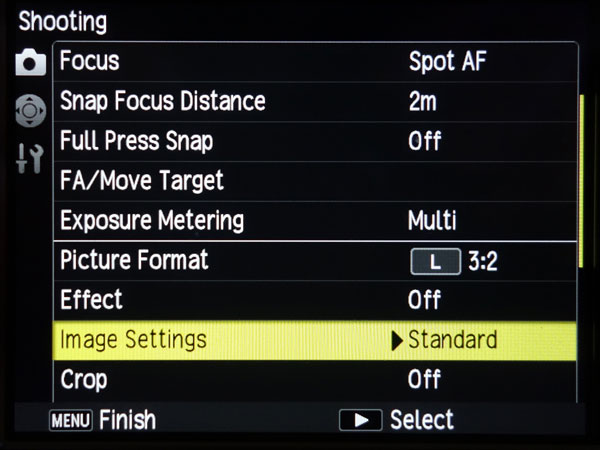
I do not know the Nikon Coolpix A (and its colors...), and I usually prefer more subdued colors (as delivered by the "standard" setting) to vibrant ones. So I had to look into the GR manual to find out which options you have on the GR for making colors more vibrant. There, I found two options, both of which can be found on the first screen of the shooting menu:
- Image Settings
- Effect
 |
 |
Figures: How to find "Image Settings" and "Effect" in the "Shooting" menu.
In the following, I will briefly explain both options.
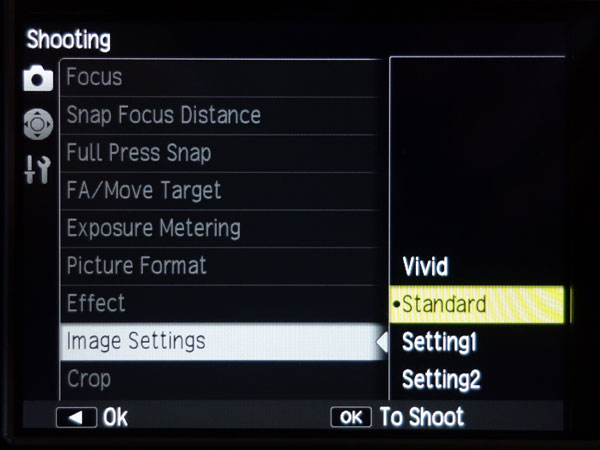
Image Settings
Here you have four options (explanations taken from the manual, p. 73):
- Standard (the default): "Normal image quality. This is selected when the image settings are turned off."
- Vivid: "Increases the contrast, sharpness, and saturation beyond [Standard] for an image quality that feels solid."
- Setting1/Setting2: "Sets the [Saturation], [Contrast], [Sharpness], and [Vignetting]."
|
 |
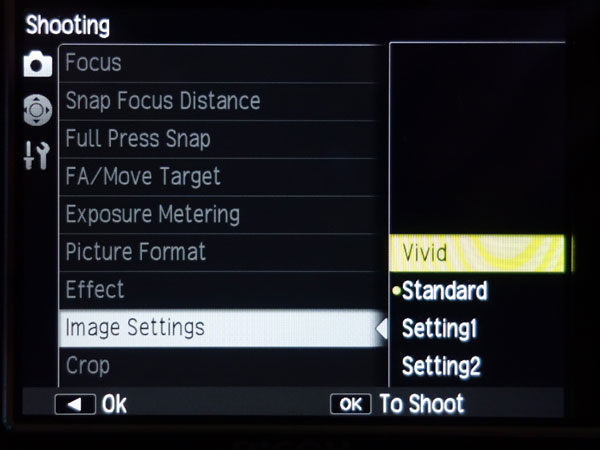 |
Figures: Menu path and options for "Image Settings". The "Standard" and "Vivid" options do not have a submenu.
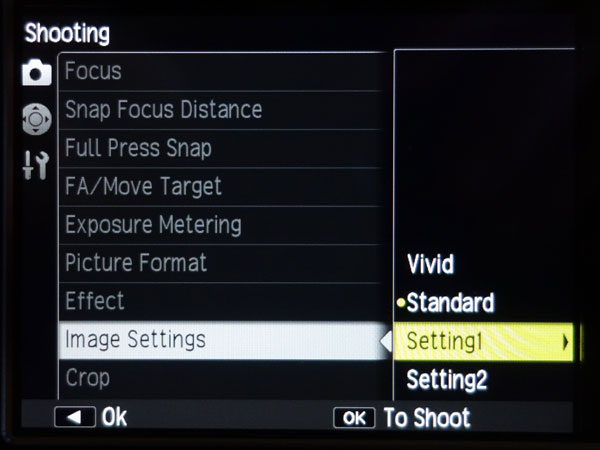
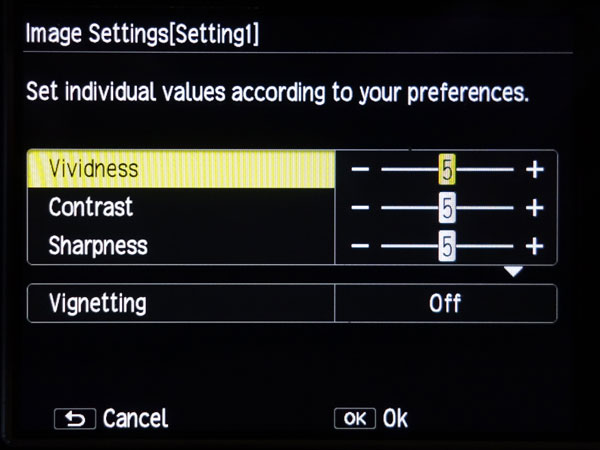
The latter two options, called "Setting1" and "Setting2" have a submenu that allows you to set the strength of "Vividness" (sort of saturation…), "Contrast", and "Sharpness" on a 9-point scale, with 1 = weakest, 5 = standard, 9 = strongest.
 |
 |
 |
||
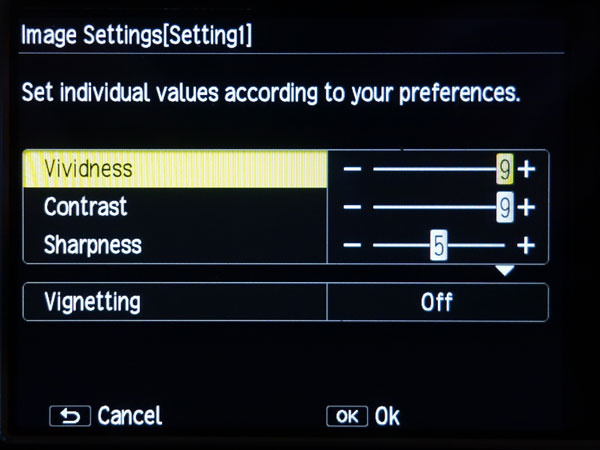 |
Figures above: Menu path and options for "Setting1/2" Figure right: "Vividness" and "Contrast" have both been set to the maximum value of 9.
|
|||
The options "Setting1/2", "Standard", and "Vivid" differ as follows:
- "Setting1/2" option comprise settings for "Vividness" (saturation), "Contrast", and "Sharpness" that can be set on a nine-point scale.
- "Standard" means that all three items are set to 0.
- "Vivid" means that "Vividness" and "Contrast" are set to 7 ("Sharpness" remains at 5 here).
I found the values for the "Vivid" and "Standard" settings in the Exif data (Ricoh section).
Thus, "Setting1" and "Setting2" allow you to make your images even more vivid than the "Vivid" setting itself does.
(Note: There is also a setting for "Vignetting" in the dialog.)
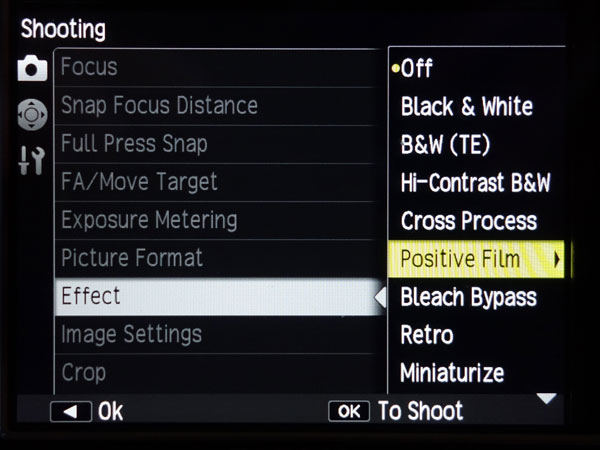
Effect
Perhaps the following option is interesting for some people (I do not like its look, though; explanations taken from the manual, p. 72):
- Positive Film: "Takes highly saturated images like those taken with positive film. The [Saturation], [Contrast], [Sharpness], and [Vignetting] can be set."
|
 |
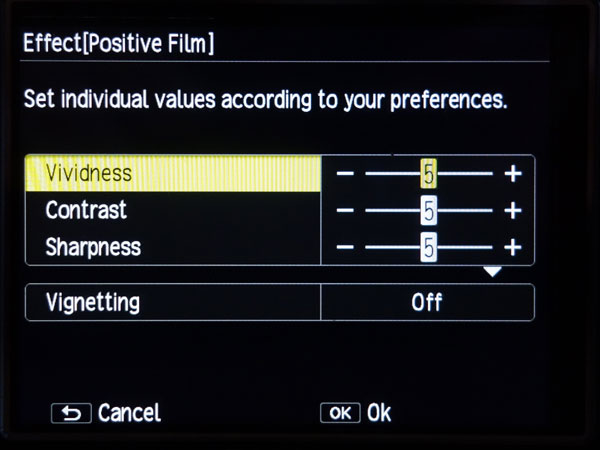 |
Figures: Menu path and settings for the "Positive Film" effect ("Effect")
That is, in addition to the "color effect" of "Positive Film", you can also play around with saturation (called "Vividness" on the menu screen) and contrast to make images more colorful (it is just the same dialog as for "Image Settings"). By default, all three settings, including sharpness, are set to 5.
By the way: The manual states: "If an [Effect] is set, the [Image Settings] are invalidated." In other words, an "Effect" setting overrides the "Image Settings" values.
Sample Images
Regrettably, my first set of samples images was not suitable for a publication, because the lighting conditions changed often, and I also had not fully understood how the options work. I never managed to repeat the sample images - and at the end of March 2019 I sold the GR. So this will never happen...
|
made by |
| 01.04.2019 |